Dell PowerEdge R905 Hardware Owner's Manual (PDF) - Page 140
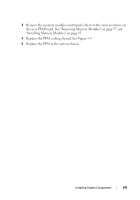
Replacing the PEM Board, Slide the PEM board toward the back of the PEM shell until the blue
 |
View all Dell PowerEdge R905 manuals
Add to My Manuals
Save this manual to your list of manuals |
Page 140 highlights
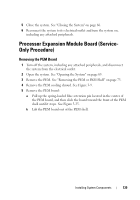
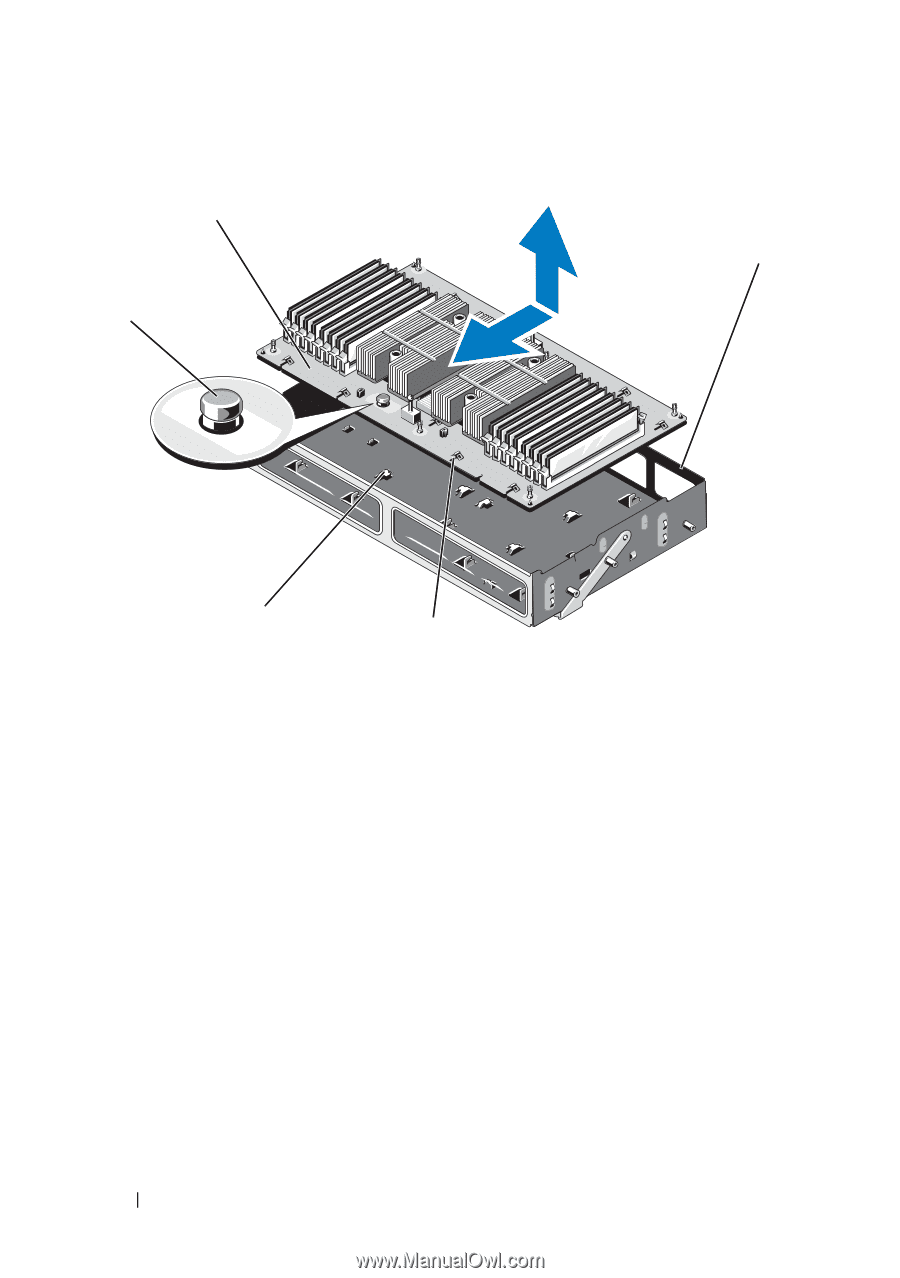
Figure 3-37. Removing and Installing the PEM Board 2 3 1 5 4 1 retention pin 3 PEM shell 5 retention hooks 2 PEM board 4 retention slots Replacing the PEM Board 1 Install the new PEM board: a Lower the PEM board into the PEM shell. b Ensure that the PEM board is completely parallel to the floor of the PEM shell, and that all retention hooks on the bottom of the PEM shell extend through the retention slots on the PEM board. See Figure 3-35. c Slide the PEM board toward the back of the PEM shell until the blue retention pin snaps into place. 2 Transfer the processors and heat sinks to the new PEM board. See "Removing a Processor" on page 99 and "Installing a Processor" on page 101. 140 Installing System Components
-
 1
1 -
2
-
3
-
4
-
5
-
6
-
7
-
8
-
9
-
10
-
11
-
12
-
13
-
14
-
15
-
16
-
17
-
18
-
19
-
20
-
21
-
22
-
23
-
24
-
25
-
26
-
27
-
28
-
29
-
30
-
31
-
32
-
33
-
34
-
35
-
36
-
37
-
38
-
39
-
40
-
41
-
42
-
43
-
44
-
45
-
46
-
47
-
48
-
49
-
50
-
51
-
52
-
53
-
54
-
55
-
56
-
57
-
58
-
59
-
60
-
61
-
62
-
63
-
64
-
65
-
66
-
67
-
68
-
69
-
70
-
71
-
72
-
73
-
74
-
75
-
76
-
77
-
78
-
79
-
80
-
81
-
82
-
83
-
84
-
85
-
86
-
87
-
88
-
89
-
90
-
91
-
92
-
93
-
94
-
95
-
96
-
97
-
98
-
99
-
100
-
101
-
102
-
103
-
104
-
105
-
106
-
107
-
108
-
109
-
110
-
111
-
112
-
113
-
114
-
115
-
116
-
117
-
118
-
119
-
120
-
121
-
122
-
123
-
124
-
125
-
126
-
127
-
128
-
129
-
130
-
131
-
132
-
133
-
134
-
 135
135 -
 136
136 -
 137
137 -
 138
138 -
 139
139 -
 140
140 -
 141
141 -
 142
142 -
 143
143 -
 144
144 -
 145
145 -
146
-
147
-
148
-
149
-
150
-
151
-
152
-
153
-
154
-
155
-
156
-
157
-
158
-
159
-
160
-
161
-
162
-
163
-
164
-
165
-
166
-
167
-
168
-
169
-
170
-
171
-
172
-
173
-
174
-
175
-
176
-
177
-
178
-
179
-
180
-
181
-
182
-
183
-
184
-
185
-
186
-
187
-
188
-
189
-
190
-
191
-
192
-
193
-
194
-
195
-
196
-
197
-
198
 |
 |
140
Installing System Components
Figure 3-37.
Removing and Installing the PEM Board
Replacing the PEM Board
1
Install the new PEM board:
a
Lower the PEM board into the PEM shell.
b
Ensure that the PEM board is completely parallel to the floor of the
PEM shell, and that all retention hooks on the bottom of the PEM
shell extend through the retention slots on the PEM board. See
Figure 3-35.
c
Slide the PEM board toward the back of the PEM shell until the blue
retention pin snaps into place.
2
Transfer the processors and heat sinks to the new PEM board. See
"Removing a Processor" on page 99 and "Installing a Processor" on
page 101.
1
retention pin
2
PEM board
3
PEM shell
4
retention slots
5
retention hooks
2
1
3
4
5