Panasonic KX-NT400 Operating Instructions - Page 162
Maintenance, QoS Setting screen 2/2, Network Maintenance screen
 |
View all Panasonic KX-NT400 manuals
Add to My Manuals
Save this manual to your list of manuals |
Page 162 highlights
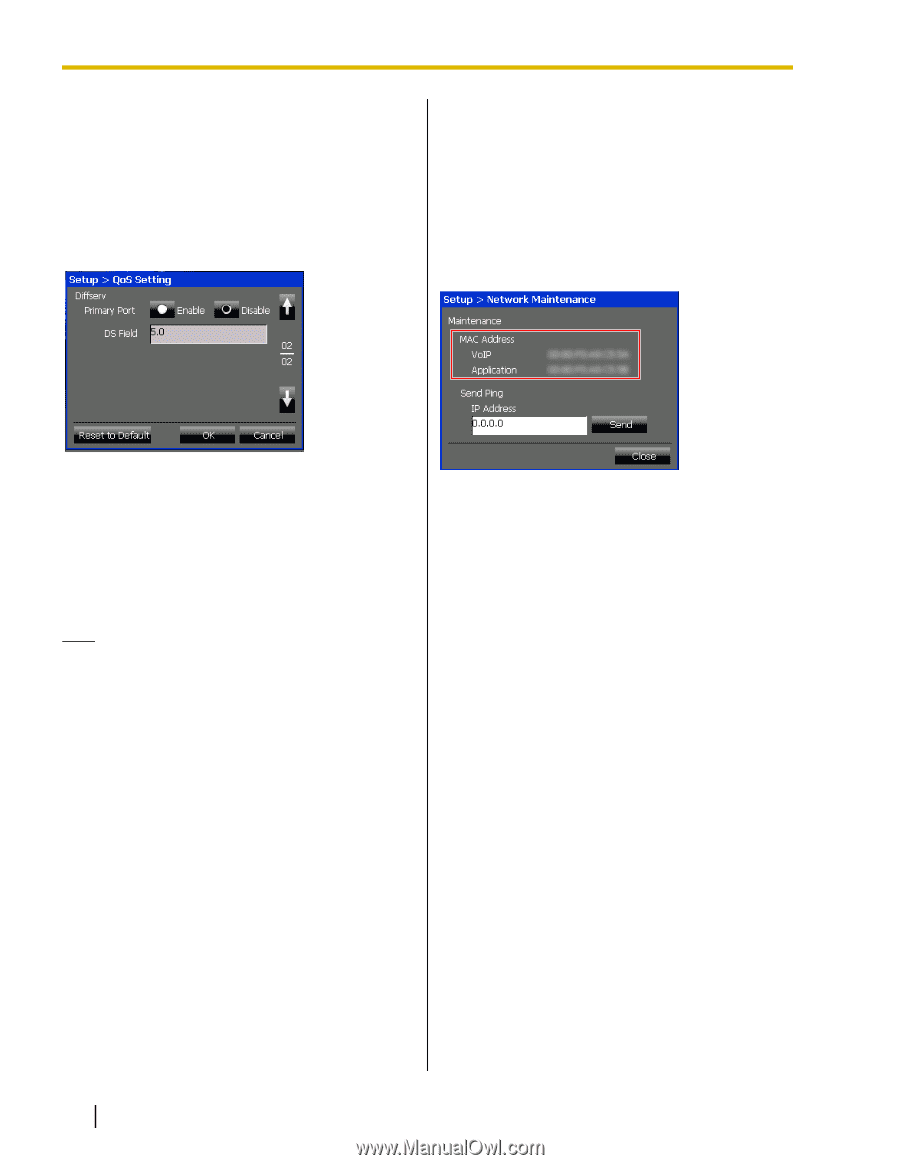
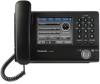
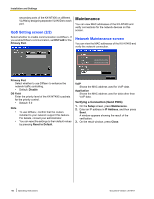
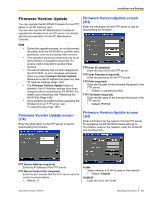
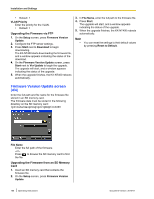
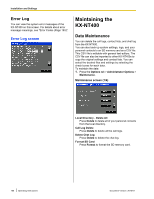
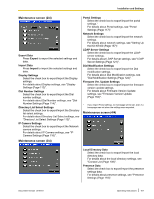
Installation and Settings secondary ports of the KX-NT400 on different VLANs by assigning separate VLAN IDs to each port. QoS Setting screen (2/2) Select whether to enable communication via Diffserv. If you enable Diffserv communication, set DS Field for the Primary Port. Maintenance You can view MAC addresses of the KX-NT400 and verify connections for the network devices on this screen. Network Maintenance screen You can view the MAC addresses of the KX-NT400 and verify the network connection. Primary Port Select whether to use Diffserv to enhance the network traffic controlling. • Default: Disable DS Field Enter the priority level of the KX-NT400's packets for the priority control. • Default: 5.0 Note • • To use Diffserv, confirm that the routers installed to your network support this feature. For details, consult your administrator. You can reset the settings to their default values by pressing Reset to Default. VoIP Shows the MAC address used for VoIP data. Application Shows the MAC address used for data other than VoIP data. Verifying a Connection (Send PING) 1. On the Setup screen, press Maintenance. 2. Enter an IP address in IP Address, and then press Send. A window appears showing the result of the verification. 3. On the result window, press Close. 162 Operating Instructions Document Version 2010-01
-
 1
1 -
2
-
3
-
4
-
5
-
6
-
7
-
8
-
9
-
10
-
11
-
12
-
13
-
14
-
15
-
16
-
17
-
18
-
19
-
20
-
21
-
22
-
23
-
24
-
25
-
26
-
27
-
28
-
29
-
30
-
31
-
32
-
33
-
34
-
35
-
36
-
37
-
38
-
39
-
40
-
41
-
42
-
43
-
44
-
45
-
46
-
47
-
48
-
49
-
50
-
51
-
52
-
53
-
54
-
55
-
56
-
57
-
58
-
59
-
60
-
61
-
62
-
63
-
64
-
65
-
66
-
67
-
68
-
69
-
70
-
71
-
72
-
73
-
74
-
75
-
76
-
77
-
78
-
79
-
80
-
81
-
82
-
83
-
84
-
85
-
86
-
87
-
88
-
89
-
90
-
91
-
92
-
93
-
94
-
95
-
96
-
97
-
98
-
99
-
100
-
101
-
102
-
103
-
104
-
105
-
106
-
107
-
108
-
109
-
110
-
111
-
112
-
113
-
114
-
115
-
116
-
117
-
118
-
119
-
120
-
121
-
122
-
123
-
124
-
125
-
126
-
127
-
128
-
129
-
130
-
131
-
132
-
133
-
134
-
135
-
136
-
137
-
138
-
139
-
140
-
141
-
142
-
143
-
144
-
145
-
146
-
147
-
148
-
149
-
150
-
151
-
152
-
153
-
154
-
155
-
156
-
 157
157 -
 158
158 -
 159
159 -
 160
160 -
 161
161 -
 162
162 -
 163
163 -
 164
164 -
 165
165 -
 166
166 -
 167
167 -
168
-
169
-
170
-
171
-
172
-
173
-
174
-
175
-
176
-
177
-
178
-
179
-
180
-
181
-
182
-
183
-
184
-
185
-
186
-
187
-
188
-
189
-
190
-
191
-
192
-
193
-
194
-
195
-
196
-
197
-
198
-
199
-
200
-
201
-
202
-
203
-
204
-
205
-
206
 |
 |