Sony XDSPD2000 User Manual (XDS-PD1000 and XDS-PD2000 Operation Manual for Fir - Page 19
Recording and playback control PUSH SET knob
 |
View all Sony XDSPD2000 manuals
Add to My Manuals
Save this manual to your list of manuals |
Page 19 highlights
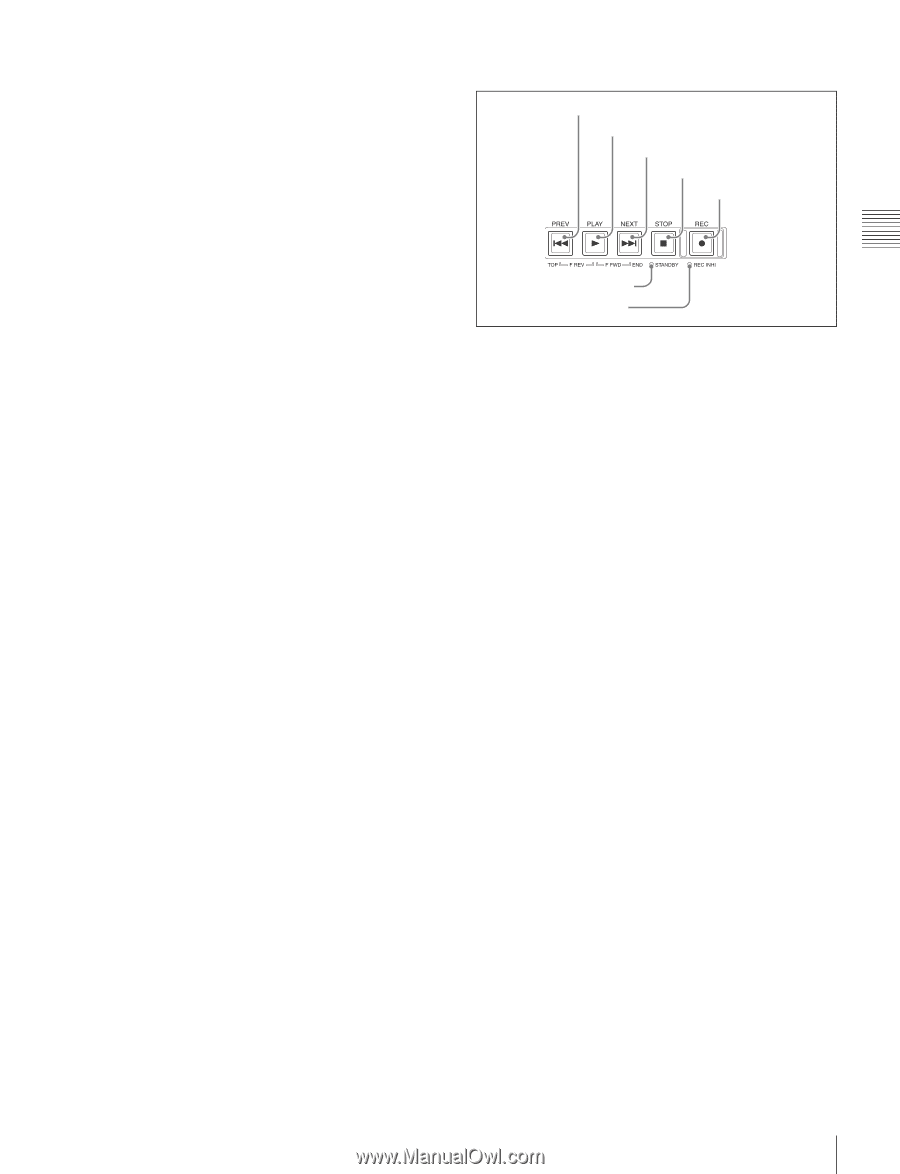
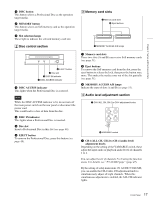
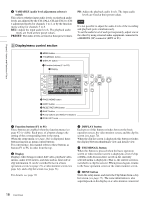
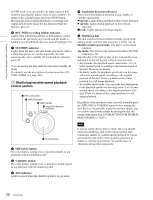
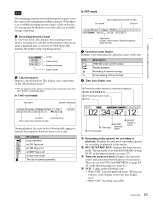
Chapter 2 Names and Functions of Parts to the unit. When pressed again, the setup menu or the Clip Menu disappears. f PAGE/HOME button When pressed alone, functions as the PAGE button. When pressed together with the SHIFT button, functions as the HOME button. PAGE button: Displays the function menu, if it is not visible. (The most recently displayed page of the function menu appears.) HOME button: When pressed with the function menu visible, returns to the HOME page of the function menu. g COPY button Displays the Clip Copy screen. (see page 66). h RESET/RETURN button Functions as the RESET button or the RETURN button. RESET button: Resets counters or the setting values of the timecode generator. RETURN button: In clip list screens, returns to the previous procedure. i SHIFT button Switches between functions for any button with two functions. j Arrow buttons and IN/OUT indicators The arrow buttons are used for clip selection, menu setting operations, and so on. When you use the left and right arrow buttons to set an IN and OUT point in the clip, it becomes possible to copy only the part defined by the IN and OUT points (see page 67). When an IN and OUT points are set in the clip, the IN and OUT indicators light. You can use the up and down arrow buttons to set shot marks 1 and 2 (see page 55 and page 63). k PUSH SET knob This is used for menu operations and thumbnail operations in a clip list screen. Turn the knob to select items, and press it to confirm the selection. This button is also used to set numerical and timecode values. 6 Recording and playback control section 1 PREV button 2 PLAY button 3 NEXT button 4 STOP button 5 REC button 7 STANDBY indicator 6 REC INHI indicator a PREV (previous) button Press this button, turning it on, to show the first frame of the current clip. While the first frame of a clip is shown, pressing this button jumps to the beginning of the previous clip. This button is also used together with other buttons for the following operations. Reverse direction high-speed search: Hold down the PLAY button, and press this button. A high-speed (50 times normal) search in the reverse direction is carried out. Displaying the first frame of the first clip: Hold down the SHIFT button, and press this button. b PLAY button To start playback, press this button, turning it on. c NEXT button Press this button, turning it on, to jump to the next clip and show the first frame. During chase play, play jumps to the last frame that is playable at that time. This button is also used together with other buttons for the following operations. Forward direction high-speed search: Hold down the PLAY button, and press this button. A high-speed (50 times normal) search in the forward direction is carried out. Displaying the last frame of the last clip: Hold down the SHIFT button, and press this button. d STOP button To stop recording or playback, press this button, turning it on. The frame at the stop point appears. If setup menu item 105 REFERENCE ALARM is set to ON, the button flashes when the clip is not synchronized with the reference signal. e REC (record) button To start recording, hold down this button, and press the PLAY button. The recording takes place on an unrecorded part of the media. To stop recording, press the STOP button. 19 Front Panel
-
 1
1 -
2
-
3
-
4
-
5
-
6
-
7
-
8
-
9
-
10
-
11
-
12
-
13
-
 14
14 -
 15
15 -
 16
16 -
 17
17 -
 18
18 -
 19
19 -
 20
20 -
 21
21 -
 22
22 -
 23
23 -
 24
24 -
25
-
26
-
27
-
28
-
29
-
30
-
31
-
32
-
33
-
34
-
35
-
36
-
37
-
38
-
39
-
40
-
41
-
42
-
43
-
44
-
45
-
46
-
47
-
48
-
49
-
50
-
51
-
52
-
53
-
54
-
55
-
56
-
57
-
58
-
59
-
60
-
61
-
62
-
63
-
64
-
65
-
66
-
67
-
68
-
69
-
70
-
71
-
72
-
73
-
74
-
75
-
76
-
77
-
78
-
79
-
80
-
81
-
82
-
83
-
84
-
85
-
86
-
87
-
88
-
89
-
90
-
91
-
92
-
93
-
94
-
95
-
96
-
97
-
98
-
99
-
100
-
101
-
102
-
103
-
104
-
105
-
106
-
107
-
108
-
109
-
110
-
111
-
112
-
113
-
114
-
115
-
116
-
117
-
118
-
119
-
120
-
121
-
122
-
123
-
124
-
125
-
126
-
127
-
128
-
129
-
130
-
131
-
132
-
133
-
134
-
135
-
136
-
137
-
138
-
139
-
140
-
141
-
142
-
143
-
144
-
145
-
146
-
147
-
148
-
149
-
150
-
151
-
152
-
153
-
154
-
155
-
156
-
157
-
158
-
159
-
160
-
161
 |
 |