Sony XDSPD2000 User Manual (XDS-PD1000 and XDS-PD2000 Operation Manual for Fir - Page 45
Basic Operations of the Function Menu, Function menu operations
 |
View all Sony XDSPD2000 manuals
Add to My Manuals
Save this manual to your list of manuals |
Page 45 highlights
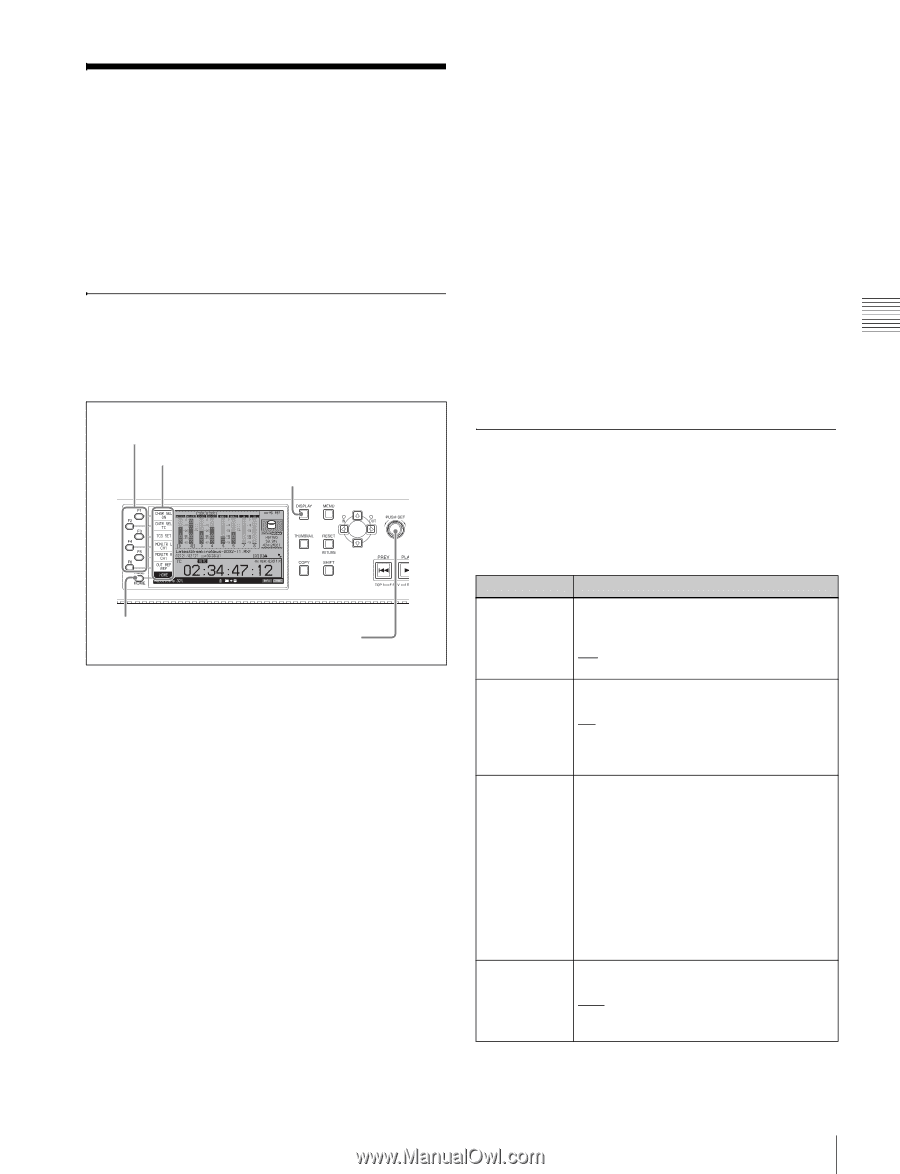
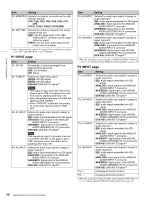
Chapter 3 Preparations Basic Operations of the Function Menu The function menu provides access to frequently used settings, such as input video signal selection and timecode settings. Menu settings are stored in nonvolatile memory and are preserved even after the unit is powered off. Function menu operations The function menu appears on the display of this unit. The following figure shows the buttons (F1 to F6) used in function menu operations. To change the setting of a function menu item Use the function buttons. To select the value of the setting item Press the function button to the left of each setting item to change the value of the item. Keep pressing the button until the value you want appears. To set the value of the setting item • Press the function button to the left of each setting item so that the setting value flashes to enable adjustment of the value and then turn the PUSH SET knob to increase or decrease the value. • Turning the PUSH SET knob while holding down the SHIFT button increases the increment of adjustment. • Pressing the function button to the left of each setting item while the setting value is flashing causes the value to stop flashing and completes the adjustment. Function buttons (F1 to F6) Function menu DISPLAY button Function menu settings The following tables list the setting items on each page and describe their setting values. Underlined values are the factory defaults. PAGE/HOME button PUSH SET knob To display the function menu The function menu is made up of the HOME page and pages P1 to P5. If the function menu is not already visible, press the PAGE/HOME button to display it. (The most recently accessed function menu page appears.) To display a different page Each press of the PAGE/HOME button displays the next function menu page in the order: HOME tP1 t P2 t P3 t P4 t P5 t HOME... • Turning the PUSH SET knob while holding down the PAGE/HOME button changes the page forward or backward. • Pressing F1 to F5 buttons while holding down the PAGE/HOME button switches the page directly to pages P1 to P5. To clear the function menu from the screen Press the DISPLAY button to switch to the video monitor screen. HOME page Item Setting F1: CHAR SEL Turns the display of character information on the video monitor screen and on an external monitor on and off. ON: Character information on OFF: Character information off F2: CNTR SEL Selects the type of time data to display in the time data display area. TC: Timecode COUNTER: Elapsed recording or playback time UB: User bits F3: TCG SET/ UBG SET • When CNTR SEL is set to "TC" or "COUNTER", the indication "TCG SET" appears, and pressing the button displays a screen where you can set the initial value of timecode generated by the internal timecode generator a) (see page 41). • When CNTR SEL is set to "UB", the indication "UBG SET" appears, and pressing the button displays a screen where you can set the user bits of timecode a) (see page 42). F4: MONITR L Selects the channel to monitor as the left monitor channel. CH1, CH2, CH3, CH4, CH5, CH6, CH7, CH8 CH1/2, CH3/4, CH5/6, CH7/8 (MIX) 45 Basic Operations of the Function Menu
-
 1
1 -
2
-
3
-
4
-
5
-
6
-
7
-
8
-
9
-
10
-
11
-
12
-
13
-
14
-
15
-
16
-
17
-
18
-
19
-
20
-
21
-
22
-
23
-
24
-
25
-
26
-
27
-
28
-
29
-
30
-
31
-
32
-
33
-
34
-
35
-
36
-
37
-
38
-
39
-
 40
40 -
 41
41 -
 42
42 -
 43
43 -
 44
44 -
 45
45 -
 46
46 -
 47
47 -
 48
48 -
 49
49 -
 50
50 -
51
-
52
-
53
-
54
-
55
-
56
-
57
-
58
-
59
-
60
-
61
-
62
-
63
-
64
-
65
-
66
-
67
-
68
-
69
-
70
-
71
-
72
-
73
-
74
-
75
-
76
-
77
-
78
-
79
-
80
-
81
-
82
-
83
-
84
-
85
-
86
-
87
-
88
-
89
-
90
-
91
-
92
-
93
-
94
-
95
-
96
-
97
-
98
-
99
-
100
-
101
-
102
-
103
-
104
-
105
-
106
-
107
-
108
-
109
-
110
-
111
-
112
-
113
-
114
-
115
-
116
-
117
-
118
-
119
-
120
-
121
-
122
-
123
-
124
-
125
-
126
-
127
-
128
-
129
-
130
-
131
-
132
-
133
-
134
-
135
-
136
-
137
-
138
-
139
-
140
-
141
-
142
-
143
-
144
-
145
-
146
-
147
-
148
-
149
-
150
-
151
-
152
-
153
-
154
-
155
-
156
-
157
-
158
-
159
-
160
-
161
 |
 |