ZyXEL V630 User Guide - Page 86
SIP Proxy Port, 6.30 SIP Proxy User Name, Network > SIP Profiles > Add to Profile
 |
View all ZyXEL V630 manuals
Add to My Manuals
Save this manual to your list of manuals |
Page 86 highlights
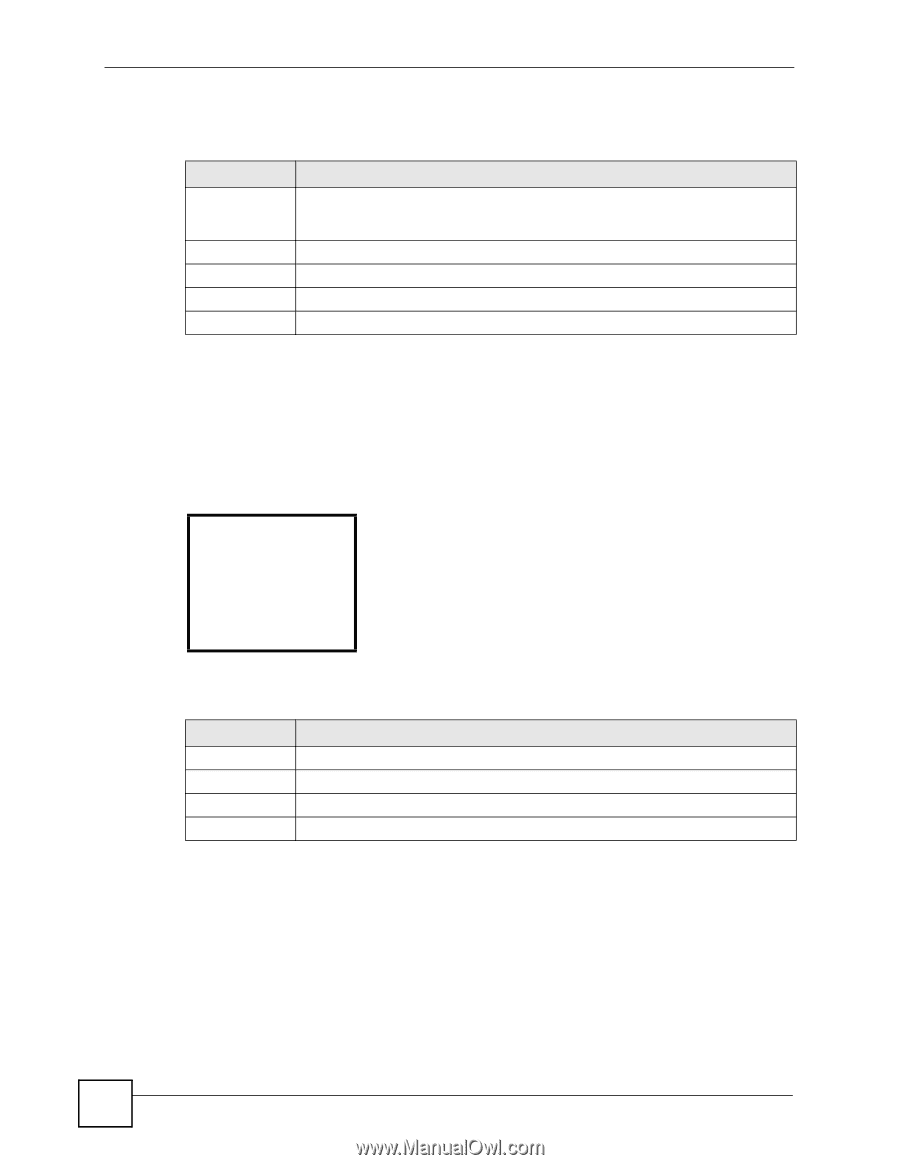
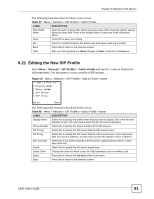
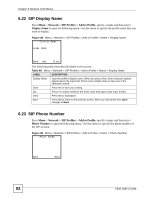
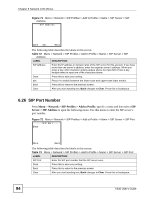
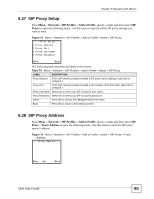
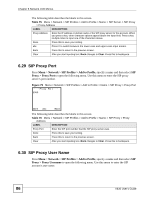
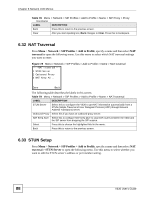
Chapter 6 Network LCD Menus The following table describes the labels in this screen. Table 75 Menu > Network > SIP Profiles > Add to Profile > Name > SIP Server > SIP Proxy > Proxy Address LABEL DESCRIPTION Proxy Address Enter the IP address or domain name of the SIP proxy server for this account. When you press a key, other character options appear above the input field. Press a key multiple times to input one of the characters above. Done Press this to save your setting. abc Press # to switch between the lower-case and upper-case input modes. Back Press this to return to the previous screen. Clear After you start inputting text, Back changes to Clear. Press this to backspace. 6.29 SIP Proxy Port Press Menu > Network > SIP Profiles > Add to Profile, specify a name and then select SIP Proxy > Proxy Port to open the following menu. Use this menu to enter the SIP proxy server's port number. Figure 75 Menu > Network > SIP Profiles > Add to Profile > Name > SIP Proxy > Proxy Port -----Proxy Port---5060 Done abc Back The following table describes the labels in this screen. Table 76 Menu > Network > SIP Profiles > Add to Profile > Name > SIP Proxy > Proxy Address LABEL DESCRIPTION Proxy Port Enter the SIP port number that the SIP proxy server uses. Done Press this to save your setting. Back Press this to return to the previous screen. Clear After you start inputting text, Back changes to Clear. Press this to backspace. 6.30 SIP Proxy User Name Press Menu > Network > SIP Profiles > Add to Profile, specify a name and then select SIP Proxy > Proxy Username to open the following menu. Use this menu to enter the SIP account's user name. 86 V630 User's Guide
-
 1
1 -
2
-
3
-
4
-
5
-
6
-
7
-
8
-
9
-
10
-
11
-
12
-
13
-
14
-
15
-
16
-
17
-
18
-
19
-
20
-
21
-
22
-
23
-
24
-
25
-
26
-
27
-
28
-
29
-
30
-
31
-
32
-
33
-
34
-
35
-
36
-
37
-
38
-
39
-
40
-
41
-
42
-
43
-
44
-
45
-
46
-
47
-
48
-
49
-
50
-
51
-
52
-
53
-
54
-
55
-
56
-
57
-
58
-
59
-
60
-
61
-
62
-
63
-
64
-
65
-
66
-
67
-
68
-
69
-
70
-
71
-
72
-
73
-
74
-
75
-
76
-
77
-
78
-
79
-
80
-
 81
81 -
 82
82 -
 83
83 -
 84
84 -
 85
85 -
 86
86 -
 87
87 -
 88
88 -
 89
89 -
 90
90 -
 91
91 -
92
-
93
-
94
-
95
-
96
-
97
-
98
-
99
-
100
-
101
-
102
-
103
-
104
-
105
-
106
-
107
-
108
-
109
-
110
-
111
-
112
-
113
-
114
-
115
-
116
-
117
-
118
-
119
-
120
-
121
-
122
-
123
-
124
-
125
-
126
-
127
-
128
-
129
-
130
-
131
-
132
-
133
-
134
-
135
-
136
-
137
-
138
-
139
-
140
-
141
-
142
-
143
-
144
-
145
-
146
-
147
-
148
-
149
-
150
-
151
-
152
-
153
-
154
-
155
-
156
-
157
-
158
-
159
-
160
-
161
-
162
-
163
-
164
-
165
-
166
-
167
-
168
-
169
-
170
-
171
-
172
-
173
-
174
-
175
-
176
-
177
-
178
-
179
-
180
-
181
-
182
-
183
-
184
-
185
-
186
-
187
-
188
-
189
-
190
-
191
-
192
-
193
-
194
-
195
-
196
-
197
-
198
-
199
-
200
-
201
-
202
-
203
-
204
-
205
-
206
-
207
-
208
-
209
-
210
-
211
-
212
-
213
-
214
-
215
-
216
-
217
-
218
-
219
-
220
 |
 |