HP Designjet T2300 HP Designjet T2300e MFP - User's Guide: English - Page 164
The paper cannot be loaded successfully, General unsuccessful roll load issues, Unsuccessful roll load
 |
View all HP Designjet T2300 manuals
Add to My Manuals
Save this manual to your list of manuals |
Page 164 highlights
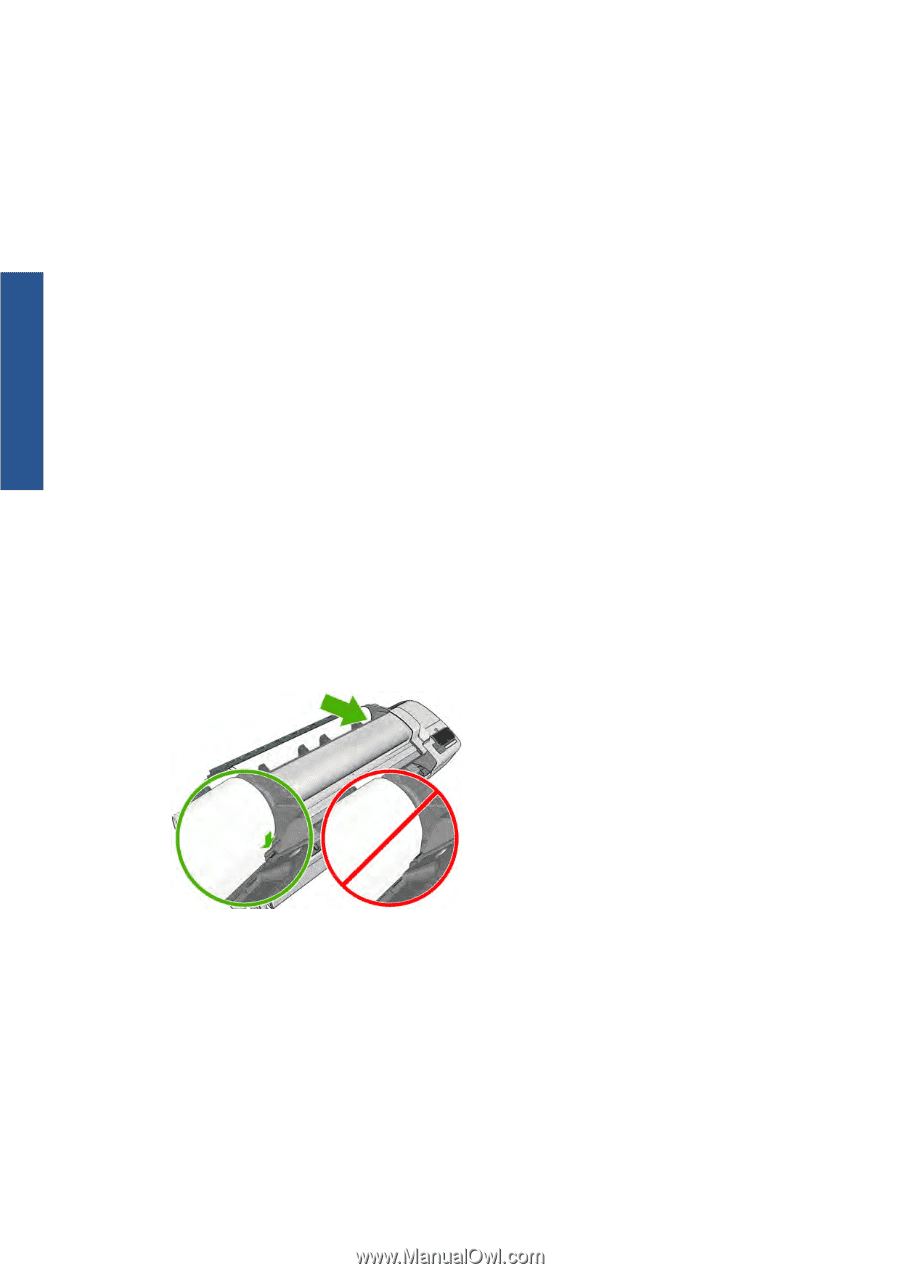
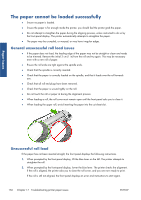
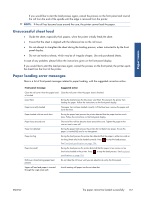
Paper issues The paper cannot be loaded successfully ● Ensure no paper is loaded. ● Ensure the paper is far enough inside the printer, you should feel the printer grab the paper. ● Do not attempt to straighten the paper during the aligning process, unless instructed to do so by the front-panel display. The printer automatically attempts to straighten the paper. ● The paper may be crumpled, or warped, or may have irregular edges. General unsuccessful roll load issues ● If the paper does not load, the leading edge of the paper may not be straight or clean and needs to be trimmed. Remove the initial 2 cm (1 in) from the roll and try again. This may be necessary even with a new roll of paper. ● Ensure the roll ends are tight against the spindle ends. ● Check that the spindle is correctly inserted. ● Check that the paper is correctly loaded on the spindle, and that it loads over the roll towards you. ● Check that all roll end plugs have been removed. ● Check that the paper is wound tightly on the roll. ● Do not touch the roll or paper at during the alignment process. ● When loading a roll, the roll cover must remain open until the front panel asks you to close it. ● When loading the upper roll, avoid inserting the paper into the cut sheet slot. Unsuccessful roll load If the paper has not been inserted straight, the front panel displays the following instructions. 1. When prompted by the front-panel display, lift the blue lever on the left. The printer attempts to straighten the roll. 2. When prompted by the front-panel display, lower the blue lever. The printer checks the alignment. If the roll is aligned, the printer asks you to close the roll cover, and you are now ready to print. If the roll is still not aligned, the front panel displays an error and instructions to start again. 156 Chapter 17 Troubleshooting printer paper issues ENWW
-
 1
1 -
2
-
3
-
4
-
5
-
6
-
7
-
8
-
9
-
10
-
11
-
12
-
13
-
14
-
15
-
16
-
17
-
18
-
19
-
20
-
21
-
22
-
23
-
24
-
25
-
26
-
27
-
28
-
29
-
30
-
31
-
32
-
33
-
34
-
35
-
36
-
37
-
38
-
39
-
40
-
41
-
42
-
43
-
44
-
45
-
46
-
47
-
48
-
49
-
50
-
51
-
52
-
53
-
54
-
55
-
56
-
57
-
58
-
59
-
60
-
61
-
62
-
63
-
64
-
65
-
66
-
67
-
68
-
69
-
70
-
71
-
72
-
73
-
74
-
75
-
76
-
77
-
78
-
79
-
80
-
81
-
82
-
83
-
84
-
85
-
86
-
87
-
88
-
89
-
90
-
91
-
92
-
93
-
94
-
95
-
96
-
97
-
98
-
99
-
100
-
101
-
102
-
103
-
104
-
105
-
106
-
107
-
108
-
109
-
110
-
111
-
112
-
113
-
114
-
115
-
116
-
117
-
118
-
119
-
120
-
121
-
122
-
123
-
124
-
125
-
126
-
127
-
128
-
129
-
130
-
131
-
132
-
133
-
134
-
135
-
136
-
137
-
138
-
139
-
140
-
141
-
142
-
143
-
144
-
145
-
146
-
147
-
148
-
149
-
150
-
151
-
152
-
153
-
154
-
155
-
156
-
157
-
158
-
 159
159 -
 160
160 -
 161
161 -
 162
162 -
 163
163 -
 164
164 -
 165
165 -
 166
166 -
 167
167 -
 168
168 -
 169
169 -
170
-
171
-
172
-
173
-
174
-
175
-
176
-
177
-
178
-
179
-
180
-
181
-
182
-
183
-
184
-
185
-
186
-
187
-
188
-
189
-
190
-
191
-
192
-
193
-
194
-
195
-
196
-
197
-
198
-
199
-
200
-
201
-
202
-
203
-
204
-
205
-
206
-
207
-
208
-
209
-
210
 |
 |