Kyocera ECOSYS FS-C8650DN FS-C8650DN Operation Guide - Page 176
Quick Setup Quick setup for the wireless LAN, Quick Setup
 |
View all Kyocera ECOSYS FS-C8650DN manuals
Add to My Manuals
Save this manual to your list of manuals |
Page 176 highlights
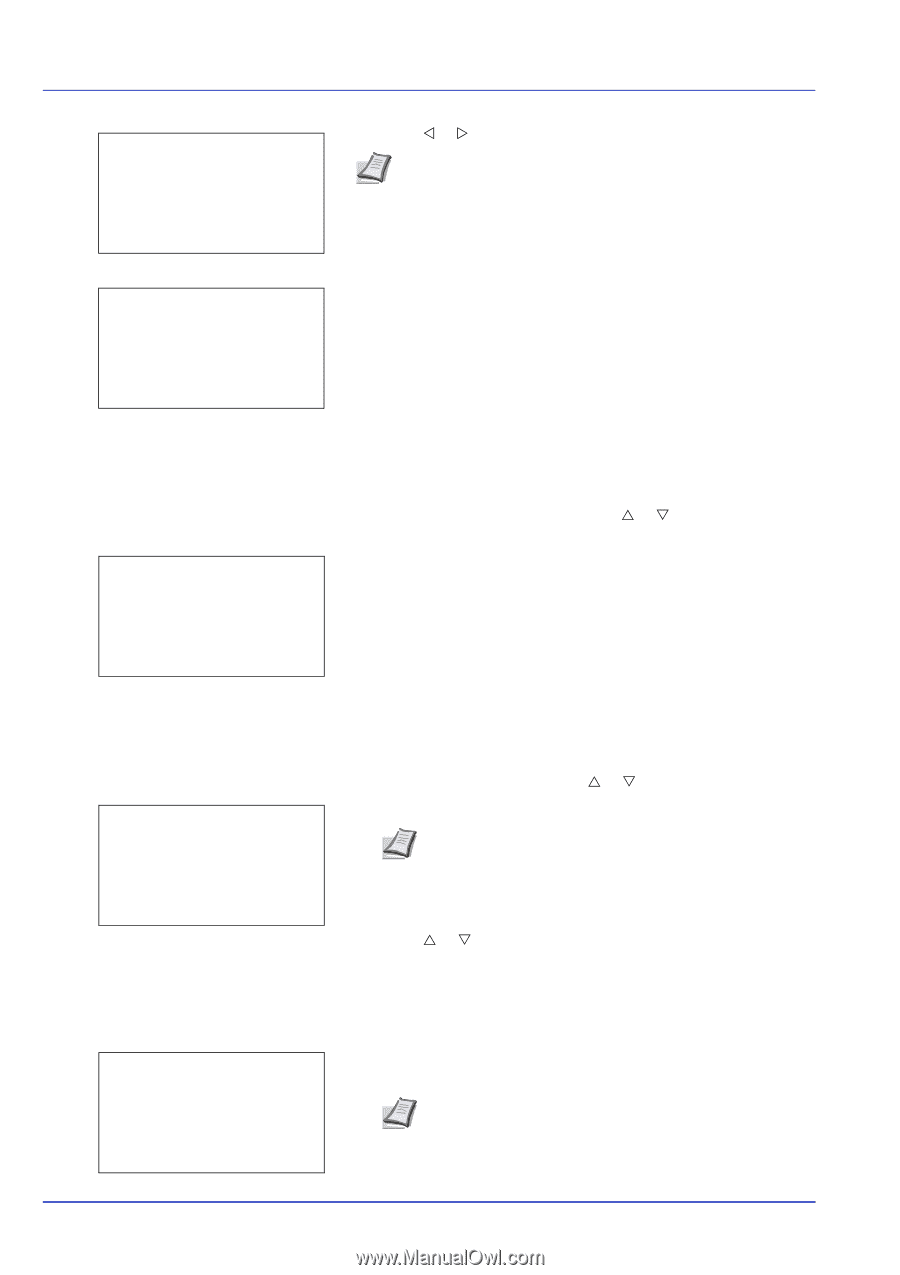
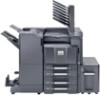
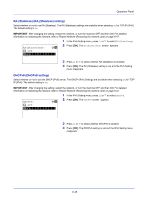
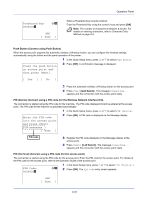
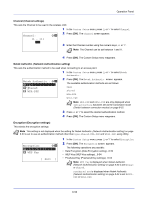
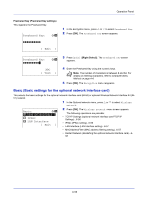
Operation Panel ConnectionStatus: P b NetwkName(SSID): 2/2 AAAA [ Detail ] 3 Press Y or Z. The NetwkName(SSID) is displayed. Note If some of the NetwkName(SSID) are not displayed, press [Detail] ([Right Select]) and all the Names will be displayed. Detail: O b ABCDEFGHIJKLMNOPQRSTU VWXYZabcdefghijklmnop qrstuvwxyz1234567890 If the entire name shown as the NetwkName(SSID) will not fit on one line, pressing [Detail] ([Right Select]) changes to a 3-line name display. Quick Setup (Quick setup for the wireless LAN) When connecting to an access point which supports the automatic wireless LAN setup, you can select the connection settings using Quick Setup. Quick Setup: a b *1**A*v*a*i*l**a*b*l*e*N*e*t*w*o*r*k*- 2 Push Button 3 PIN (Device) [ Exit ] 1 In the Wireless Network menu, press U or V to select Quick Setup. 2 Press [OK]. The Quick Setup menu screen appears. The following operations are possible: • AvailableNetwork (Display the access points) • Push Button (Connect using Push Button) • PIN (Device) (Connect using a PIN code (for the Wireless Network Interface Kit)) • PIN (Terminal) (Connect using a PIN code (for the access point) AvailableNetwork (Display the access points) Displays the access points which can be connected to. 1 In the Quick Setup menu, press U or V to AvailableNetwork. AvailableNetwork: a b AccessPoint_001 AccessPoint_002 AccessPoint_003 2 Press [OK]. The AvailableNetwork screen appears. Note Press [Refresh] ([Left Select]) to update the information. [ Refresh ] 3 Press U or V to select the access point to connect to. 4 Press [OK]. The connection with the access point is started. When it is necessary to enter an encryption key, the WEP Key entry screen or Preshared Key entry screen appears. WEP Key: a b 00000000 ABC [ Text ] When a WEP Key must be entered: Enter the WEP Key using the numeric keys and press [OK]. Note Up to 26 characters can be entered. For details on entering characters, refer to Character Entry Method on page A-6. 6-50
-
 1
1 -
2
-
3
-
4
-
5
-
6
-
7
-
8
-
9
-
10
-
11
-
12
-
13
-
14
-
15
-
16
-
17
-
18
-
19
-
20
-
21
-
22
-
23
-
24
-
25
-
26
-
27
-
28
-
29
-
30
-
31
-
32
-
33
-
34
-
35
-
36
-
37
-
38
-
39
-
40
-
41
-
42
-
43
-
44
-
45
-
46
-
47
-
48
-
49
-
50
-
51
-
52
-
53
-
54
-
55
-
56
-
57
-
58
-
59
-
60
-
61
-
62
-
63
-
64
-
65
-
66
-
67
-
68
-
69
-
70
-
71
-
72
-
73
-
74
-
75
-
76
-
77
-
78
-
79
-
80
-
81
-
82
-
83
-
84
-
85
-
86
-
87
-
88
-
89
-
90
-
91
-
92
-
93
-
94
-
95
-
96
-
97
-
98
-
99
-
100
-
101
-
102
-
103
-
104
-
105
-
106
-
107
-
108
-
109
-
110
-
111
-
112
-
113
-
114
-
115
-
116
-
117
-
118
-
119
-
120
-
121
-
122
-
123
-
124
-
125
-
126
-
127
-
128
-
129
-
130
-
131
-
132
-
133
-
134
-
135
-
136
-
137
-
138
-
139
-
140
-
141
-
142
-
143
-
144
-
145
-
146
-
147
-
148
-
149
-
150
-
151
-
152
-
153
-
154
-
155
-
156
-
157
-
158
-
159
-
160
-
161
-
162
-
163
-
164
-
165
-
166
-
167
-
168
-
169
-
170
-
 171
171 -
 172
172 -
 173
173 -
 174
174 -
 175
175 -
 176
176 -
 177
177 -
 178
178 -
 179
179 -
 180
180 -
 181
181 -
182
-
183
-
184
-
185
-
186
-
187
-
188
-
189
-
190
-
191
-
192
-
193
-
194
-
195
-
196
-
197
-
198
-
199
-
200
-
201
-
202
-
203
-
204
-
205
-
206
-
207
-
208
-
209
-
210
-
211
-
212
-
213
-
214
-
215
-
216
-
217
-
218
-
219
-
220
-
221
-
222
-
223
-
224
-
225
-
226
-
227
-
228
-
229
-
230
-
231
-
232
-
233
-
234
-
235
-
236
-
237
-
238
-
239
-
240
-
241
-
242
-
243
-
244
-
245
-
246
-
247
-
248
-
249
-
250
-
251
-
252
-
253
-
254
-
255
-
256
-
257
-
258
-
259
-
260
-
261
-
262
-
263
-
264
-
265
-
266
-
267
-
268
-
269
-
270
-
271
-
272
-
273
-
274
-
275
-
276
-
277
-
278
-
279
-
280
-
281
-
282
-
283
-
284
-
285
-
286
-
287
-
288
-
289
-
290
-
291
-
292
-
293
-
294
-
295
-
296
-
297
-
298
-
299
-
300
-
301
-
302
-
303
-
304
-
305
-
306
-
307
-
308
-
309
-
310
-
311
-
312
-
313
-
314
-
315
-
316
-
317
-
318
-
319
-
320
-
321
-
322
-
323
-
324
-
325
-
326
-
327
-
328
-
329
-
330
-
331
-
332
-
333
-
334
-
335
-
336
-
337
-
338
-
339
-
340
-
341
-
342
-
343
-
344
-
345
-
346
-
347
-
348
-
349
-
350
-
351
-
352
-
353
-
354
-
355
-
356
-
357
-
358
-
359
-
360
-
361
-
362
-
363
-
364
 |
 |