Yamaha AW2400 Owner's Manual - Page 184
Aux/effect Send
 |
View all Yamaha AW2400 manuals
Add to My Manuals
Save this manual to your list of manuals |
Page 184 highlights
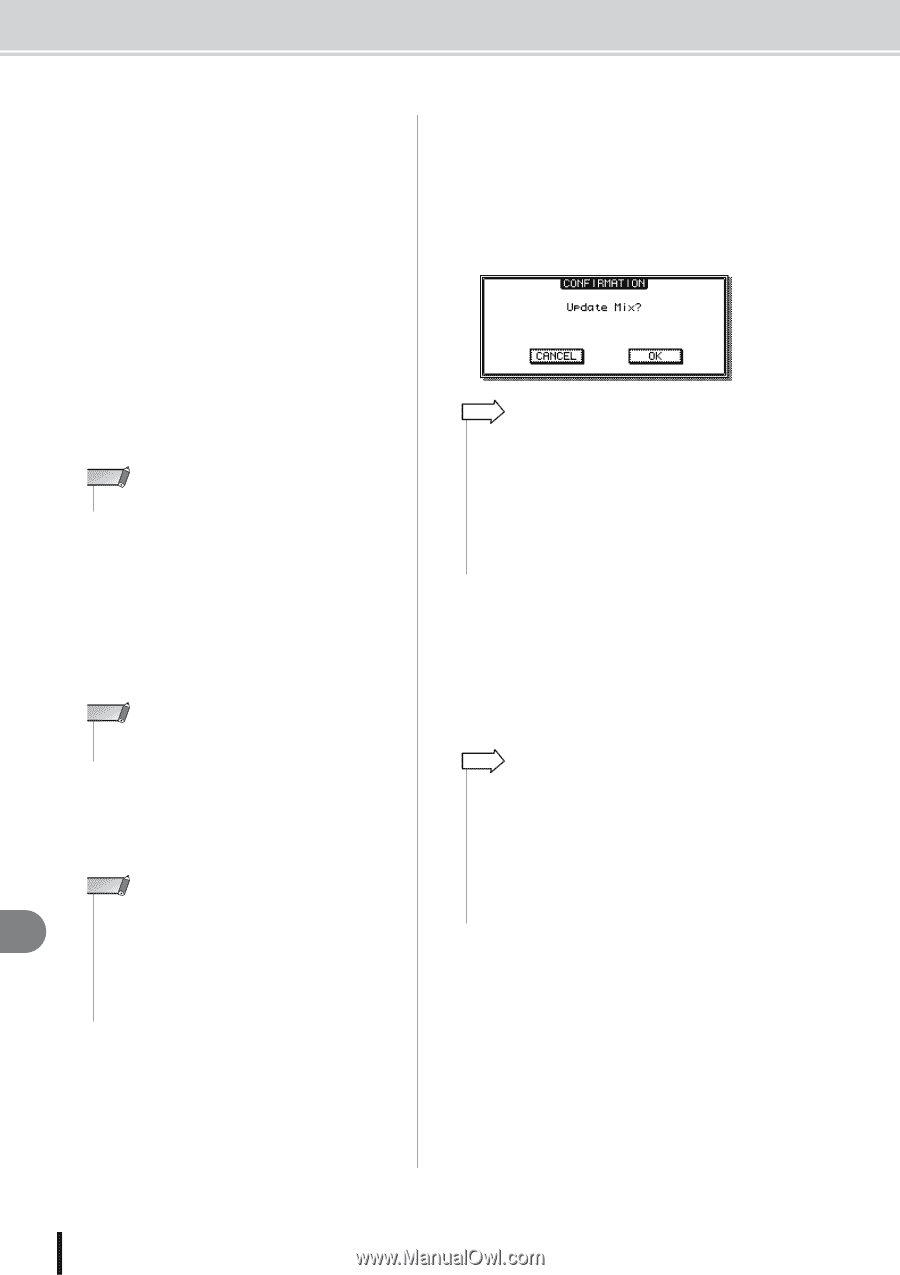
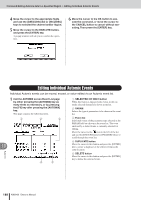
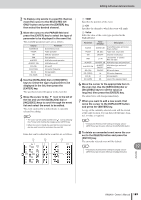
Automix Operation 9 Perform the required mix operations. The specified mix parameters will be recorded for the specified channel(s). The parameters specified for recording in step 4 are actually recorded as follows. ● CH ON/FADER Operate the channel [ON] key or fader. ● AUX/EFFECT SEND ON Call the AUX or EFFECT screen, move the cursor to the channel for which AUX or effect send is to be turned on or off, and press the [ENTER] key. ● AUX/EFFECT SEND Call the AUX or EFFECT screen and rotate the appropriate Selected Channel knob, 1-4. Alternatively you can move the cursor to the appropriate on-screen knob and use the [DATA/JOG] dial or [INC]/[DEC] keys to adjust the send level. NOTE • Effect parameter operations can not be recorded to Automix. 19 Automix ● EQ Recall the PAN/EQ screen and use the [LOW], [LOMID], [HI-MID], or [HIGH] key to band to be adjusted, then use Selected Channel knobs 2-4 to adjust the selected band as required. Alternatively you can move the cursor to the appropriate knobs in the PAN/EQ screen EQ/Att. page and use the [DATA/ JOG] dial or [INC]/[DEC] keys to adjust the EQ. EQ ON/OFF switching is also recorded. NOTE • ATT. knob operation and EQ type selections are not recorded to Automix. ● PAN Recall the PAN/EQ screen and rotate Selected Channel knob 1. Alternatively you can move the cursor to the on-screen knobs and use the [DATA/JOG] dial or [INC]/[DEC] keys to adjust the PAN. NOTE • When making an Automix recording for multiple channels, only the last channel selected can be operated via the Selected Channel controls. • During Automix recording the [INPUT SEL], [SEL], and [STEREO SEL] keys are used to punch the corresponding channels in or out. The safest way to switch the selected channel during Automix recording is to move the cursor to the appropriate location in the PAN/EQ, EFFECT, or AUX screen. ● Scene/Library Scene, channel, EQ, gate, compressor, and effect setups are recalled via the corresponding library pages. 10 When all required mix operations have been recorded, press the top-panel STOP [■] key to stop the song. The [AUTOMIX] key will go out, the MODE field REC button will be turned off, and the Automix record standby mode will be disengaged. At the same time a popup window asking you to confirm whether you want to update the recorded Automix data will appear. HINT • Automix recording can be stopped without stopping song playback by moving the cursor to the STOP button in the AUTOMIX screen Automix page and pressing the [ENTER] key (or by pressing the [F2] key while holding the [SHIFT] key). • If you turn on the AUTOREC button rather than the REC button in step 5, the Automix record standby mode will remain engaged even when song playback is stopped. This method is best when you want to make repeated passes at an Automix recording. 11 To confirm and update the recorded data move the cursor to the OK button and press the [ENTER] key. The recorded Automix data will be updated. You can abort this operation and revert to the previously recorded Automix data by moving the cursor to the CANCEL button rather than the OK button and pressing the [ENTER] key. HINT • After confirming and updating the recorded Automix data you can still undo the operation and revert to the previously recorded Automix data by moving the cursor to the UNDO button in the COMMAND field and pressing the [ENTER] key. Please note that the top-panel [UNDO] key cannot be used to undo Automix recordings. • The current Automix data can be stored to the Automix library or a preciously stored Automix recording can be recalled from the library. Refer to "Automix Library Operation" on page 190 for details. 184 AW2400 Owner's Manual
-
 1
1 -
2
-
3
-
4
-
5
-
6
-
7
-
8
-
9
-
10
-
11
-
12
-
13
-
14
-
15
-
16
-
17
-
18
-
19
-
20
-
21
-
22
-
23
-
24
-
25
-
26
-
27
-
28
-
29
-
30
-
31
-
32
-
33
-
34
-
35
-
36
-
37
-
38
-
39
-
40
-
41
-
42
-
43
-
44
-
45
-
46
-
47
-
48
-
49
-
50
-
51
-
52
-
53
-
54
-
55
-
56
-
57
-
58
-
59
-
60
-
61
-
62
-
63
-
64
-
65
-
66
-
67
-
68
-
69
-
70
-
71
-
72
-
73
-
74
-
75
-
76
-
77
-
78
-
79
-
80
-
81
-
82
-
83
-
84
-
85
-
86
-
87
-
88
-
89
-
90
-
91
-
92
-
93
-
94
-
95
-
96
-
97
-
98
-
99
-
100
-
101
-
102
-
103
-
104
-
105
-
106
-
107
-
108
-
109
-
110
-
111
-
112
-
113
-
114
-
115
-
116
-
117
-
118
-
119
-
120
-
121
-
122
-
123
-
124
-
125
-
126
-
127
-
128
-
129
-
130
-
131
-
132
-
133
-
134
-
135
-
136
-
137
-
138
-
139
-
140
-
141
-
142
-
143
-
144
-
145
-
146
-
147
-
148
-
149
-
150
-
151
-
152
-
153
-
154
-
155
-
156
-
157
-
158
-
159
-
160
-
161
-
162
-
163
-
164
-
165
-
166
-
167
-
168
-
169
-
170
-
171
-
172
-
173
-
174
-
175
-
176
-
177
-
178
-
 179
179 -
 180
180 -
 181
181 -
 182
182 -
 183
183 -
 184
184 -
 185
185 -
 186
186 -
 187
187 -
 188
188 -
 189
189 -
190
-
191
-
192
-
193
-
194
-
195
-
196
-
197
-
198
-
199
-
200
-
201
-
202
-
203
-
204
-
205
-
206
-
207
-
208
-
209
-
210
-
211
-
212
-
213
-
214
-
215
-
216
-
217
-
218
-
219
-
220
-
221
-
222
-
223
-
224
-
225
-
226
-
227
-
228
-
229
-
230
-
231
-
232
-
233
-
234
-
235
-
236
-
237
-
238
-
239
-
240
-
241
-
242
-
243
-
244
-
245
-
246
-
247
-
248
-
249
-
250
-
251
-
252
-
253
-
254
-
255
-
256
-
257
-
258
-
259
-
260
-
261
-
262
-
263
-
264
-
265
-
266
-
267
-
268
-
269
-
270
-
271
-
272
-
273
-
274
-
275
-
276
-
277
-
278
-
279
-
280
-
281
-
282
-
283
-
284
-
285
-
286
-
287
-
288
 |
 |