HP Neoware e90 User Manual for Neoware Appliances Running Windows CE - Page 76
Single Button Connection Manager, Selecting startup options
 |
View all HP Neoware e90 manuals
Add to My Manuals
Save this manual to your list of manuals |
Page 76 highlights
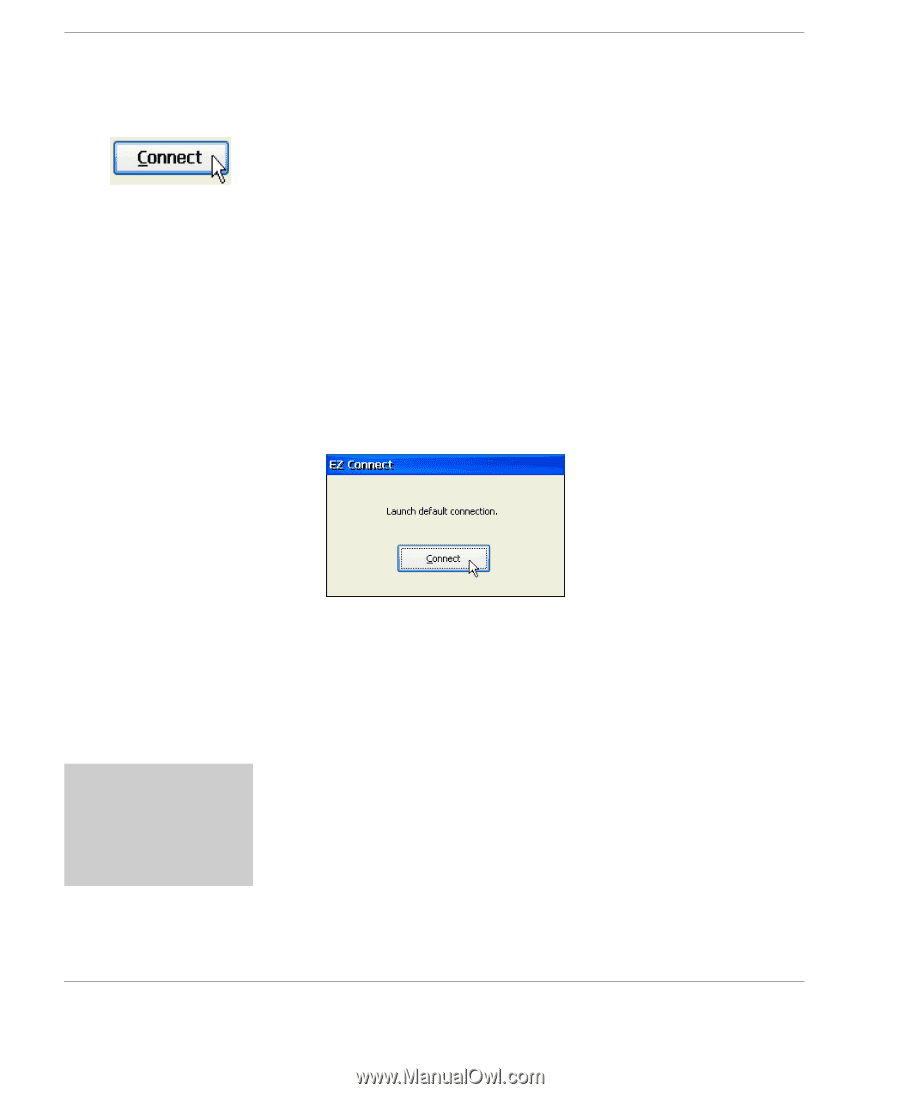
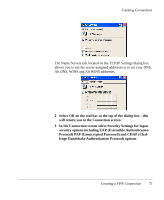
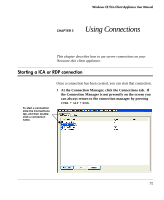
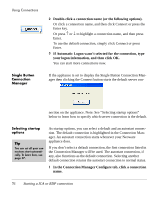
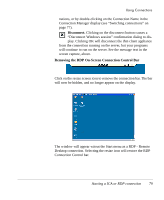
Using Connections Single Button Connection Manager 2 Double-click a connection name (or the following options). Or click a connection name, and then click Connect or press the Enter key. Or press ↑ or ↓ to highlight a connection name, and then press Enter. To use the default connection, simply click Connect or press Enter. 3 If Automatic Logon wasn't selected for the connection, type your logon information, and then click OK. You can start more connections now. If the appliance is set to display the Single Button Connection Manager then clicking the Connect button starts the default server con- nection on the appliance. Note: See "Selecting startup options" below to learn how to specify which server connection is the default. Selecting startup options Tip You can set all your connections start automatically. To learn how, see page 37. As startup options, you can select a default and an autostart connection. The default connection is highlighted in the Connection Manager. An autostart connection starts whenever your Neoware appliance does. If you don't select a default connection, the first connection listed in the Connection Manager will be used. The autostart connection, if any, also functions as the default connection. Selecting another default connection returns the autostart connection to normal status. 1 In the Connection Manager Configure tab, click a connection name. 76 Starting a ICA or RDP connection
-
 1
1 -
2
-
3
-
4
-
5
-
6
-
7
-
8
-
9
-
10
-
11
-
12
-
13
-
14
-
15
-
16
-
17
-
18
-
19
-
20
-
21
-
22
-
23
-
24
-
25
-
26
-
27
-
28
-
29
-
30
-
31
-
32
-
33
-
34
-
35
-
36
-
37
-
38
-
39
-
40
-
41
-
42
-
43
-
44
-
45
-
46
-
47
-
48
-
49
-
50
-
51
-
52
-
53
-
54
-
55
-
56
-
57
-
58
-
59
-
60
-
61
-
62
-
63
-
64
-
65
-
66
-
67
-
68
-
69
-
70
-
 71
71 -
 72
72 -
 73
73 -
 74
74 -
 75
75 -
 76
76 -
 77
77 -
 78
78 -
 79
79 -
 80
80 -
 81
81 -
82
-
83
-
84
-
85
-
86
-
87
-
88
-
89
-
90
-
91
-
92
-
93
-
94
-
95
-
96
-
97
-
98
-
99
-
100
-
101
-
102
-
103
-
104
-
105
-
106
-
107
-
108
-
109
-
110
-
111
-
112
-
113
-
114
-
115
-
116
-
117
-
118
-
119
-
120
-
121
-
122
-
123
-
124
-
125
-
126
-
127
-
128
-
129
-
130
-
131
-
132
-
133
-
134
-
135
-
136
-
137
-
138
-
139
-
140
-
141
-
142
-
143
-
144
-
145
-
146
-
147
-
148
-
149
-
150
-
151
-
152
-
153
-
154
 |
 |