Ricoh 3035 General Settings Guide - Page 111
Select Connection Type.
 |
View all Ricoh 3035 manuals
Add to My Manuals
Save this manual to your list of manuals |
Page 111 highlights
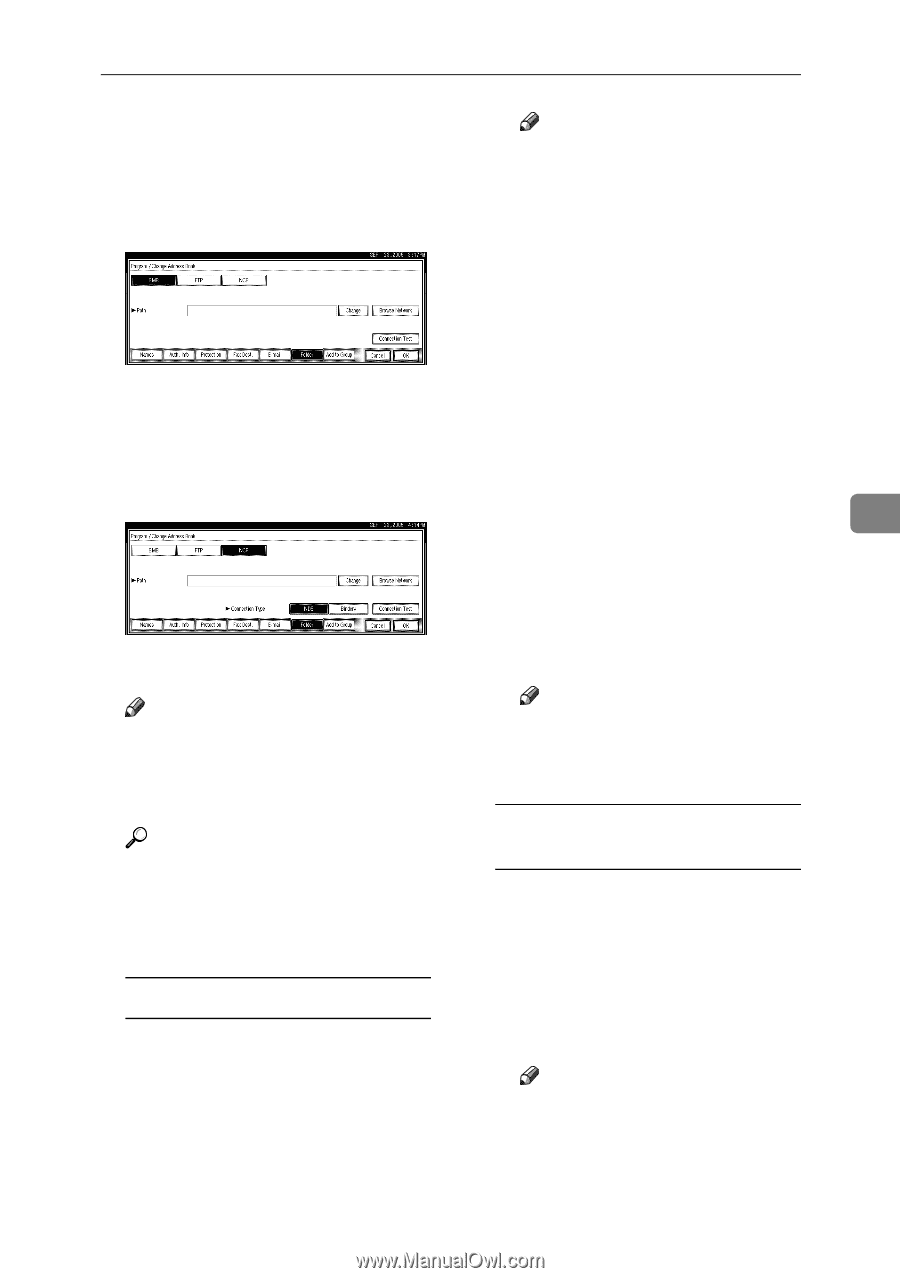
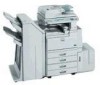
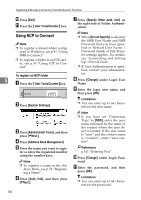
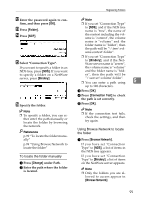
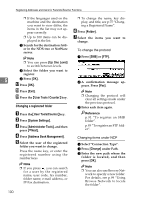
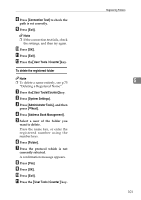
L Enter the password again to con- firm, and then press [OK]. M Press [Folder]. N Press [NCP]. O Select "Connection Type". If you want to specify a folder in an NDS tree, press [NDS]. If you want to specify a folder on a NetWare server, press [Bindery]. P Specify the folder. Note ❒ To specify a folder, you can ei- ther enter the path manually or locate the folder by browsing the network. Reference p.99 "To locate the folder manually" p.99 "Using Browse Network to locate the folder" To locate the folder manually A Press [Change] under Path. B Enter the path where the folder is located. Registering Folders Note ❒ If you set "Connection Type" to [NDS], and if the NDS tree name is "tree", the name of the context including the volume is "context", the volume name is "volume" and the folder name is "folder", then the path will be "\\tree\volume.context\folder". ❒ If you set "Connection Type" to [Bindery], and if the Net- Ware server name is "server", the volume name is "volume" and the folder name is "fold- er", then the path will be "\\server\volume\folder". ❒ You can enter a path using 5 up to 128 characters. C Press [OK] D Press [Connection Test] to check the path is set correctly. E Press [OK]. Note ❒ If the connection test fails, check the settings, and then try again. Using Browse Network to locate the folder A Press [Browse Network]. If you have set "Connection Type" to [NDS], a list of items in the NDS tree appears. If you have set "Connection Type" to [Bindery], a list of items on the NetWare server appears. Note ❒ Only the folders you are al- lowed to access appear in [Browse Network]. 99
-
 1
1 -
2
-
3
-
4
-
5
-
6
-
7
-
8
-
9
-
10
-
11
-
12
-
13
-
14
-
15
-
16
-
17
-
18
-
19
-
20
-
21
-
22
-
23
-
24
-
25
-
26
-
27
-
28
-
29
-
30
-
31
-
32
-
33
-
34
-
35
-
36
-
37
-
38
-
39
-
40
-
41
-
42
-
43
-
44
-
45
-
46
-
47
-
48
-
49
-
50
-
51
-
52
-
53
-
54
-
55
-
56
-
57
-
58
-
59
-
60
-
61
-
62
-
63
-
64
-
65
-
66
-
67
-
68
-
69
-
70
-
71
-
72
-
73
-
74
-
75
-
76
-
77
-
78
-
79
-
80
-
81
-
82
-
83
-
84
-
85
-
86
-
87
-
88
-
89
-
90
-
91
-
92
-
93
-
94
-
95
-
96
-
97
-
98
-
99
-
100
-
101
-
102
-
103
-
104
-
105
-
 106
106 -
 107
107 -
 108
108 -
 109
109 -
 110
110 -
 111
111 -
 112
112 -
 113
113 -
 114
114 -
 115
115 -
 116
116 -
117
-
118
-
119
-
120
-
121
-
122
-
123
-
124
-
125
-
126
-
127
-
128
-
129
-
130
-
131
-
132
-
133
-
134
-
135
-
136
-
137
-
138
-
139
-
140
-
141
-
142
-
143
-
144
-
145
-
146
-
147
-
148
-
149
-
150
-
151
-
152
-
153
-
154
-
155
-
156
-
157
-
158
-
159
-
160
-
161
-
162
-
163
-
164
-
165
-
166
-
167
-
168
-
169
-
170
-
171
-
172
-
173
-
174
-
175
-
176
-
177
-
178
-
179
-
180
-
181
-
182
-
183
-
184
-
185
-
186
-
187
-
188
-
189
-
190
-
191
-
192
-
193
-
194
-
195
-
196
 |
 |