Ricoh 3035 General Settings Guide - Page 115
Registering Names to a Group, Displaying Names Registered, in Groups
 |
View all Ricoh 3035 manuals
Add to My Manuals
Save this manual to your list of manuals |
Page 115 highlights
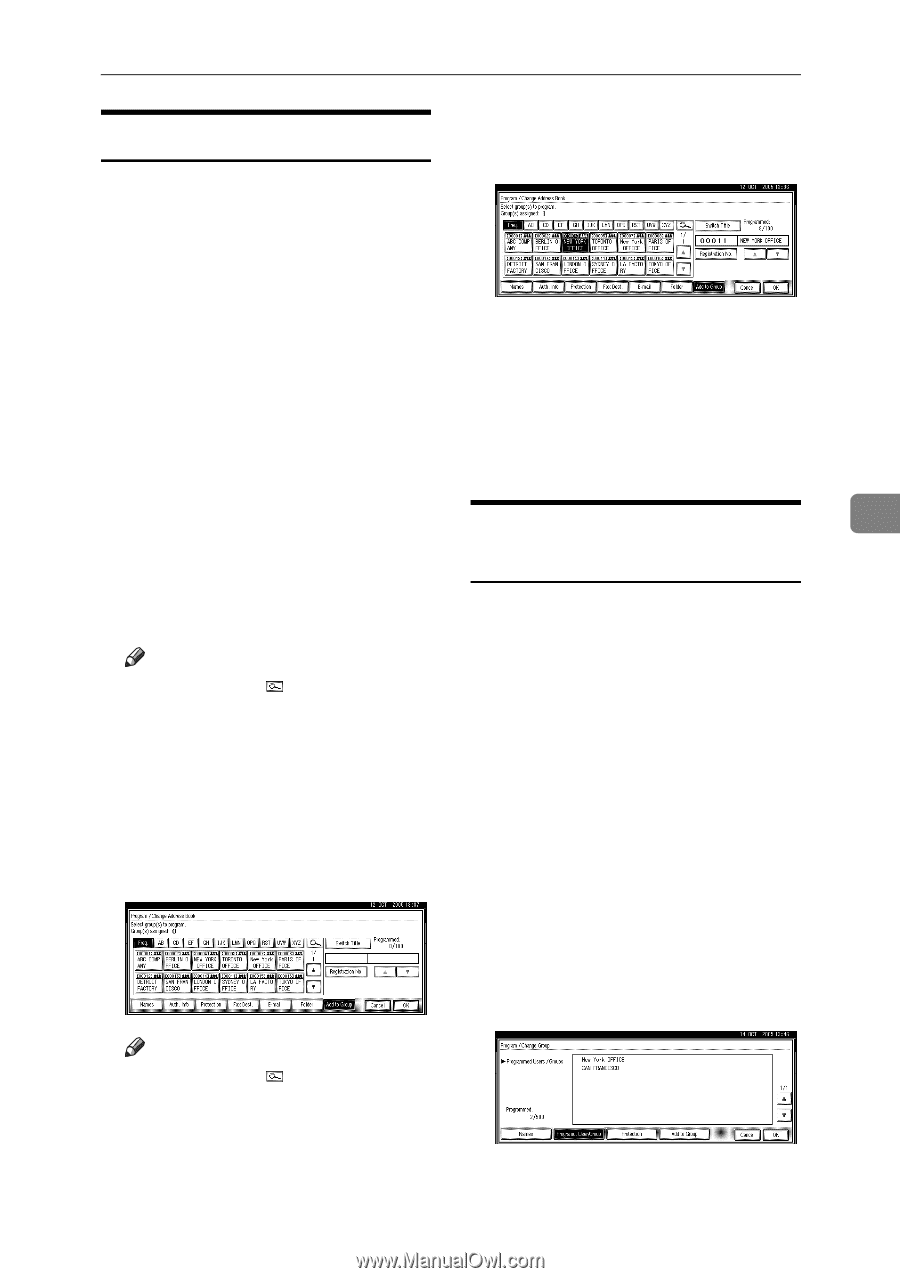
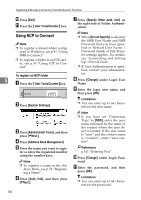
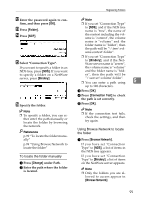
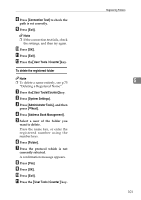
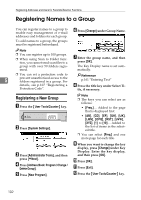
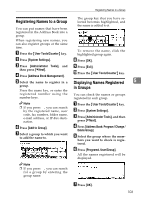
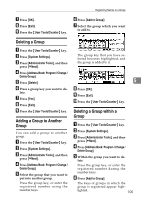
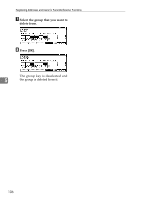
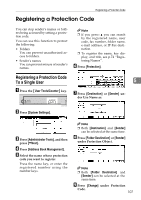
Registering Names to a Group Registering Names to a Group You can put names that have been registered in the Address Book into a group. When registering new names, you can also register groups at the same time. A Press the {User Tools/Counter} key. B Press [System Settings]. C Press [Administrator Tools], and then press [TNext]. D Press [Address Book Management]. E Select the name to register in a group. Press the name key, or enter the registered number using the number keys. Note ❒ If you press , you can search by the registered name, user code, fax number, folder name, e-mail address, or IP-Fax destination. F Press [Add to Group]. G Select a group to which you want to add the name to. Note ❒ If you press , you can search for a group by entering the group name. The group key that you have selected becomes highlighted, and the name is added to it. To remove the name, click the highlighted group again. H Press [OK]. I Press [Exit]. J Press the {User Tools/Counter} key. Displaying Names Registered 5 in Groups You can check the names or groups registered in each group. A Press the {User Tools/Counter} key. B Press [System Settings]. C Press [Administrator Tools], and then press [TNext]. D Press [Address Book: Program / Change / Delete Group]. E Select the group where the mem- bers you want to check is registered. F Press [Programd. User/Group]. All the names registered will be displayed. G Press [OK]. 103
-
 1
1 -
2
-
3
-
4
-
5
-
6
-
7
-
8
-
9
-
10
-
11
-
12
-
13
-
14
-
15
-
16
-
17
-
18
-
19
-
20
-
21
-
22
-
23
-
24
-
25
-
26
-
27
-
28
-
29
-
30
-
31
-
32
-
33
-
34
-
35
-
36
-
37
-
38
-
39
-
40
-
41
-
42
-
43
-
44
-
45
-
46
-
47
-
48
-
49
-
50
-
51
-
52
-
53
-
54
-
55
-
56
-
57
-
58
-
59
-
60
-
61
-
62
-
63
-
64
-
65
-
66
-
67
-
68
-
69
-
70
-
71
-
72
-
73
-
74
-
75
-
76
-
77
-
78
-
79
-
80
-
81
-
82
-
83
-
84
-
85
-
86
-
87
-
88
-
89
-
90
-
91
-
92
-
93
-
94
-
95
-
96
-
97
-
98
-
99
-
100
-
101
-
102
-
103
-
104
-
105
-
106
-
107
-
108
-
109
-
 110
110 -
 111
111 -
 112
112 -
 113
113 -
 114
114 -
 115
115 -
 116
116 -
 117
117 -
 118
118 -
 119
119 -
 120
120 -
121
-
122
-
123
-
124
-
125
-
126
-
127
-
128
-
129
-
130
-
131
-
132
-
133
-
134
-
135
-
136
-
137
-
138
-
139
-
140
-
141
-
142
-
143
-
144
-
145
-
146
-
147
-
148
-
149
-
150
-
151
-
152
-
153
-
154
-
155
-
156
-
157
-
158
-
159
-
160
-
161
-
162
-
163
-
164
-
165
-
166
-
167
-
168
-
169
-
170
-
171
-
172
-
173
-
174
-
175
-
176
-
177
-
178
-
179
-
180
-
181
-
182
-
183
-
184
-
185
-
186
-
187
-
188
-
189
-
190
-
191
-
192
-
193
-
194
-
195
-
196
 |
 |