Samsung SPH-P500 User Manual Ver.li6_f7 (English(north America)) - Page 88
Add a Corporate Email Account, Settings, Set up email, Show password
 |
View all Samsung SPH-P500 manuals
Add to My Manuals
Save this manual to your list of manuals |
Page 88 highlights
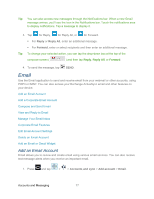
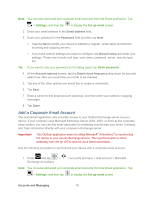
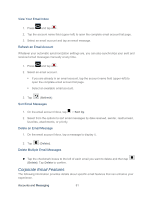
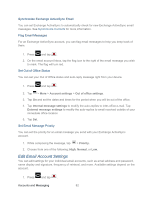
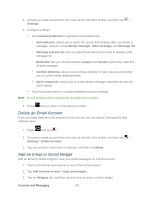
Note: You can also add email and corporate email accounts from the Email application. Tap > Settings, and then tap to display the Set up email screen. 2. Enter your email address in the Email address field. 3. Enter your password in the Password field and then tap Next. Tapping Next prompts your device to attempt a "regular" email setup and test the incoming and outgoing servers. If you have custom settings you need to configure, tap Manual setup and enter your settings. These may include mail type, user name, password, server, security type, etc. Tip: If you want to see your password as it is being typed, tap Show password. 4. At the Account options screen, tap the Email check frequency drop-down list box and select how often you would like your email to be checked. 5. Tap any of the other options you would like to create a checkmark. 6. Tap Next. 7. Enter a name for this email account (optional), and then enter your name for outgoing messages. 8. Tap Done. Add a Corporate Email Account The main Email application also provides access to your Outlook Exchange server via your device. If your company uses Microsoft Exchange Server 2003, 2007, or 2010 as the corporate email system, you can use this email application to wirelessly synchronize your email, Contacts, and Task information directly with your company's Exchange server. Important! This Outlook application does not utilize Microsoft® ActiveSync® to synchronize the device to your remote Exchange Server. This synchronization is done wirelessly over the air (OTA) and not via a direct connection. Use the following procedure to synchronize your device with a corporate email account. 1. Press and tap > Exchange ActiveSync. > Accounts and sync > Add account > Microsoft Note: You can also add email and corporate email accounts from the Email application. Tap > Settings, and then tap to display the Set up email screen. Accounts and Messaging 78
-
 1
1 -
2
-
3
-
4
-
5
-
6
-
7
-
8
-
9
-
10
-
11
-
12
-
13
-
14
-
15
-
16
-
17
-
18
-
19
-
20
-
21
-
22
-
23
-
24
-
25
-
26
-
27
-
28
-
29
-
30
-
31
-
32
-
33
-
34
-
35
-
36
-
37
-
38
-
39
-
40
-
41
-
42
-
43
-
44
-
45
-
46
-
47
-
48
-
49
-
50
-
51
-
52
-
53
-
54
-
55
-
56
-
57
-
58
-
59
-
60
-
61
-
62
-
63
-
64
-
65
-
66
-
67
-
68
-
69
-
70
-
71
-
72
-
73
-
74
-
75
-
76
-
77
-
78
-
79
-
80
-
81
-
82
-
 83
83 -
 84
84 -
 85
85 -
 86
86 -
 87
87 -
 88
88 -
 89
89 -
 90
90 -
 91
91 -
 92
92 -
 93
93 -
94
-
95
-
96
-
97
-
98
-
99
-
100
-
101
-
102
-
103
-
104
-
105
-
106
-
107
-
108
-
109
-
110
-
111
-
112
-
113
-
114
-
115
-
116
-
117
-
118
-
119
-
120
-
121
-
122
-
123
-
124
-
125
-
126
-
127
-
128
-
129
-
130
-
131
-
132
-
133
-
134
-
135
-
136
-
137
-
138
-
139
-
140
-
141
-
142
-
143
-
144
-
145
-
146
-
147
-
148
-
149
-
150
-
151
-
152
-
153
-
154
-
155
-
156
-
157
-
158
-
159
-
160
-
161
-
162
-
163
-
164
-
165
-
166
-
167
 |
 |