HP 5500dn HP Designjet 5500 series printers - Quick Reference Pocket Guide - Page 183
accuracy calibration
 |
View all HP 5500dn manuals
Add to My Manuals
Save this manual to your list of manuals |
Page 183 highlights
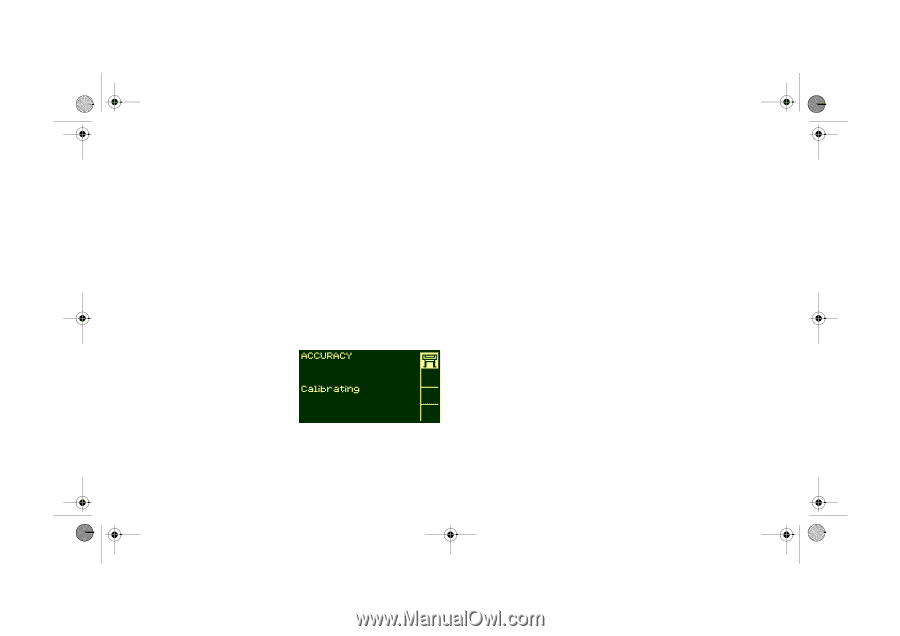
pocket.book Page 41 Friday, June 28, 2002 4:31 PM 41 - image quality accuracy calibration Your printer was calibrated at the factory to ensure that it operates with the greatest accuracy in normal environmental conditions. If you are operating under significantly different conditions, you should re-calibrate the printer as explained here. The printer's environmental specifications are given in the Using Your Printer CD. You may also need to re-calibrate the printer if you have image quality problems. To re-calibrate the printer: 1. Go to Utilities > Calibrations > Calibrate Accuracy. 2. Choose Create pattern. The front panel displays: 3. When the calibration print has finished printing the printer will cut the material. 4. Reload the image just printed into the printer with the arrows facing downwards, so that the black arrows emerge from the printer facing upwards. accuracy calibration 5. Go to re-calibrate again, and choose Measure pattern. When the printer has finished measuring and has ejected the sheet, the re-calibration procedure is finished. The front panel will confirm that the printer re-calibrated successfully. If there is an error with the calibration, the front panel will display an error message and an error code. Make a note of the error code and contact your support representative. to restore the factory's calibration If you notice after calibration that your image quality is worse than before, you can return to the original settings: choose Utilities > Calibrations > Accuracy > Restore Factory. IMAGE QUALITY
-
 1
1 -
2
-
3
-
4
-
5
-
6
-
7
-
8
-
9
-
10
-
11
-
12
-
13
-
14
-
15
-
16
-
17
-
18
-
19
-
20
-
21
-
22
-
23
-
24
-
25
-
26
-
27
-
28
-
29
-
30
-
31
-
32
-
33
-
34
-
35
-
36
-
37
-
38
-
39
-
40
-
41
-
42
-
43
-
44
-
45
-
46
-
47
-
48
-
49
-
50
-
51
-
52
-
53
-
54
-
55
-
56
-
57
-
58
-
59
-
60
-
61
-
62
-
63
-
64
-
65
-
66
-
67
-
68
-
69
-
70
-
71
-
72
-
73
-
74
-
75
-
76
-
77
-
78
-
79
-
80
-
81
-
82
-
83
-
84
-
85
-
86
-
87
-
88
-
89
-
90
-
91
-
92
-
93
-
94
-
95
-
96
-
97
-
98
-
99
-
100
-
101
-
102
-
103
-
104
-
105
-
106
-
107
-
108
-
109
-
110
-
111
-
112
-
113
-
114
-
115
-
116
-
117
-
118
-
119
-
120
-
121
-
122
-
123
-
124
-
125
-
126
-
127
-
128
-
129
-
130
-
131
-
132
-
133
-
134
-
135
-
136
-
137
-
138
-
139
-
140
-
141
-
142
-
143
-
144
-
145
-
146
-
147
-
148
-
149
-
150
-
151
-
152
-
153
-
154
-
155
-
156
-
157
-
158
-
159
-
160
-
161
-
162
-
163
-
164
-
165
-
166
-
167
-
168
-
169
-
170
-
171
-
172
-
173
-
174
-
175
-
176
-
177
-
 178
178 -
 179
179 -
 180
180 -
 181
181 -
 182
182 -
 183
183 -
 184
184 -
 185
185 -
 186
186 -
 187
187 -
 188
188 -
189
-
190
-
191
-
192
-
193
-
194
-
195
-
196
-
197
-
198
-
199
-
200
-
201
-
202
-
203
-
204
-
205
-
206
-
207
-
208
-
209
-
210
 |
 |