HP 5500dn HP Designjet 5500 series printers - Quick Reference Pocket Guide - Page 188
marks on the reverse of the printing material
 |
View all HP 5500dn manuals
Add to My Manuals
Save this manual to your list of manuals |
Page 188 highlights
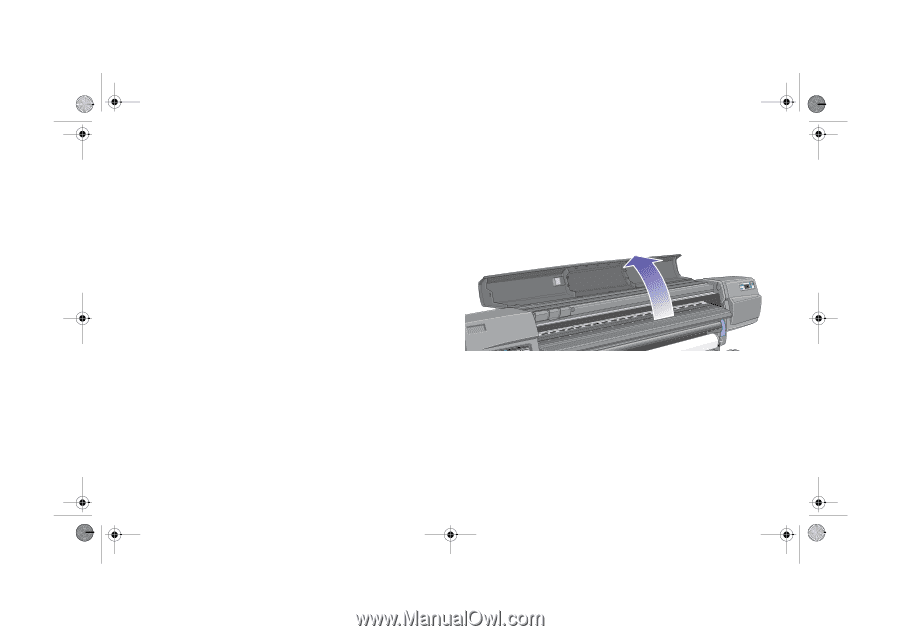
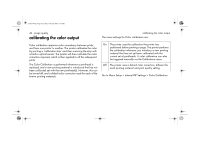
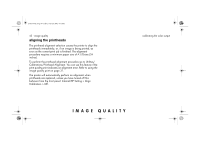
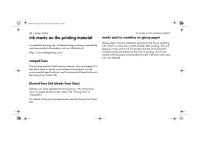
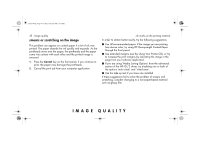
pocket.book Page 46 Friday, June 28, 2002 4:31 PM 46 - image quality marks on the reverse of the printing material Marks underneath or at the edges of the printing material can be caused by accumulated ink deposits on the platen transferring to the printing material. The ink deposits can be seen mostly in the areas where the edge of your material rests on the platen. The printer routinely removes these ink deposits every time you load a roll. However, depending on your printer usage, this is sometimes not sufficient. There are two procedures for cleaning the platen, Automatic and Manual. automatic This setting enables you to remove the ink deposits from the platen using the printing material you have loaded. The printer moves a portion of the material backwards and forwards over the platen. To manually trigger the automatic cleaning process go to Utilities > Clean Platen > Automatic. ink marks on the printing material manual This section explains the manual platen cleaning process. NOTE: Ensure that you have unloaded all printing material before performing these procedures. 1. Open the window.
-
 1
1 -
2
-
3
-
4
-
5
-
6
-
7
-
8
-
9
-
10
-
11
-
12
-
13
-
14
-
15
-
16
-
17
-
18
-
19
-
20
-
21
-
22
-
23
-
24
-
25
-
26
-
27
-
28
-
29
-
30
-
31
-
32
-
33
-
34
-
35
-
36
-
37
-
38
-
39
-
40
-
41
-
42
-
43
-
44
-
45
-
46
-
47
-
48
-
49
-
50
-
51
-
52
-
53
-
54
-
55
-
56
-
57
-
58
-
59
-
60
-
61
-
62
-
63
-
64
-
65
-
66
-
67
-
68
-
69
-
70
-
71
-
72
-
73
-
74
-
75
-
76
-
77
-
78
-
79
-
80
-
81
-
82
-
83
-
84
-
85
-
86
-
87
-
88
-
89
-
90
-
91
-
92
-
93
-
94
-
95
-
96
-
97
-
98
-
99
-
100
-
101
-
102
-
103
-
104
-
105
-
106
-
107
-
108
-
109
-
110
-
111
-
112
-
113
-
114
-
115
-
116
-
117
-
118
-
119
-
120
-
121
-
122
-
123
-
124
-
125
-
126
-
127
-
128
-
129
-
130
-
131
-
132
-
133
-
134
-
135
-
136
-
137
-
138
-
139
-
140
-
141
-
142
-
143
-
144
-
145
-
146
-
147
-
148
-
149
-
150
-
151
-
152
-
153
-
154
-
155
-
156
-
157
-
158
-
159
-
160
-
161
-
162
-
163
-
164
-
165
-
166
-
167
-
168
-
169
-
170
-
171
-
172
-
173
-
174
-
175
-
176
-
177
-
178
-
179
-
180
-
181
-
182
-
 183
183 -
 184
184 -
 185
185 -
 186
186 -
 187
187 -
 188
188 -
 189
189 -
 190
190 -
 191
191 -
 192
192 -
 193
193 -
194
-
195
-
196
-
197
-
198
-
199
-
200
-
201
-
202
-
203
-
204
-
205
-
206
-
207
-
208
-
209
-
210
 |
 |