Oki MB471 Users Manual Advanced - Page 67
Using Printer Fonts, For Windows PCL Printer Driver
 |
View all Oki MB471 manuals
Add to My Manuals
Save this manual to your list of manuals |
Page 67 highlights
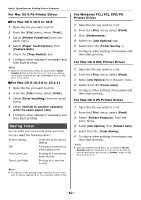
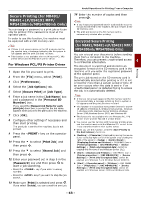
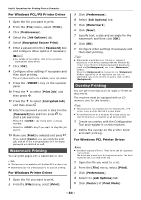
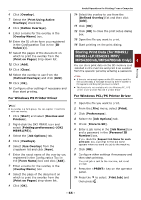
Useful Operations for Printing From a Computer Printing 6 Click [Cancel]. Note To use the saved settings, select the name from [Presets] in the print dialog. Using Printer Fonts You can print your documents using pre-installed printer fonts by substituting them for TrueType fonts in the computer. Note The printer fonts do not exactly duplicate the appearance of the TrueType fonts seen on screen. This function is not available with the Windows PCL XPS printer driver and the Mac OS X printer driver. To use this function with the Windows PS printer driver you must be logged on your computer as an administrator. This function is not available in some applications. For Windows PCL Printer Driver 1 Open the file you want to print. 2 From the [File] menu, select [Print]. 3 Click [Preferences]. 4 Select the [Job Options] tab. 5 Click [Font]. 6 Select the [Font Substitution] check box. 7 Specify which printer font you substitute for each TrueType font in the [Font Substitution Table]. 8 Click [OK]. 9 Configure other settings if necessary and then start printing. For Windows PS Printer Driver 1 Click [Start] and select [Devices and Printers]. 2 Right-click the OKI MB491 icon and then select [Printer properties]>[OKI MB491(PS)]. 3 Select the [Device Settings] tab. 4 Substitute a printer font for each TrueType font in the [Font Substitution Table]. To specify the font substitution, click each TrueType font and select a printer font to substitute from the pull-down menu. 5 Click [OK]. 6 Open the file you want to print. 7 From the [File] menu, select [Print]. 8 Click [Preferences]. 9 On the [Layout] tab, click [Advanced]. 10 Select [Substitute Device Font] at [TrueType Font] and then click [OK]. 11 Configure other settings if necessary and then start printing. Using Computer Fonts 4 You can print your documents using TrueType fonts in the computer to retain the font appearance on screen. Note This function is not available with the Windows PCL XPS printer driver and the Mac OS X PS printer driver. For Windows PCL Printer Driver 1 Open the file you want to print. 2 From the [File] menu, select [Print]. 3 Click [Preferences]. 4 Select the [Job Options] tab. 5 Click [Font]. 6 Clear the [Font Substitution] check box and then click [OK]. - [Download as Outline Font] Font images are created by the printer. - [Download as Bitmap Font] Font images are created by the printer driver 7 Configure other settings if necessary and then start printing. For Windows PS Printer Driver 1 Open the file you want to print. 2 From the [File] menu, select [Print]. 3 Click [Preferences]. 4 On the [Layout] tab, click [Advanced]. - 67 -
-
 1
1 -
2
-
3
-
4
-
5
-
6
-
7
-
8
-
9
-
10
-
11
-
12
-
13
-
14
-
15
-
16
-
17
-
18
-
19
-
20
-
21
-
22
-
23
-
24
-
25
-
26
-
27
-
28
-
29
-
30
-
31
-
32
-
33
-
34
-
35
-
36
-
37
-
38
-
39
-
40
-
41
-
42
-
43
-
44
-
45
-
46
-
47
-
48
-
49
-
50
-
51
-
52
-
53
-
54
-
55
-
56
-
57
-
58
-
59
-
60
-
61
-
 62
62 -
 63
63 -
 64
64 -
 65
65 -
 66
66 -
 67
67 -
 68
68 -
 69
69 -
 70
70 -
 71
71 -
 72
72 -
73
-
74
-
75
-
76
-
77
-
78
-
79
-
80
-
81
-
82
-
83
-
84
-
85
-
86
-
87
-
88
-
89
-
90
-
91
-
92
-
93
-
94
-
95
-
96
-
97
-
98
-
99
-
100
-
101
-
102
-
103
-
104
-
105
-
106
-
107
-
108
-
109
-
110
-
111
-
112
-
113
-
114
-
115
-
116
-
117
-
118
-
119
-
120
-
121
-
122
-
123
-
124
-
125
-
126
-
127
-
128
-
129
-
130
-
131
-
132
-
133
-
134
-
135
-
136
-
137
-
138
-
139
-
140
-
141
-
142
-
143
-
144
-
145
-
146
-
147
-
148
-
149
-
150
-
151
-
152
-
153
-
154
-
155
-
156
-
157
-
158
-
159
-
160
-
161
-
162
-
163
-
164
-
165
-
166
-
167
-
168
-
169
-
170
-
171
-
172
-
173
-
174
-
175
-
176
-
177
-
178
-
179
-
180
-
181
-
182
 |
 |
