Sony COM-2 Operating Instructions - Page 131
Connecting the unit to a computer, Using Image Converter
 |
UPC - 027242720817
View all Sony COM-2 manuals
Add to My Manuals
Save this manual to your list of manuals |
Page 131 highlights
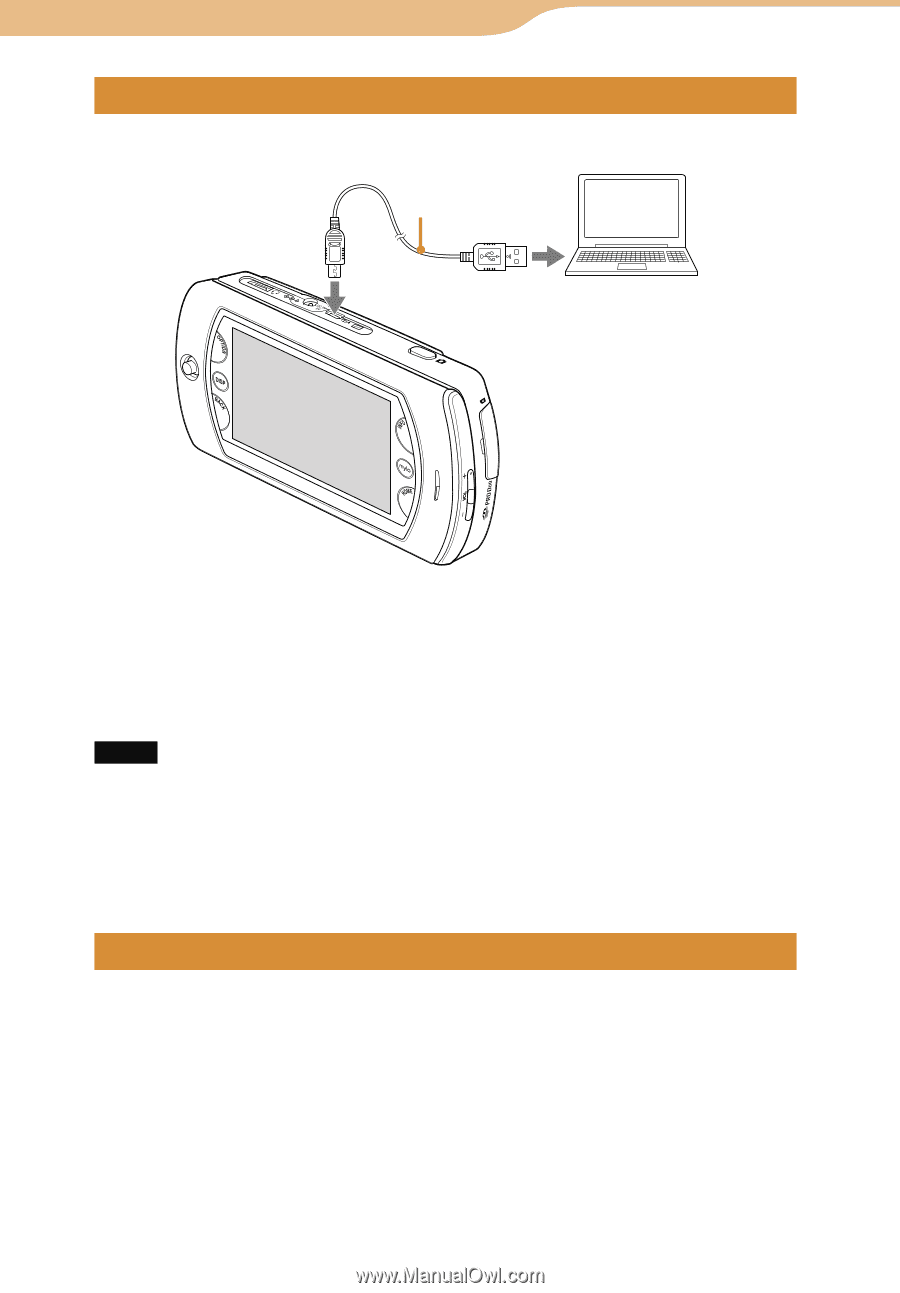
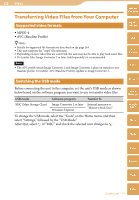
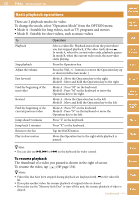
131 Video ··· Transferring Video Files from Your Computer Connecting the unit to a computer Connect the unit to the computer with the supplied USB cable. To (USB) connector USB cable (supplied) Table of Contents mylo Widget Web RSS/ Podcast AIM Skype While the unit is connected to the computer, a screen showing the USB connection mode appears. After the transfer finishes, make sure the unit does not display "Do Not Disconnect," and then use the safely remove hardware function of the computer before disconnecting the USB cable from the unit and computer. Notes While the unit is connected to the computer, operations on the unit do not work. Do not disconnect the USB cable while video files are being transferred. Do not take out the batteries while the unit is connected to a computer via the USB cable. Doing so may damage data stored on the unit. Connecting the unit via a USB hub may not work and is not supported. Connect the USB cable directly to the computer. Yahoo! Messenger Google Talk Music Photo Using Image Converter Image Converter 2 or later enables you to convert video files to the proper format ( page 264) and then transfer them to the internal memory or "Memory Stick Duo" of the unit-all in one step. Hint Transferred video files using Image Converter are saved in the "MP_ROOT" folder ( page 186). Video Camera Tools Index Continued
-
 1
1 -
2
-
3
-
4
-
5
-
6
-
7
-
8
-
9
-
10
-
11
-
12
-
13
-
14
-
15
-
16
-
17
-
18
-
19
-
20
-
21
-
22
-
23
-
24
-
25
-
26
-
27
-
28
-
29
-
30
-
31
-
32
-
33
-
34
-
35
-
36
-
37
-
38
-
39
-
40
-
41
-
42
-
43
-
44
-
45
-
46
-
47
-
48
-
49
-
50
-
51
-
52
-
53
-
54
-
55
-
56
-
57
-
58
-
59
-
60
-
61
-
62
-
63
-
64
-
65
-
66
-
67
-
68
-
69
-
70
-
71
-
72
-
73
-
74
-
75
-
76
-
77
-
78
-
79
-
80
-
81
-
82
-
83
-
84
-
85
-
86
-
87
-
88
-
89
-
90
-
91
-
92
-
93
-
94
-
95
-
96
-
97
-
98
-
99
-
100
-
101
-
102
-
103
-
104
-
105
-
106
-
107
-
108
-
109
-
110
-
111
-
112
-
113
-
114
-
115
-
116
-
117
-
118
-
119
-
120
-
121
-
122
-
123
-
124
-
125
-
 126
126 -
 127
127 -
 128
128 -
 129
129 -
 130
130 -
 131
131 -
 132
132 -
 133
133 -
 134
134 -
 135
135 -
 136
136 -
137
-
138
-
139
-
140
-
141
-
142
-
143
-
144
-
145
-
146
-
147
-
148
-
149
-
150
-
151
-
152
-
153
-
154
-
155
-
156
-
157
-
158
-
159
-
160
-
161
-
162
-
163
-
164
-
165
-
166
-
167
-
168
-
169
-
170
-
171
-
172
-
173
-
174
-
175
-
176
-
177
-
178
-
179
-
180
-
181
-
182
-
183
-
184
-
185
-
186
-
187
-
188
-
189
-
190
-
191
-
192
-
193
-
194
-
195
-
196
-
197
-
198
-
199
-
200
-
201
-
202
-
203
-
204
-
205
-
206
-
207
-
208
-
209
-
210
-
211
-
212
-
213
-
214
-
215
-
216
-
217
-
218
-
219
-
220
-
221
-
222
-
223
-
224
-
225
-
226
-
227
-
228
-
229
-
230
-
231
-
232
-
233
-
234
-
235
-
236
-
237
-
238
-
239
-
240
-
241
-
242
-
243
-
244
-
245
-
246
-
247
-
248
-
249
-
250
-
251
-
252
-
253
-
254
-
255
-
256
-
257
-
258
-
259
-
260
-
261
-
262
-
263
-
264
-
265
-
266
-
267
-
268
-
269
-
270
 |
 |