Xerox 4150 User Guide - Page 75
Individual Directory Setup, Group Directory Setup
 |
UPC - 095205228717
View all Xerox 4150 manuals
Add to My Manuals
Save this manual to your list of manuals |
Page 75 highlights
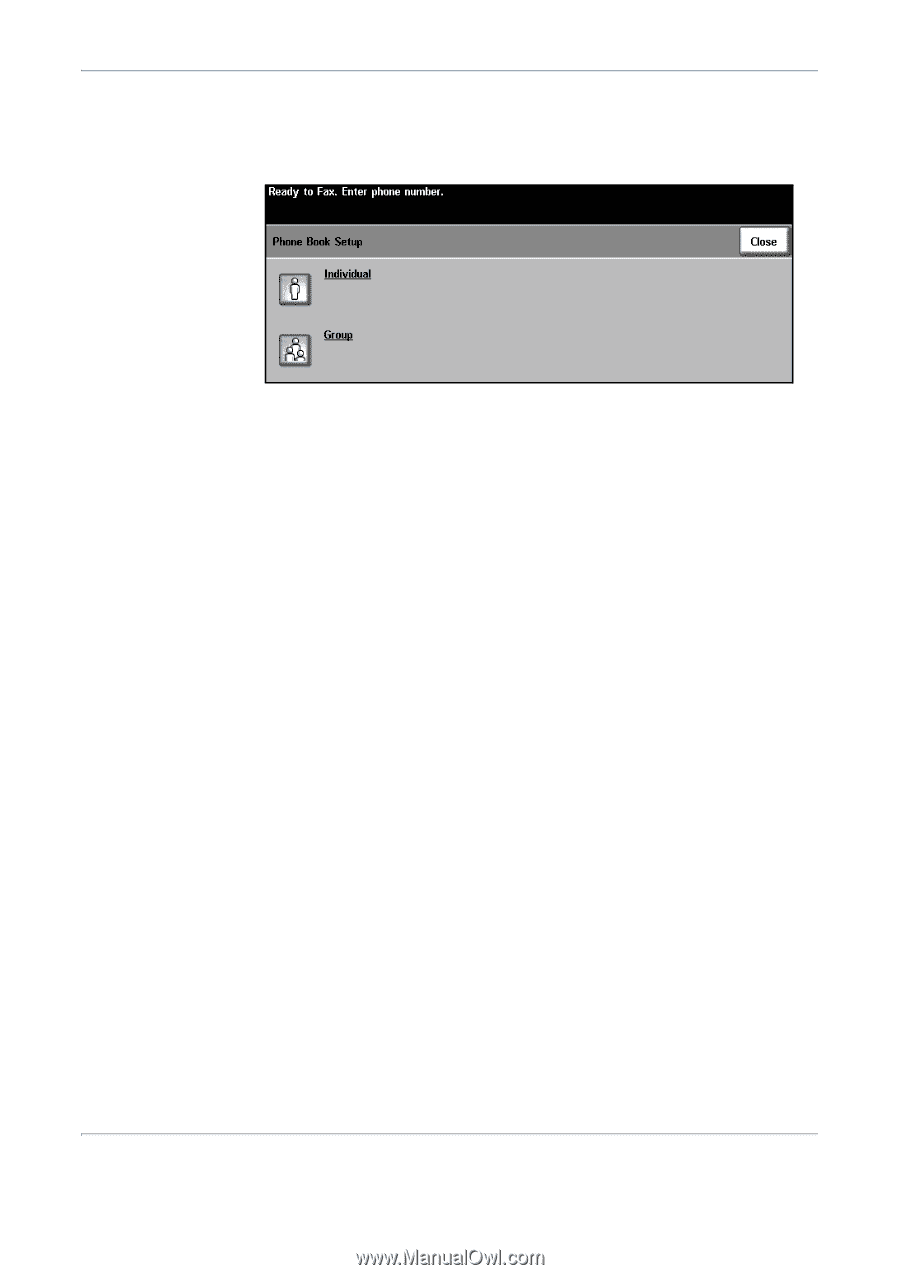
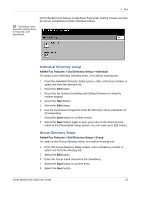
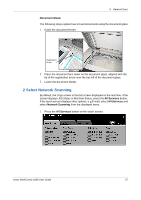
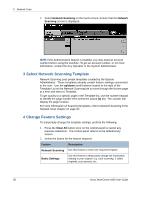
4 Fax within the Send List feature on the Basic Faxing tab. Dialing Groups can also be set up, comprising of many individual entries. This feature saves time when sending faxes to frequently used destinations. Individual Directory Setup Added Fax Features > Dial Directory Setup > Individual To create a new Individual Directory entry, or to edit an existing one: 1. From the Individual Directory Setup screen, enter a Directory number or select one from the directory list. 2. Select the Edit button. 3. Key in the fax number (including any Dialing Characters) using the number keypad. 4. Select the Next button. 5. Select the Edit button. 6. Use the touchscreen keypad to enter the Directory name (maximum of 20 characters). 7. Select the Save button to confirm entries. 8. Select the Save button again to save your entry to the Directory and return to the Phone Book Setup screen. You can save up to 200 entries. Group Directory Setup Added Fax Features > Dial Directory Setup > Group To create a new Group Directory entry, or to edit an existing one: 1. From the Group Directory Setup screen, enter a Directory number or select one from the directory list. 2. Select the Edit button. 3. Enter the Group name (maximum 20 characters). 4. Select the Save button to confirm entry. 5. Select the Next button. Xerox WorkCentre 4150 User Guide 53
-
 1
1 -
2
-
3
-
4
-
5
-
6
-
7
-
8
-
9
-
10
-
11
-
12
-
13
-
14
-
15
-
16
-
17
-
18
-
19
-
20
-
21
-
22
-
23
-
24
-
25
-
26
-
27
-
28
-
29
-
30
-
31
-
32
-
33
-
34
-
35
-
36
-
37
-
38
-
39
-
40
-
41
-
42
-
43
-
44
-
45
-
46
-
47
-
48
-
49
-
50
-
51
-
52
-
53
-
54
-
55
-
56
-
57
-
58
-
59
-
60
-
61
-
62
-
63
-
64
-
65
-
66
-
67
-
68
-
69
-
 70
70 -
 71
71 -
 72
72 -
 73
73 -
 74
74 -
 75
75 -
 76
76 -
 77
77 -
 78
78 -
 79
79 -
 80
80 -
81
-
82
-
83
-
84
-
85
-
86
-
87
-
88
-
89
-
90
-
91
-
92
-
93
-
94
-
95
-
96
-
97
-
98
-
99
-
100
-
101
-
102
-
103
-
104
-
105
-
106
-
107
-
108
-
109
-
110
-
111
-
112
-
113
-
114
-
115
-
116
-
117
-
118
-
119
-
120
-
121
-
122
-
123
-
124
-
125
-
126
-
127
-
128
-
129
-
130
-
131
-
132
-
133
-
134
-
135
-
136
-
137
-
138
-
139
-
140
-
141
-
142
-
143
-
144
-
145
-
146
-
147
-
148
-
149
-
150
-
151
-
152
-
153
-
154
-
155
-
156
-
157
-
158
-
159
-
160
-
161
-
162
-
163
-
164
-
165
-
166
-
167
-
168
-
169
-
170
-
171
-
172
-
173
-
174
-
175
-
176
-
177
-
178
-
179
-
180
-
181
-
182
-
183
-
184
-
185
-
186
-
187
-
188
-
189
-
190
-
191
-
192
-
193
-
194
-
195
-
196
-
197
-
198
-
199
-
200
-
201
 |
 |