Brother International HL 1850 Service Manual - Page 189
assembly, printer., jammed, paper, cleared, output, cover., clear, cover., fuser, unit., Close,
 |
UPC - 012502603900
View all Brother International HL 1850 manuals
Add to My Manuals
Save this manual to your list of manuals |
Page 189 highlights
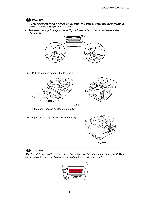
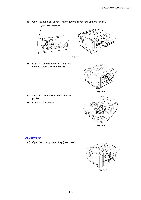
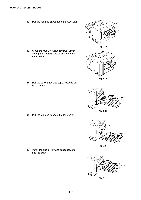
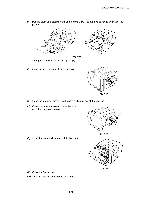
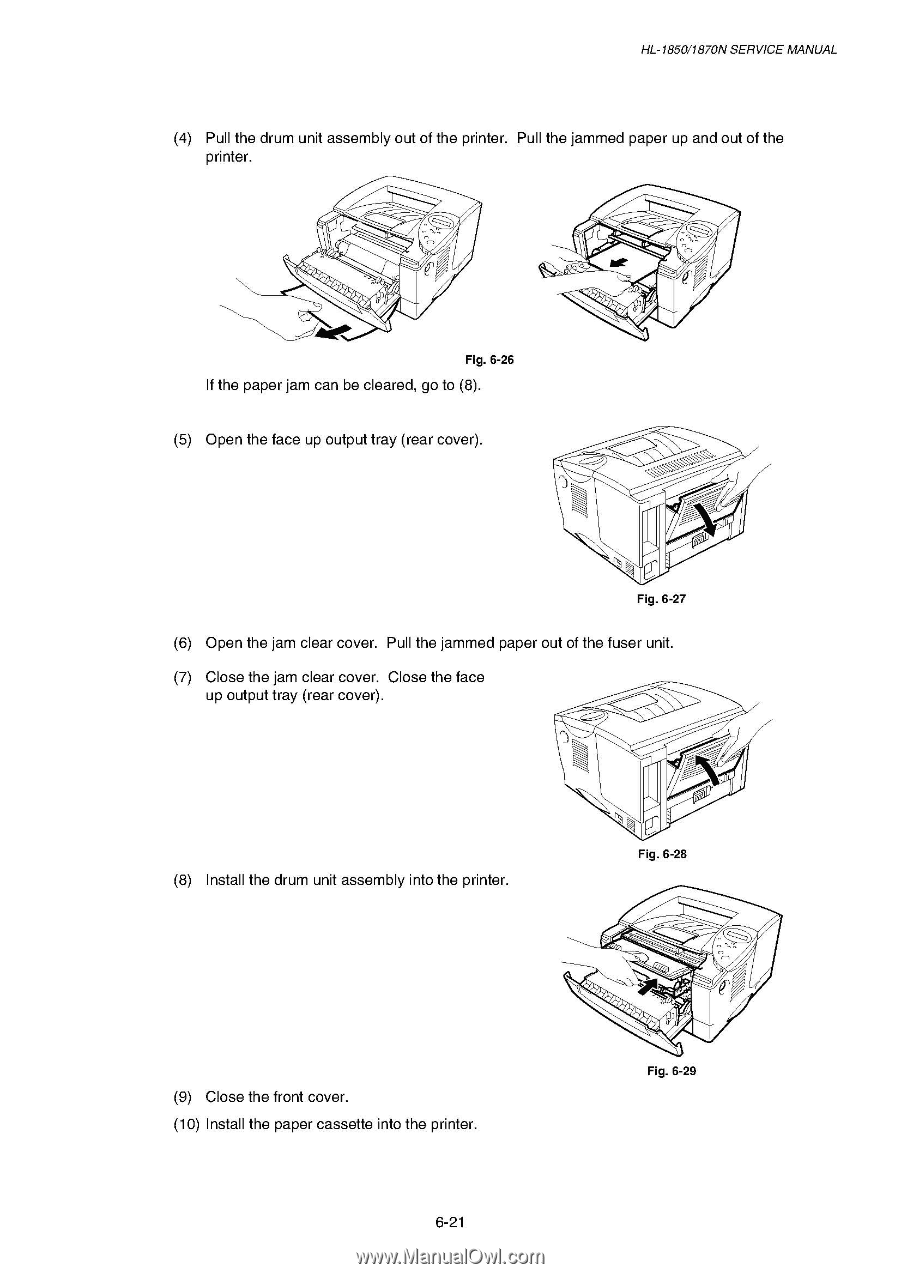
HL-1850/1870N SERVICE MANUAL (4) Pull the drum unit assembly out of the printer. Pull the jammed paper up and out of the printer. • ( me Fig. 6-26 If the paper jam can be cleared, go to (8). (5) Open the face up output tray (rear cover). Fig. 6-27 (6) Open the jam clear cover. Pull the jammed paper out of the fuser unit. (7) Close the jam clear cover. Close the face up output tray (rear cover). (8) Install the drum unit assembly into the printer. Fig. 6-28 (9) Close the front cover. (10) Install the paper cassette into the printer. 6-21 Fig. 6-29
-
 1
1 -
2
-
3
-
4
-
5
-
6
-
7
-
8
-
9
-
10
-
11
-
12
-
13
-
14
-
15
-
16
-
17
-
18
-
19
-
20
-
21
-
22
-
23
-
24
-
25
-
26
-
27
-
28
-
29
-
30
-
31
-
32
-
33
-
34
-
35
-
36
-
37
-
38
-
39
-
40
-
41
-
42
-
43
-
44
-
45
-
46
-
47
-
48
-
49
-
50
-
51
-
52
-
53
-
54
-
55
-
56
-
57
-
58
-
59
-
60
-
61
-
62
-
63
-
64
-
65
-
66
-
67
-
68
-
69
-
70
-
71
-
72
-
73
-
74
-
75
-
76
-
77
-
78
-
79
-
80
-
81
-
82
-
83
-
84
-
85
-
86
-
87
-
88
-
89
-
90
-
91
-
92
-
93
-
94
-
95
-
96
-
97
-
98
-
99
-
100
-
101
-
102
-
103
-
104
-
105
-
106
-
107
-
108
-
109
-
110
-
111
-
112
-
113
-
114
-
115
-
116
-
117
-
118
-
119
-
120
-
121
-
122
-
123
-
124
-
125
-
126
-
127
-
128
-
129
-
130
-
131
-
132
-
133
-
134
-
135
-
136
-
137
-
138
-
139
-
140
-
141
-
142
-
143
-
144
-
145
-
146
-
147
-
148
-
149
-
150
-
151
-
152
-
153
-
154
-
155
-
156
-
157
-
158
-
159
-
160
-
161
-
162
-
163
-
164
-
165
-
166
-
167
-
168
-
169
-
170
-
171
-
172
-
173
-
174
-
175
-
176
-
177
-
178
-
179
-
180
-
181
-
182
-
183
-
 184
184 -
 185
185 -
 186
186 -
 187
187 -
 188
188 -
 189
189 -
 190
190 -
 191
191 -
 192
192 -
 193
193 -
 194
194 -
195
-
196
-
197
-
198
-
199
-
200
-
201
-
202
-
203
-
204
-
205
-
206
-
207
-
208
-
209
-
210
-
211
-
212
-
213
-
214
-
215
-
216
-
217
-
218
-
219
-
220
-
221
-
222
-
223
-
224
-
225
-
226
-
227
-
228
-
229
-
230
-
231
-
232
-
233
-
234
-
235
-
236
-
237
-
238
-
239
-
240
-
241
-
242
-
243
-
244
-
245
-
246
-
247
-
248
-
249
-
250
-
251
-
252
-
253
-
254
-
255
-
256
-
257
-
258
-
259
-
260
-
261
-
262
-
263
-
264
-
265
-
266
-
267
-
268
-
269
-
270
-
271
-
272
-
273
-
274
-
275
-
276
-
277
 |
 |
HL
-1850/1870N
SERVICE
MANUAL
(4)
Pull
the
drum
unit
assembly
out
of
the
printer.
Pull
the
jammed
paper
up
and
out
of
the
printer.
•
(
Fig.
6-26
If
the
paper
jam
can
be
cleared,
go
to
(8).
(5)
Open
the
face
up
output
tray
(rear
cover).
me
Fig.
6-27
(6)
Open
the
jam
clear
cover.
Pull
the
jammed
paper
out
of
the
fuser
unit.
(7)
Close
the
jam
clear
cover.
Close
the
face
up
output
tray
(rear
cover).
(8)
Install
the
drum
unit
assembly
into
the
printer.
(9)
Close
the
front
cover.
(10)
Install
the
paper
cassette
into
the
printer.
Fig.
6-28
Fig.
6-29
6-21