Brother International HL 1850 Service Manual - Page 44
irregularly
 |
UPC - 012502603900
View all Brother International HL 1850 manuals
Add to My Manuals
Save this manual to your list of manuals |
Page 44 highlights
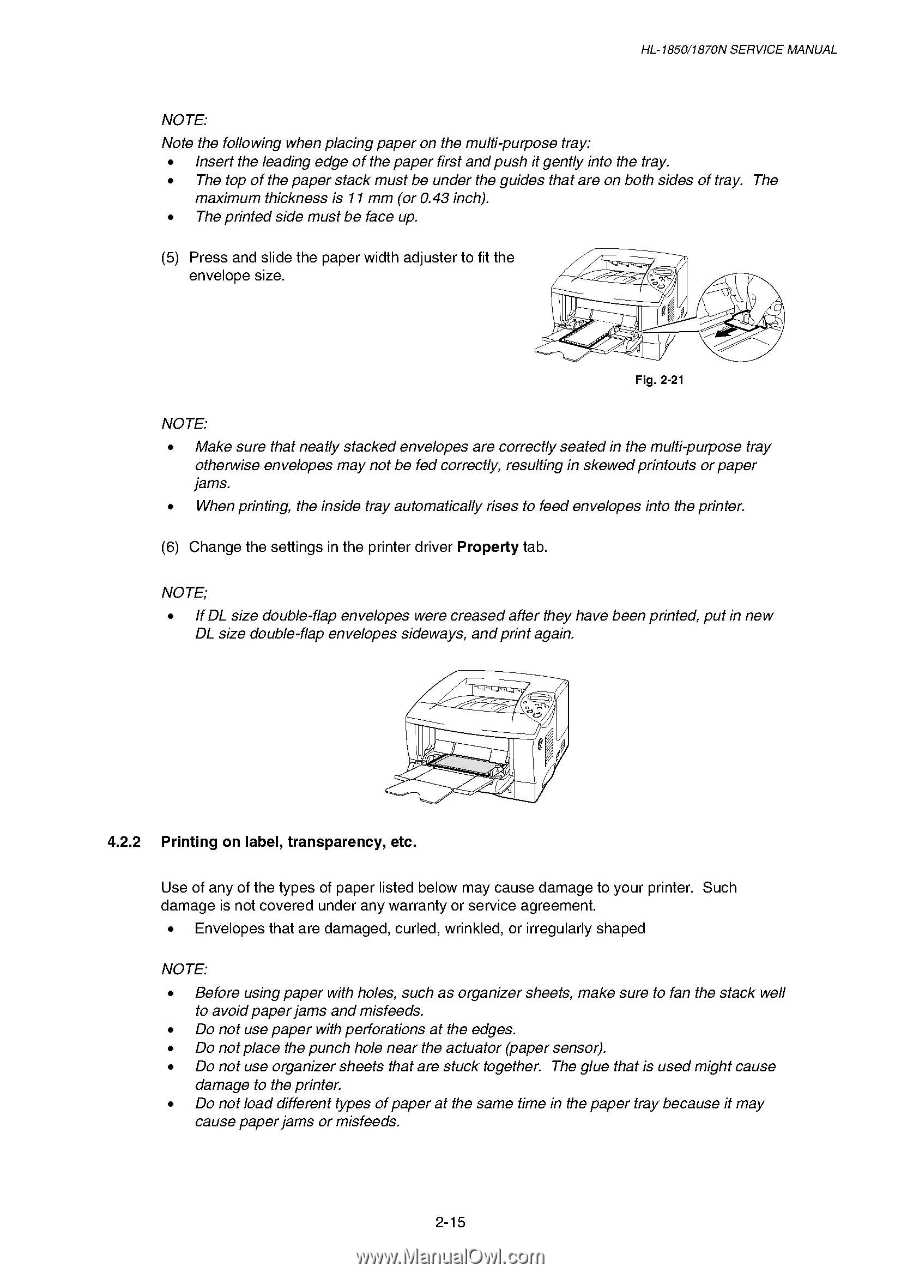
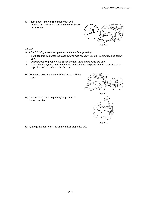
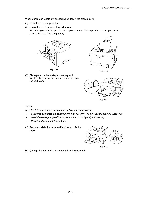
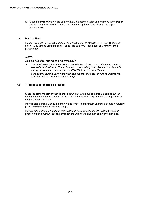
HL-1850/1870N SERVICE MANUAL NOTE;• Note the following when placingpaper on the multipurpose tray;• • Insert the leading edge of the paper first andpush it gently into the tray. • The top of the paper stack must be under the guides that are on both sides of tray. The maximum thickness is 11mm (or 0.43 inch). • The printed side must be face up. (5) Press and slide the paper width adjuster to fit the envelope size. n Gi Fig. 2-21 NOTE;• • Make sure that neatly stacked envelopes are correctly seated in the multi-purpose tray otherwise envelopes may not be fed correctly, resulting in skewedprintouts orpaper jams. • When printing, the inside tray automatically rises to feed envelopes into the printer. (6) Change the settings in the printer driver Property tab. NOTE; • IfDL size double-flap envelopes were creased after they have been printed, put in new DL size double-flap envelopes sideways, andprint again. 4.2.2 Printing on label, transparency, etc. Use of any of the types of paper listed below may cause damage to your printer. Such damage is not covered under any warranty or service agreement. • Envelopes that are damaged, curled, wrinkled, or irregularly shaped NOTE;• • Before usingpaper with holes, such as organizer sheets, make sure to fan the stack well to avoidpaperjams andmisfeeds. • Do not use paper with perforations at the edges. • Do not place the punch hole near the actuator (paper sensor). • Do not use organizer sheets that are stuck together. The glue that is used might cause damage to the printer. • Do not load different types ofpaper at the same time in the paper tray because it may cause paper jams or misfeeds. 2-15
-
 1
1 -
2
-
3
-
4
-
5
-
6
-
7
-
8
-
9
-
10
-
11
-
12
-
13
-
14
-
15
-
16
-
17
-
18
-
19
-
20
-
21
-
22
-
23
-
24
-
25
-
26
-
27
-
28
-
29
-
30
-
31
-
32
-
33
-
34
-
35
-
36
-
37
-
38
-
 39
39 -
 40
40 -
 41
41 -
 42
42 -
 43
43 -
 44
44 -
 45
45 -
 46
46 -
 47
47 -
 48
48 -
 49
49 -
50
-
51
-
52
-
53
-
54
-
55
-
56
-
57
-
58
-
59
-
60
-
61
-
62
-
63
-
64
-
65
-
66
-
67
-
68
-
69
-
70
-
71
-
72
-
73
-
74
-
75
-
76
-
77
-
78
-
79
-
80
-
81
-
82
-
83
-
84
-
85
-
86
-
87
-
88
-
89
-
90
-
91
-
92
-
93
-
94
-
95
-
96
-
97
-
98
-
99
-
100
-
101
-
102
-
103
-
104
-
105
-
106
-
107
-
108
-
109
-
110
-
111
-
112
-
113
-
114
-
115
-
116
-
117
-
118
-
119
-
120
-
121
-
122
-
123
-
124
-
125
-
126
-
127
-
128
-
129
-
130
-
131
-
132
-
133
-
134
-
135
-
136
-
137
-
138
-
139
-
140
-
141
-
142
-
143
-
144
-
145
-
146
-
147
-
148
-
149
-
150
-
151
-
152
-
153
-
154
-
155
-
156
-
157
-
158
-
159
-
160
-
161
-
162
-
163
-
164
-
165
-
166
-
167
-
168
-
169
-
170
-
171
-
172
-
173
-
174
-
175
-
176
-
177
-
178
-
179
-
180
-
181
-
182
-
183
-
184
-
185
-
186
-
187
-
188
-
189
-
190
-
191
-
192
-
193
-
194
-
195
-
196
-
197
-
198
-
199
-
200
-
201
-
202
-
203
-
204
-
205
-
206
-
207
-
208
-
209
-
210
-
211
-
212
-
213
-
214
-
215
-
216
-
217
-
218
-
219
-
220
-
221
-
222
-
223
-
224
-
225
-
226
-
227
-
228
-
229
-
230
-
231
-
232
-
233
-
234
-
235
-
236
-
237
-
238
-
239
-
240
-
241
-
242
-
243
-
244
-
245
-
246
-
247
-
248
-
249
-
250
-
251
-
252
-
253
-
254
-
255
-
256
-
257
-
258
-
259
-
260
-
261
-
262
-
263
-
264
-
265
-
266
-
267
-
268
-
269
-
270
-
271
-
272
-
273
-
274
-
275
-
276
-
277
 |
 |