Yamaha AW16G Owner's Manual - Page 105
Erasing CD-RW media
 |
View all Yamaha AW16G manuals
Add to My Manuals
Save this manual to your list of manuals |
Page 105 highlights
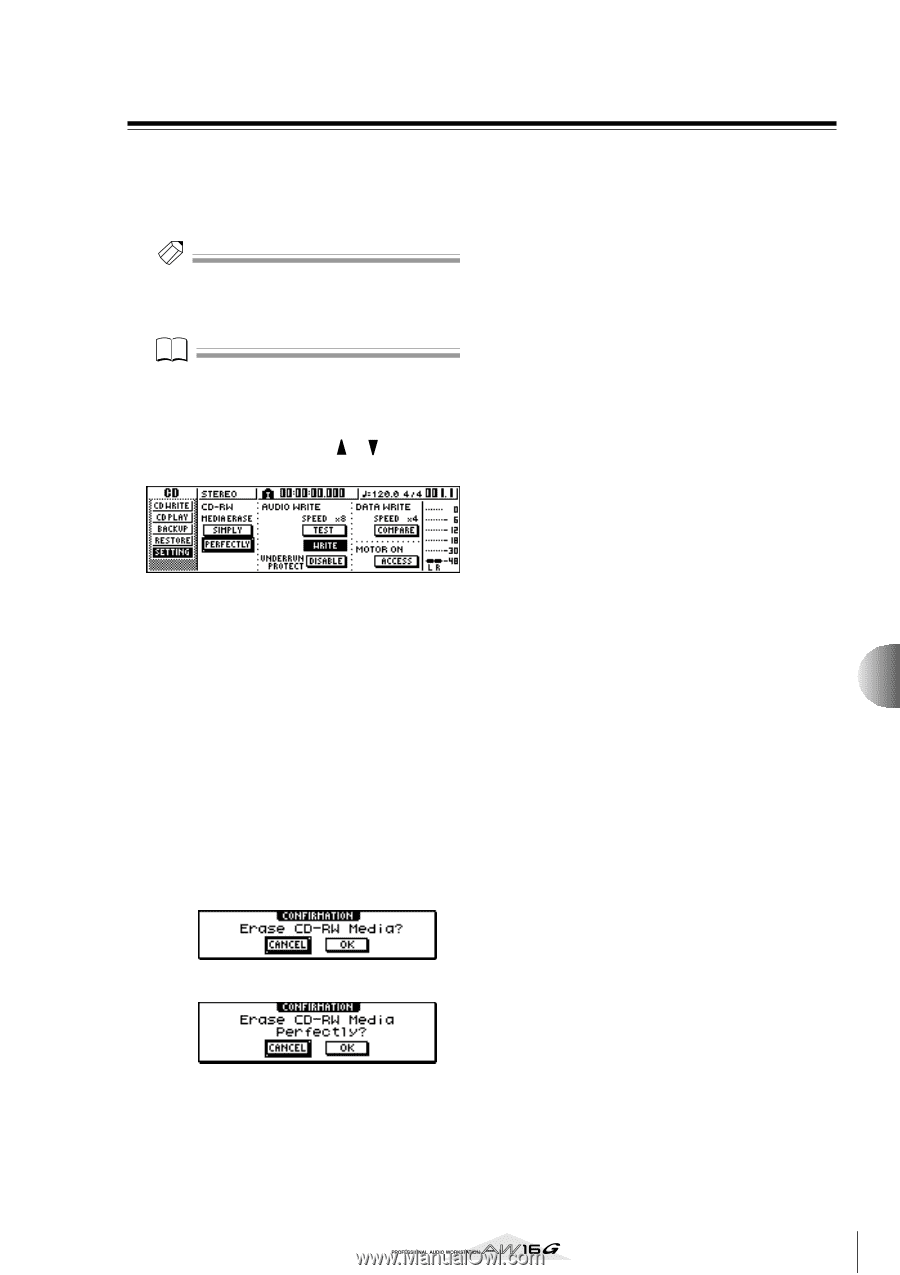
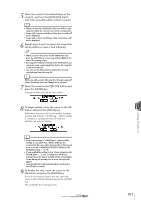
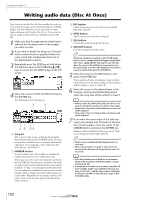
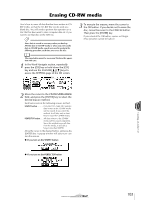
Erasing CD-RW media Here's how to erase all data that has been written to CDRW media, so that the CD-RW disc can be used as a blank disc. You will need to perform this operation on a disc that has been used to store computer data etc. if you want to use that disc on the AW16G. Tip! Since data is erased as necessary when you back up AW16G data to CD-RW media or when you write audio data to CD-RW media, you do not need to perform the following procedure each time you re-use the disc. Note The erased data cannot be recovered. Perform this operation with care. 1 In the Work Navigate section, repeatedly press the [CD] key or hold down the [CD] key and use the CURSOR [ ]/[ ] keys to access the SETTING page of the CD screen. 3 To execute the erasure, move the cursor to the OK button. If you decide not to erase the disc, move the cursor to the CANCEL button. Then press the [ENTER] key. If you selected the OK button, erasure will begin. (This operation cannot be halted.) 2 Move the cursor to the CD-RW MEDIA ERASE field, and press the [ENTER] key to select the desired erasure method. Each button selects the following erasure method. SIMPLY button Only the TOC (Table Of Contents) data written to the CD-RW media will be erased. If you select this method, it will take only a short time to erase the CD-RW media. PERFECTLY button ..... All data written to the CD-RW media will be erased completely. Since this method erases all data from the media, it will take a longer time than SIMPLY. Move the cursor to the desired button, and press the [ENTER] key. A popup window will ask you to confirm the erasure. ● If you turn on the SIMPLY button ● If you turn on the PERFECTLY button 10 Creating an audio CD 105
-
 1
1 -
2
-
3
-
4
-
5
-
6
-
7
-
8
-
9
-
10
-
11
-
12
-
13
-
14
-
15
-
16
-
17
-
18
-
19
-
20
-
21
-
22
-
23
-
24
-
25
-
26
-
27
-
28
-
29
-
30
-
31
-
32
-
33
-
34
-
35
-
36
-
37
-
38
-
39
-
40
-
41
-
42
-
43
-
44
-
45
-
46
-
47
-
48
-
49
-
50
-
51
-
52
-
53
-
54
-
55
-
56
-
57
-
58
-
59
-
60
-
61
-
62
-
63
-
64
-
65
-
66
-
67
-
68
-
69
-
70
-
71
-
72
-
73
-
74
-
75
-
76
-
77
-
78
-
79
-
80
-
81
-
82
-
83
-
84
-
85
-
86
-
87
-
88
-
89
-
90
-
91
-
92
-
93
-
94
-
95
-
96
-
97
-
98
-
99
-
 100
100 -
 101
101 -
 102
102 -
 103
103 -
 104
104 -
 105
105 -
 106
106 -
 107
107 -
 108
108 -
 109
109 -
 110
110 -
111
-
112
-
113
-
114
-
115
-
116
-
117
-
118
-
119
-
120
-
121
-
122
-
123
-
124
-
125
-
126
-
127
-
128
-
129
-
130
-
131
-
132
-
133
-
134
-
135
-
136
-
137
-
138
-
139
-
140
-
141
-
142
-
143
-
144
-
145
-
146
-
147
-
148
-
149
-
150
-
151
-
152
-
153
-
154
-
155
-
156
-
157
-
158
-
159
-
160
-
161
-
162
-
163
-
164
-
165
-
166
-
167
-
168
-
169
-
170
-
171
-
172
-
173
-
174
-
175
-
176
-
177
-
178
-
179
-
180
-
181
-
182
-
183
-
184
-
185
-
186
-
187
-
188
-
189
-
190
-
191
-
192
-
193
-
194
-
195
-
196
-
197
-
198
-
199
-
200
-
201
-
202
-
203
-
204
-
205
-
206
-
207
-
208
-
209
-
210
-
211
-
212
-
213
-
214
-
215
-
216
-
217
-
218
-
219
 |
 |