Yamaha AW16G Owner's Manual - Page 66
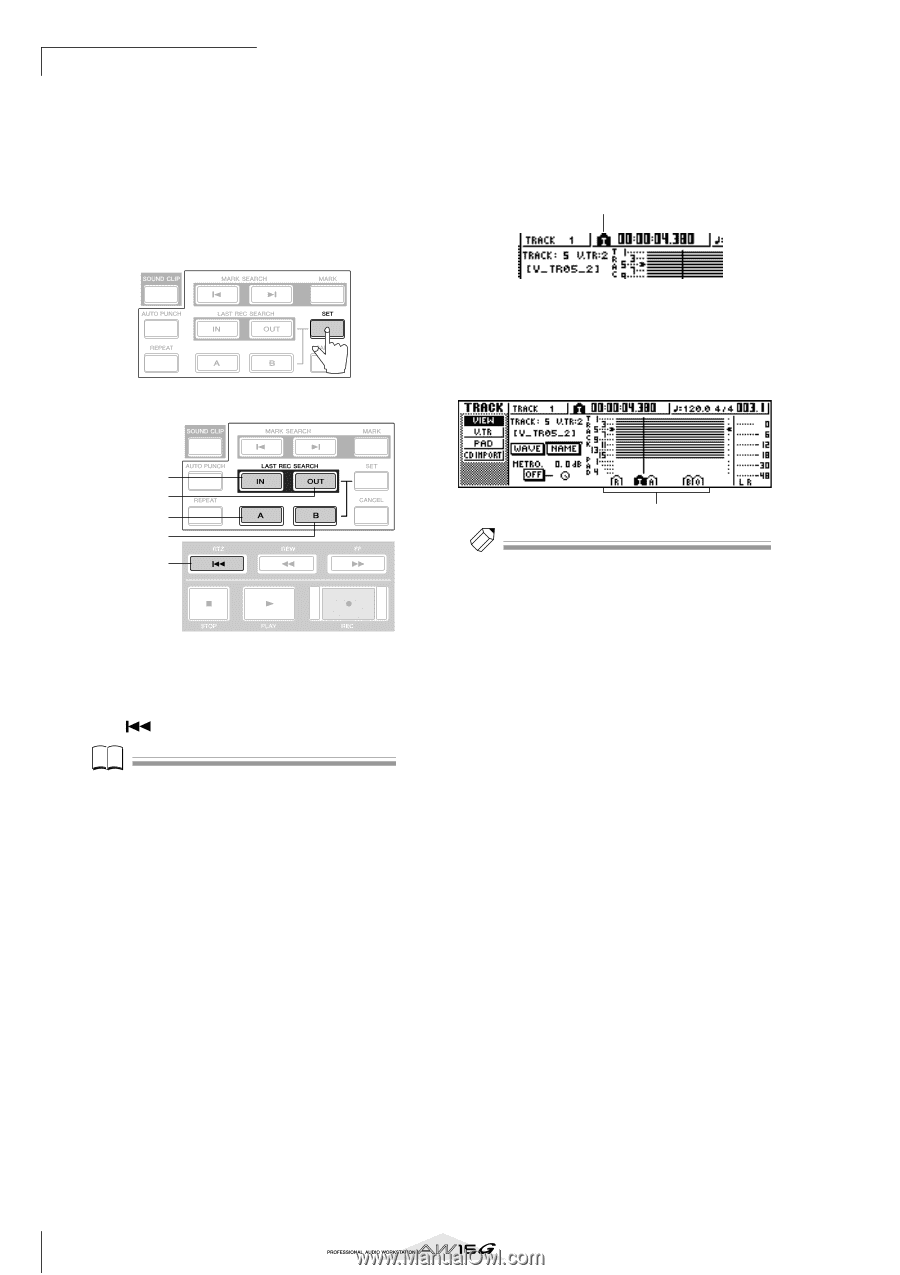
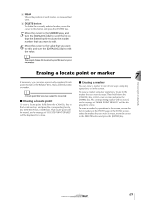
Hold down the [SET] key and press the key, register as a locate point.
 |
View all Yamaha AW16G manuals
Add to My Manuals
Save this manual to your list of manuals |
Page 66 highlights
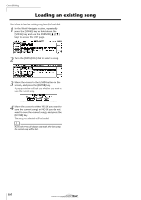
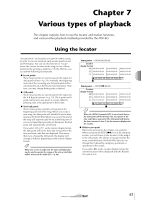
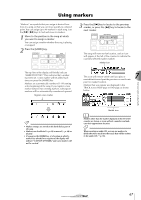
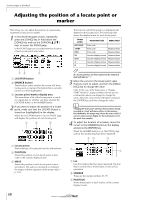
Various types of playback The following procedure shows how to register the current location in one of the locate points, and then move the song to that locate point. 1 Move the song to the point that you want to register as a locate point. You can set a locate point whether the song is playing or stopped. 2 Hold down the [SET] key and press the key for the desired locate point. The locate points correspond to the following keys. 3 To move to a locate point you registered, press the corresponding key while the song is stopped or playing. The song will move to that location, and an icon will appear at the left side of the counter to indicate the currently selected locate point. Locator icon This icon will remain visible until you play or rewind/fast-forward past the previous or next locate point or marker location. Locate points that you register are displayed in the TRACK screen VIEW page or PAD page as shown below. In point Out point A point B point Relative Zero point [IN] key In point [OUT] key Out point [A] key A point [B] key B point RTZ [ ] key ......... Relative Zero point Note • If you want to change the Start point or End point, use the SONG screen POINT page. These points cannot be set by key operations. • The In point and Out point will be updated automatically when you perform a recording operation. Locator icon Tip! • Locate point settings are stored on the hard disk as part of the song. • Locate points can be adjusted as desired (→ p. 68). Locate points other than the Start point and End point may also be erased (→ p. 69). 66
-
 1
1 -
2
-
3
-
4
-
5
-
6
-
7
-
8
-
9
-
10
-
11
-
12
-
13
-
14
-
15
-
16
-
17
-
18
-
19
-
20
-
21
-
22
-
23
-
24
-
25
-
26
-
27
-
28
-
29
-
30
-
31
-
32
-
33
-
34
-
35
-
36
-
37
-
38
-
39
-
40
-
41
-
42
-
43
-
44
-
45
-
46
-
47
-
48
-
49
-
50
-
51
-
52
-
53
-
54
-
55
-
56
-
57
-
58
-
59
-
60
-
 61
61 -
 62
62 -
 63
63 -
 64
64 -
 65
65 -
 66
66 -
 67
67 -
 68
68 -
 69
69 -
 70
70 -
 71
71 -
72
-
73
-
74
-
75
-
76
-
77
-
78
-
79
-
80
-
81
-
82
-
83
-
84
-
85
-
86
-
87
-
88
-
89
-
90
-
91
-
92
-
93
-
94
-
95
-
96
-
97
-
98
-
99
-
100
-
101
-
102
-
103
-
104
-
105
-
106
-
107
-
108
-
109
-
110
-
111
-
112
-
113
-
114
-
115
-
116
-
117
-
118
-
119
-
120
-
121
-
122
-
123
-
124
-
125
-
126
-
127
-
128
-
129
-
130
-
131
-
132
-
133
-
134
-
135
-
136
-
137
-
138
-
139
-
140
-
141
-
142
-
143
-
144
-
145
-
146
-
147
-
148
-
149
-
150
-
151
-
152
-
153
-
154
-
155
-
156
-
157
-
158
-
159
-
160
-
161
-
162
-
163
-
164
-
165
-
166
-
167
-
168
-
169
-
170
-
171
-
172
-
173
-
174
-
175
-
176
-
177
-
178
-
179
-
180
-
181
-
182
-
183
-
184
-
185
-
186
-
187
-
188
-
189
-
190
-
191
-
192
-
193
-
194
-
195
-
196
-
197
-
198
-
199
-
200
-
201
-
202
-
203
-
204
-
205
-
206
-
207
-
208
-
209
-
210
-
211
-
212
-
213
-
214
-
215
-
216
-
217
-
218
-
219
 |
 |