Yamaha AW16G Owner's Manual - Page 67
Using markers
 |
View all Yamaha AW16G manuals
Add to My Manuals
Save this manual to your list of manuals |
Page 67 highlights
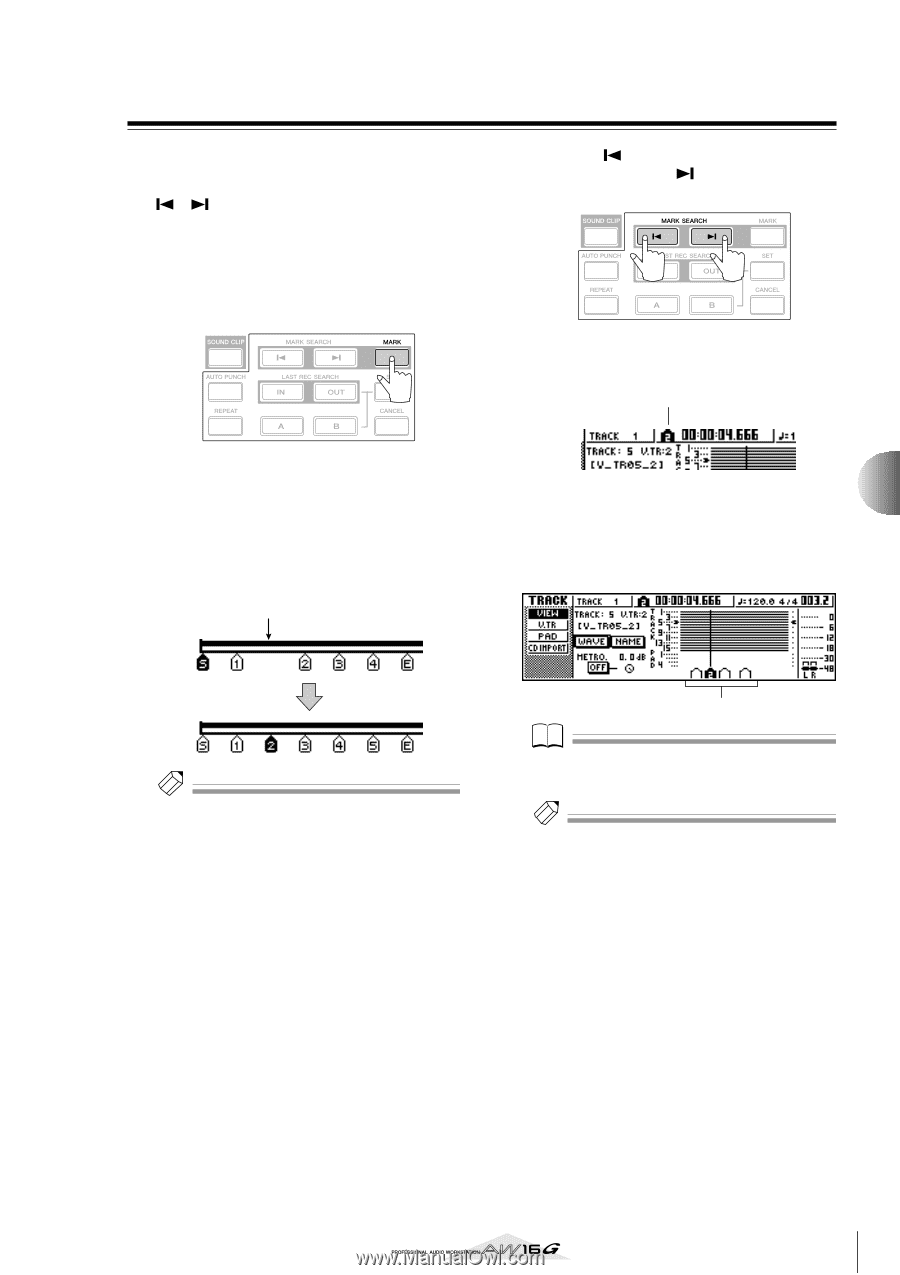
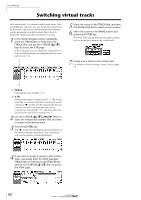
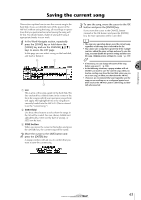
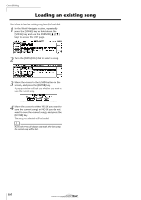
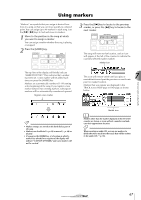
Using markers "Markers" are symbols that you assign at desired locations in a song, so that you can move quickly to a desired point. You can assign up to 99 markers in each song. Use the [ ]/[ ] keys to find and move to markers. 1 Move to the position in the song at which you want to assign a marker. You can assign a marker whether the song is playing or stopped. 2 Press the [MARK] key. 3 Press the [ ] key to locate to the previous marker, or press the [ ] key to locate to the next marker. The song will move to that location, and an icon will appear at the left of the counter to indicate the currently selected marker number. Marker icon The top line of the display will briefly indicate "MARK POINT SET." This indicates that a marker has been set. A new marker will be added each time you press the [MARK] key. Markers are automatically numbered 1-99 starting at the beginning of the song. If you register a new marker between two existing markers, subsequent markers will be automatically renumbered upward. Register a new marker This icon will remain visible until you play or rewind/fast-forward past the previous or next locate point or marker location. Markers that you register are displayed in the TRACK screen VIEW page or PAD page as shown below. 7 Tip! • Marker settings are stored on the hard disk as part of the song. • Markers can be deleted (→ p. 69) or moved (→ p. 68) as desired. • If you press the [MARK] key at a location in which a marker has already been registered, the display will indicate "CANNOT SET MARK," and a new marker will not be created. Marker icon Note Markers other than the marker displayed at the left of the counter are shown as icons without a number, and indicate their approximate location. Tip! When creating an audio CD, you can use markers to divide the stereo track into the tracks that will be written to the audio CD (→ p. 98). Various types of playback 67
-
 1
1 -
2
-
3
-
4
-
5
-
6
-
7
-
8
-
9
-
10
-
11
-
12
-
13
-
14
-
15
-
16
-
17
-
18
-
19
-
20
-
21
-
22
-
23
-
24
-
25
-
26
-
27
-
28
-
29
-
30
-
31
-
32
-
33
-
34
-
35
-
36
-
37
-
38
-
39
-
40
-
41
-
42
-
43
-
44
-
45
-
46
-
47
-
48
-
49
-
50
-
51
-
52
-
53
-
54
-
55
-
56
-
57
-
58
-
59
-
60
-
61
-
 62
62 -
 63
63 -
 64
64 -
 65
65 -
 66
66 -
 67
67 -
 68
68 -
 69
69 -
 70
70 -
 71
71 -
 72
72 -
73
-
74
-
75
-
76
-
77
-
78
-
79
-
80
-
81
-
82
-
83
-
84
-
85
-
86
-
87
-
88
-
89
-
90
-
91
-
92
-
93
-
94
-
95
-
96
-
97
-
98
-
99
-
100
-
101
-
102
-
103
-
104
-
105
-
106
-
107
-
108
-
109
-
110
-
111
-
112
-
113
-
114
-
115
-
116
-
117
-
118
-
119
-
120
-
121
-
122
-
123
-
124
-
125
-
126
-
127
-
128
-
129
-
130
-
131
-
132
-
133
-
134
-
135
-
136
-
137
-
138
-
139
-
140
-
141
-
142
-
143
-
144
-
145
-
146
-
147
-
148
-
149
-
150
-
151
-
152
-
153
-
154
-
155
-
156
-
157
-
158
-
159
-
160
-
161
-
162
-
163
-
164
-
165
-
166
-
167
-
168
-
169
-
170
-
171
-
172
-
173
-
174
-
175
-
176
-
177
-
178
-
179
-
180
-
181
-
182
-
183
-
184
-
185
-
186
-
187
-
188
-
189
-
190
-
191
-
192
-
193
-
194
-
195
-
196
-
197
-
198
-
199
-
200
-
201
-
202
-
203
-
204
-
205
-
206
-
207
-
208
-
209
-
210
-
211
-
212
-
213
-
214
-
215
-
216
-
217
-
218
-
219
 |
 |