Dell V505w All In One Wireless Inkjet Printer User Guide - Page 21
Configuring the Printer for an Ethernet Connection, Removing and Reinstalling the Adapter
 |
View all Dell V505w All In One Wireless Inkjet Printer manuals
Add to My Manuals
Save this manual to your list of manuals |
Page 21 highlights
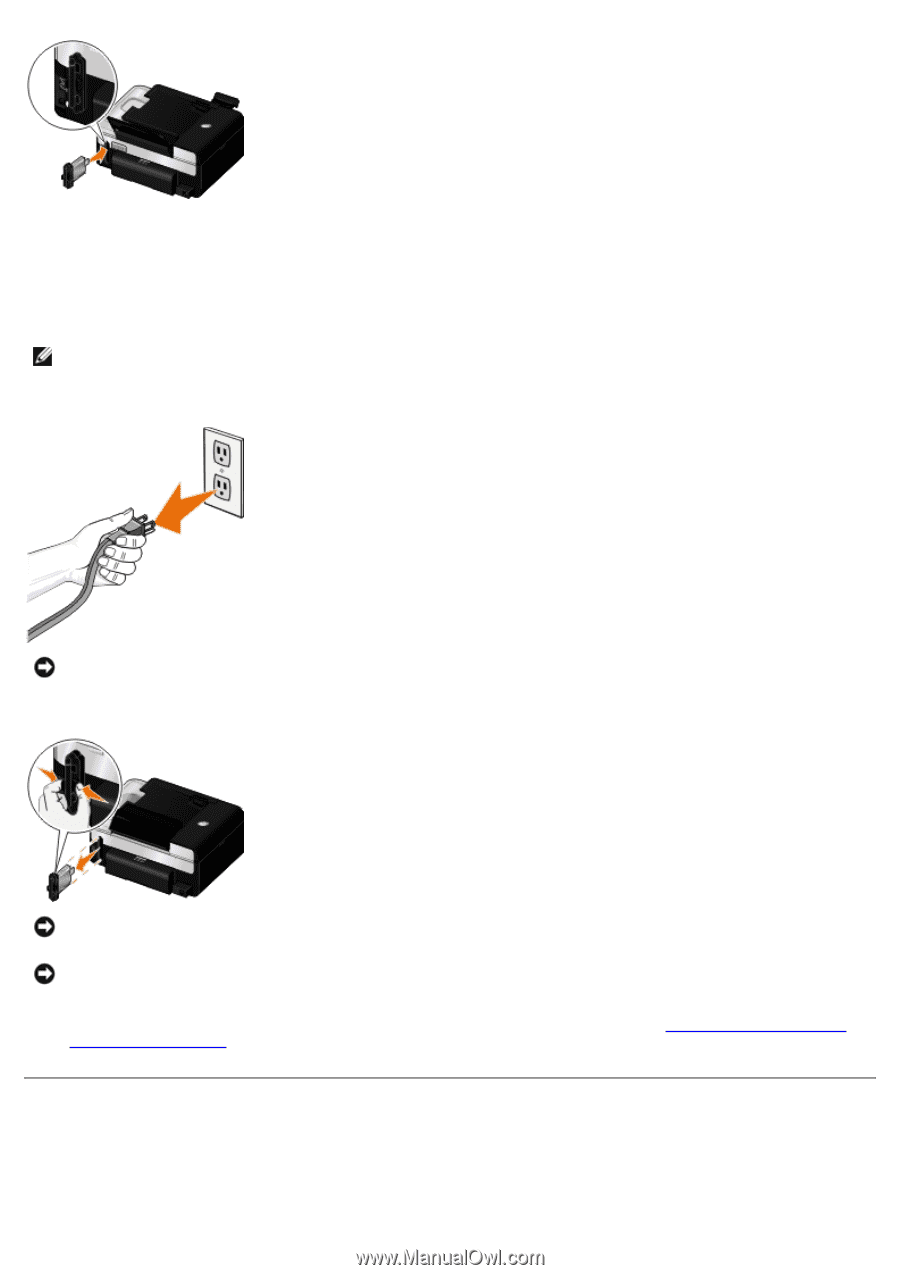
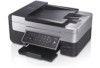
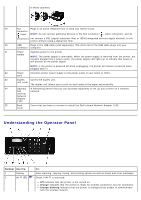
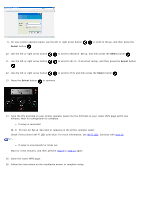
You are now ready to configure your adapter to work on your wireless network. Removing and Reinstalling the Adapter If your adapter is not functioning properly, you might need to remove the adapter and reinstall it. NOTE: The following instructions do not apply if you purchased your printer with the network adapter pre-installed. 1. Turn off your printer, and then unplug the power cable from the wall outlet. NOTICE: Failure to unplug the printer can cause damage to your printer and adapter. 2. Firmly grasp the Dell Internal Network Adapter 1150 by the side tabs, and then pull to remove. NOTICE: Your network adapter is easily damaged by static electricity. Touch a grounded metal object before you touch the adapter. NOTICE: Do not grasp the antenna when removing the adapter. Pulling the antenna could damage the adapter. 3. Reinstall the adapter following the installation instructions. For more information, see Installing the Dell Internal Network Adapter 1150. Configuring the Printer for an Ethernet Connection
-
 1
1 -
2
-
3
-
4
-
5
-
6
-
7
-
8
-
9
-
10
-
11
-
12
-
13
-
14
-
15
-
 16
16 -
 17
17 -
 18
18 -
 19
19 -
 20
20 -
 21
21 -
 22
22 -
 23
23 -
 24
24 -
 25
25 -
 26
26 -
27
-
28
-
29
-
30
-
31
-
32
-
33
-
34
-
35
-
36
-
37
-
38
-
39
-
40
-
41
-
42
-
43
-
44
-
45
-
46
-
47
-
48
-
49
-
50
-
51
-
52
-
53
-
54
-
55
-
56
-
57
-
58
-
59
-
60
-
61
-
62
-
63
-
64
-
65
-
66
-
67
-
68
-
69
-
70
-
71
-
72
-
73
-
74
-
75
-
76
-
77
-
78
-
79
-
80
-
81
-
82
-
83
-
84
-
85
-
86
-
87
-
88
-
89
-
90
-
91
-
92
-
93
-
94
-
95
-
96
-
97
-
98
-
99
-
100
-
101
-
102
-
103
-
104
-
105
-
106
-
107
-
108
-
109
-
110
-
111
-
112
-
113
-
114
-
115
-
116
-
117
-
118
-
119
-
120
-
121
-
122
-
123
-
124
-
125
-
126
-
127
-
128
-
129
-
130
-
131
-
132
-
133
-
134
-
135
-
136
-
137
-
138
-
139
-
140
-
141
-
142
-
143
-
144
-
145
-
146
-
147
-
148
-
149
-
150
-
151
-
152
-
153
-
154
-
155
-
156
-
157
-
158
-
159
-
160
-
161
-
162
-
163
-
164
-
165
 |
 |