Brother International PE-DESIGN Ver.5 Users Manual - English - Page 125
Selection Mode, Selecting patterns, Moving patterns, Snap to Grid, Shift
 |
View all Brother International PE-DESIGN Ver.5 manuals
Add to My Manuals
Save this manual to your list of manuals |
Page 125 highlights
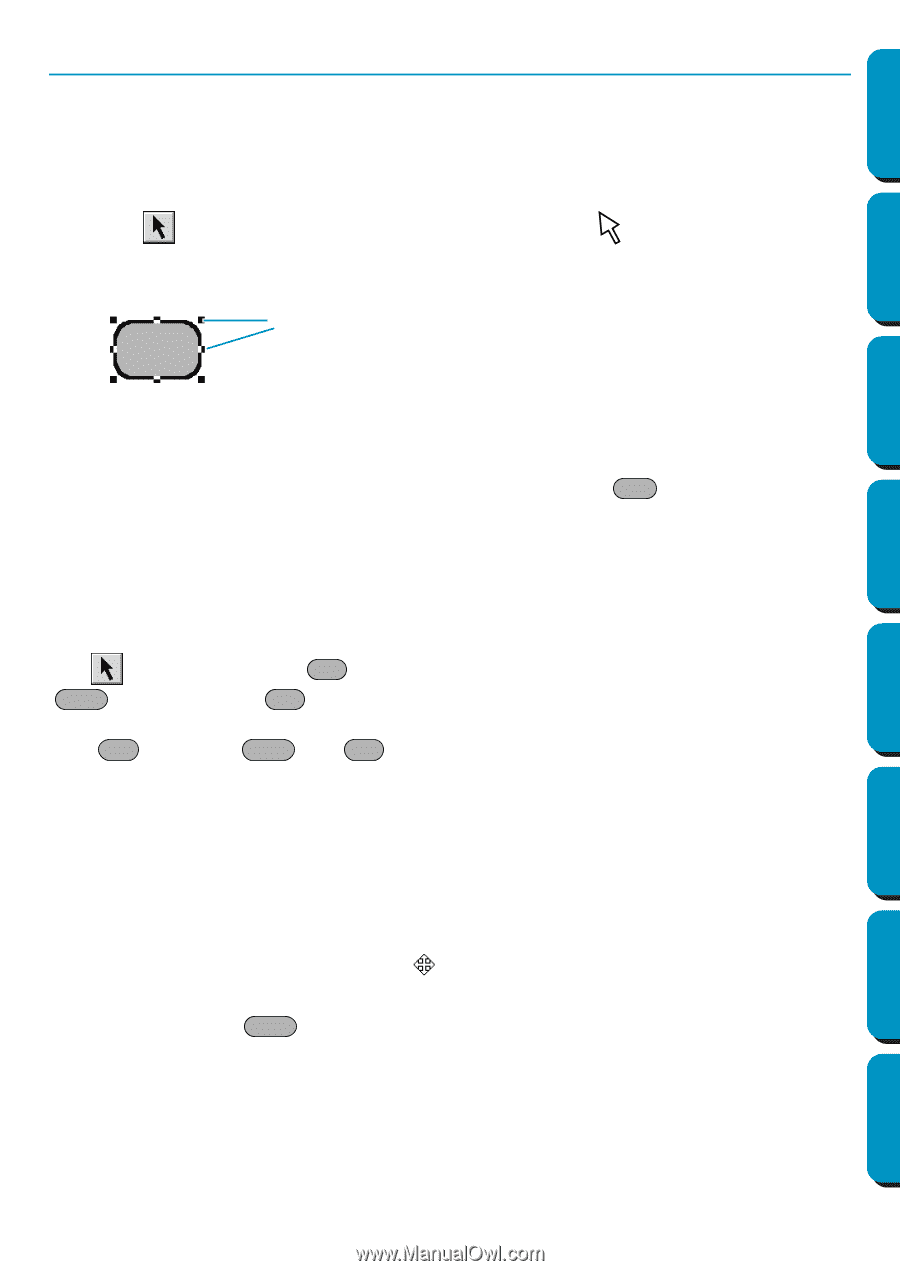
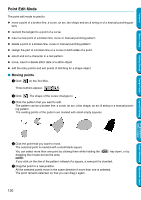
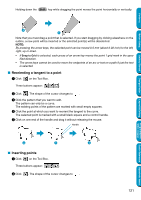
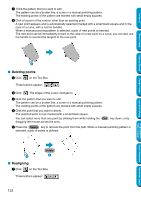
Contents Selection Mode To apply settings to an existing pattern, you must first select it.The cursor selection mode is used to select one or more patterns. Once a pattern is selected, you can move it, scale it, and change its direction by rotating it or inverting it. I Selecting patterns 1 Click on the Tool Box. The shape of the cursor changes to . 2 Click the pattern that you want to select. You know that the object is selected when handles are displayed. Handles Before Using Getting Started Design Center Layout & Editing Programmable Stitch Creator The Status bar shows the dimensions (width and height) of the selection. 3 To deselect the pattern, select another one, click on the white space or click another tool button of the Tool Box. 4 To select an additional pattern, click that pattern while holding the Ctrl key down. Note that you can also select patterns by dragging the cursor across the Design Page. As you drag, a dotted rectangle appears. When you release the mouse button, all patterns that overlap that rectangle will be selected. If you select other patterns than you wanted to, click on the white space to deselect all, and start again. I Selecting patterns 2 With is selected, press the Tab key to select the next object in the sewing order. Hold down the Shift key and press the Tab key to select the previous object in the sewing order. If the Tab key (or the Shift and Tab keys) are pressed: • and no object is selected, the first object (or the last object) in the sewing order becomes selected. • and multiple objects are selected, all objects become deselected except the soonest (or latest) object within the sewing order. • and the last (or first) object in the sewing order is selected, the first (or last) object in the sewing order becomes selected. I Moving patterns 1 Move the cursor over a selected pattern or group of selected patterns. The shape of the cursor will change to . 2 You can now drag the pattern to another location. Holding down the Shift key while dragging the pattern moves the pattern horizontally or vertically. NOTE: By pressing the arrow keys, the selected pattern can be moved 0.5 mm (about 0.02 inch) to the left, right, up or down. • If Snap to Grid is selected, each press of an arrow key moves the pattern 1 grid mark in the specified direction. 117 Quick Reference Alphabetic Index
-
 1
1 -
2
-
3
-
4
-
5
-
6
-
7
-
8
-
9
-
10
-
11
-
12
-
13
-
14
-
15
-
16
-
17
-
18
-
19
-
20
-
21
-
22
-
23
-
24
-
25
-
26
-
27
-
28
-
29
-
30
-
31
-
32
-
33
-
34
-
35
-
36
-
37
-
38
-
39
-
40
-
41
-
42
-
43
-
44
-
45
-
46
-
47
-
48
-
49
-
50
-
51
-
52
-
53
-
54
-
55
-
56
-
57
-
58
-
59
-
60
-
61
-
62
-
63
-
64
-
65
-
66
-
67
-
68
-
69
-
70
-
71
-
72
-
73
-
74
-
75
-
76
-
77
-
78
-
79
-
80
-
81
-
82
-
83
-
84
-
85
-
86
-
87
-
88
-
89
-
90
-
91
-
92
-
93
-
94
-
95
-
96
-
97
-
98
-
99
-
100
-
101
-
102
-
103
-
104
-
105
-
106
-
107
-
108
-
109
-
110
-
111
-
112
-
113
-
114
-
115
-
116
-
117
-
118
-
119
-
 120
120 -
 121
121 -
 122
122 -
 123
123 -
 124
124 -
 125
125 -
 126
126 -
 127
127 -
 128
128 -
 129
129 -
 130
130 -
131
-
132
-
133
-
134
-
135
-
136
-
137
-
138
-
139
-
140
-
141
-
142
-
143
-
144
-
145
-
146
-
147
-
148
-
149
-
150
-
151
-
152
-
153
-
154
-
155
-
156
-
157
-
158
-
159
-
160
-
161
-
162
-
163
-
164
-
165
-
166
-
167
-
168
-
169
-
170
-
171
-
172
-
173
-
174
-
175
-
176
-
177
-
178
-
179
-
180
-
181
-
182
-
183
-
184
-
185
-
186
-
187
-
188
-
189
-
190
-
191
-
192
-
193
-
194
-
195
-
196
-
197
-
198
-
199
-
200
-
201
-
202
-
203
-
204
-
205
-
206
-
207
-
208
-
209
-
210
-
211
-
212
-
213
-
214
-
215
-
216
-
217
-
218
-
219
-
220
-
221
-
222
-
223
-
224
-
225
-
226
-
227
-
228
-
229
-
230
-
231
-
232
-
233
-
234
-
235
-
236
-
237
-
238
-
239
-
240
-
241
-
242
-
243
-
244
-
245
-
246
-
247
-
248
-
249
-
250
-
251
-
252
-
253
-
254
-
255
-
256
-
257
-
258
-
259
-
260
-
261
-
262
-
263
-
264
-
265
-
266
-
267
-
268
-
269
-
270
-
271
-
272
-
273
-
274
 |
 |