Brother International PE-DESIGN Ver.5 Users Manual - English - Page 90
New Line Image, New Data, Cancel
 |
View all Brother International PE-DESIGN Ver.5 manuals
Add to My Manuals
Save this manual to your list of manuals |
Page 90 highlights
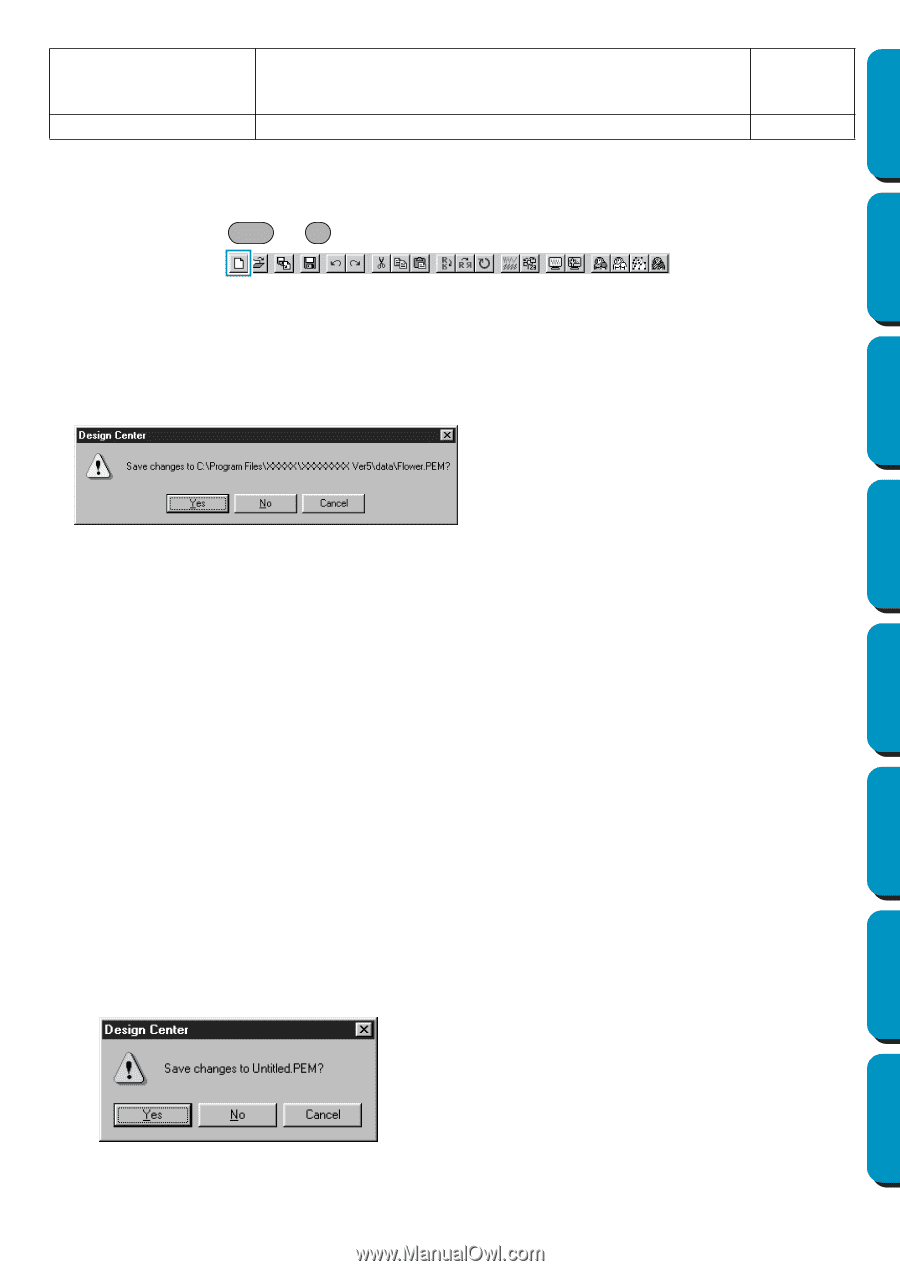
Contents Before Using Getting Started Design Center Save As Exit Saves the current file under a new file name. Savable files are: in Stage 1, Bitmap files (*.bmp); in Stage 2, PEL files; and in Stage 3 and 4, PEL and PEM files. Exits the application. page 89 page 90 I New Line Image Purpose: Creates a new blank Design Page and switches to Stage 2. Shortcut key: Ctrl + N Toolbar: Operation: 1 Click File, then New Line Image. If the current Design Page is not edited, a new blank Design Page (Stage 2) appears immediately. 2 If the current Design Page is edited, you will be asked whether you want to save the changes, for example: N Click Yes to save the Design Page first. N Click No to abandon the Design Page. N Click Cancel to do anything else (for example, modifying the current Design Page or saving it with another file name). Depending on the stage you are currently using and the editing you did, the file to be saved is a *.pel file or a *.pem file or both. A new file opens automatically in Stage 2. In Stage 2, you can use the pens and erasers to create black and white drawings. You may also want to use this feature to create patterns that are easier to draw by hand, for example, free-hand writing. See also: "Open" on page 85, "Save" and "Save As" on page 89 and "New Figure Data" below I New Figure Data Purpose: Creates a new blank Design Page and switches to Stage 3. Shortcut key: No shortcut key for this function Toolbar: No button for this function Operation: 1 Click File, then New Figure Data. If the current Design Page is not edited, a new blank Design Page (Stage 3) appears immediately. 2 If the current Design Page is edited, you will be asked whether you want to save the changes, for example: N Click Yes to save the Design Page first. N Click No to abandon the Design Page. N Click Cancel to do anything else (for example, modify the current Design Page or saving it with another file name). Layout & Editing Programmable Stitch Creator Quick Reference Alphabetic Index 82
-
 1
1 -
2
-
3
-
4
-
5
-
6
-
7
-
8
-
9
-
10
-
11
-
12
-
13
-
14
-
15
-
16
-
17
-
18
-
19
-
20
-
21
-
22
-
23
-
24
-
25
-
26
-
27
-
28
-
29
-
30
-
31
-
32
-
33
-
34
-
35
-
36
-
37
-
38
-
39
-
40
-
41
-
42
-
43
-
44
-
45
-
46
-
47
-
48
-
49
-
50
-
51
-
52
-
53
-
54
-
55
-
56
-
57
-
58
-
59
-
60
-
61
-
62
-
63
-
64
-
65
-
66
-
67
-
68
-
69
-
70
-
71
-
72
-
73
-
74
-
75
-
76
-
77
-
78
-
79
-
80
-
81
-
82
-
83
-
84
-
 85
85 -
 86
86 -
 87
87 -
 88
88 -
 89
89 -
 90
90 -
 91
91 -
 92
92 -
 93
93 -
 94
94 -
 95
95 -
96
-
97
-
98
-
99
-
100
-
101
-
102
-
103
-
104
-
105
-
106
-
107
-
108
-
109
-
110
-
111
-
112
-
113
-
114
-
115
-
116
-
117
-
118
-
119
-
120
-
121
-
122
-
123
-
124
-
125
-
126
-
127
-
128
-
129
-
130
-
131
-
132
-
133
-
134
-
135
-
136
-
137
-
138
-
139
-
140
-
141
-
142
-
143
-
144
-
145
-
146
-
147
-
148
-
149
-
150
-
151
-
152
-
153
-
154
-
155
-
156
-
157
-
158
-
159
-
160
-
161
-
162
-
163
-
164
-
165
-
166
-
167
-
168
-
169
-
170
-
171
-
172
-
173
-
174
-
175
-
176
-
177
-
178
-
179
-
180
-
181
-
182
-
183
-
184
-
185
-
186
-
187
-
188
-
189
-
190
-
191
-
192
-
193
-
194
-
195
-
196
-
197
-
198
-
199
-
200
-
201
-
202
-
203
-
204
-
205
-
206
-
207
-
208
-
209
-
210
-
211
-
212
-
213
-
214
-
215
-
216
-
217
-
218
-
219
-
220
-
221
-
222
-
223
-
224
-
225
-
226
-
227
-
228
-
229
-
230
-
231
-
232
-
233
-
234
-
235
-
236
-
237
-
238
-
239
-
240
-
241
-
242
-
243
-
244
-
245
-
246
-
247
-
248
-
249
-
250
-
251
-
252
-
253
-
254
-
255
-
256
-
257
-
258
-
259
-
260
-
261
-
262
-
263
-
264
-
265
-
266
-
267
-
268
-
269
-
270
-
271
-
272
-
273
-
274
 |
 |