Pioneer AVIC-5100NEX Owner's Manual - Page 185
Turning off the demo screen, System settings
 |
View all Pioneer AVIC-5100NEX manuals
Add to My Manuals
Save this manual to your list of manuals |
Page 185 highlights
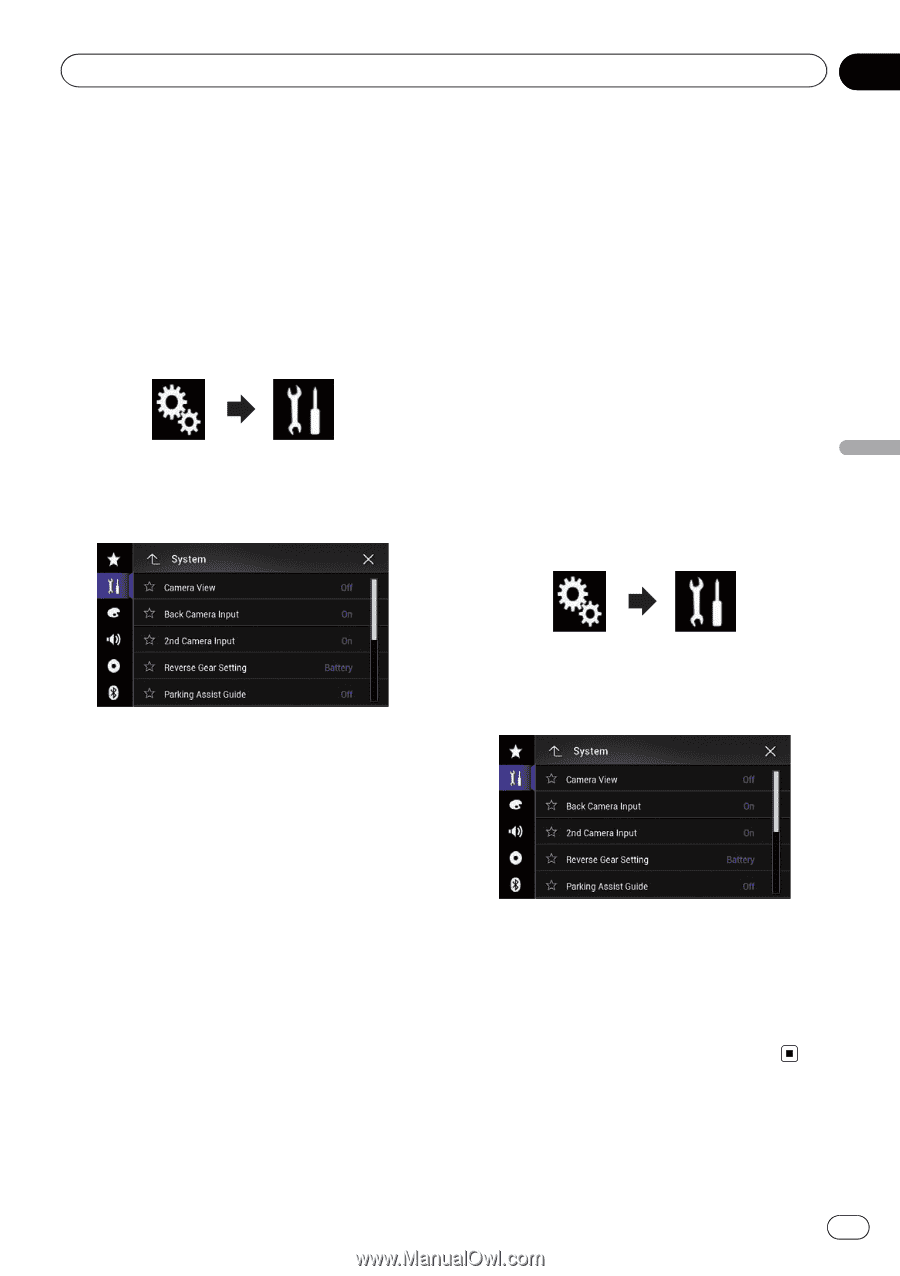
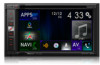
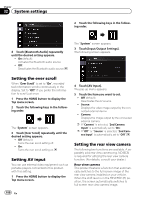
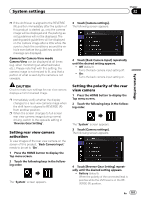
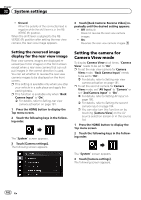
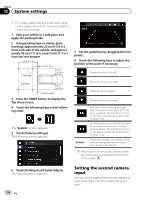
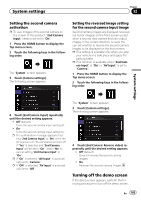
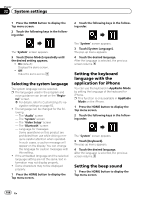
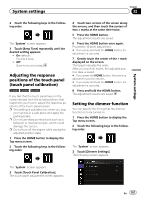
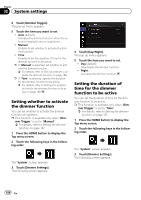
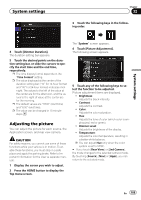
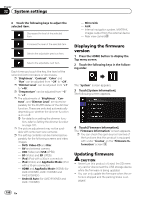
System settings Chapter 32 Setting the second camera activation p To view images of the second camera on the screen of this product, "2nd Camera Input" needs to be set to "On". 1 Press the HOME button to display the Top menu screen. 2 Touch the following keys in the following order. The "System" screen appears. 3 Touch [Camera settings]. The following screen appears. Setting the reversed image setting for the second camera input image Second camera images are displayed reversed (as mirror images) on the front screen except when a second view camera that can output images in the correct direction is used. You can set whether to reverse the second camera images to be displayed on the front screen. p This setting is available only when you stop your vehicle in a safe place and apply the parking brake. p This function is available when "2nd Camera Input" is "On" or "AV Input" is set to "Camera". 1 Press the HOME button to display the Top menu screen. 2 Touch the following keys in the following order. System settings 4 Touch [2nd Camera Input] repeatedly until the desired setting appears. ! Off (default): Turns the second camera input setting off. ! On: Turns the second camera input setting on. p The confirmation message appears if setting "2nd Camera Input" to "On" while the AV source is on. The AV source will turn off if "Yes" is selected, and "2nd Camera Input" will be set to "On". Select "No" to cancel setting "2nd Camera Input" to "On". p If "On" is selected, "AV Input" is automatically set to "Camera". p If "Off" is selected, "AV Input" is automatically set to "Off". The "System" screen appears. 3 Touch [Camera settings]. The following screen appears. 4 Touch [2nd Camera: Reverse video] repeatedly until the desired setting appears. ! Off (default): Does not reverse the second camera images. ! On: Reverses the second camera images. Turning off the demo screen If the demo screen appears, perform the following procedure to turn off the demo screen. En 185
-
 1
1 -
2
-
3
-
4
-
5
-
6
-
7
-
8
-
9
-
10
-
11
-
12
-
13
-
14
-
15
-
16
-
17
-
18
-
19
-
20
-
21
-
22
-
23
-
24
-
25
-
26
-
27
-
28
-
29
-
30
-
31
-
32
-
33
-
34
-
35
-
36
-
37
-
38
-
39
-
40
-
41
-
42
-
43
-
44
-
45
-
46
-
47
-
48
-
49
-
50
-
51
-
52
-
53
-
54
-
55
-
56
-
57
-
58
-
59
-
60
-
61
-
62
-
63
-
64
-
65
-
66
-
67
-
68
-
69
-
70
-
71
-
72
-
73
-
74
-
75
-
76
-
77
-
78
-
79
-
80
-
81
-
82
-
83
-
84
-
85
-
86
-
87
-
88
-
89
-
90
-
91
-
92
-
93
-
94
-
95
-
96
-
97
-
98
-
99
-
100
-
101
-
102
-
103
-
104
-
105
-
106
-
107
-
108
-
109
-
110
-
111
-
112
-
113
-
114
-
115
-
116
-
117
-
118
-
119
-
120
-
121
-
122
-
123
-
124
-
125
-
126
-
127
-
128
-
129
-
130
-
131
-
132
-
133
-
134
-
135
-
136
-
137
-
138
-
139
-
140
-
141
-
142
-
143
-
144
-
145
-
146
-
147
-
148
-
149
-
150
-
151
-
152
-
153
-
154
-
155
-
156
-
157
-
158
-
159
-
160
-
161
-
162
-
163
-
164
-
165
-
166
-
167
-
168
-
169
-
170
-
171
-
172
-
173
-
174
-
175
-
176
-
177
-
178
-
179
-
 180
180 -
 181
181 -
 182
182 -
 183
183 -
 184
184 -
 185
185 -
 186
186 -
 187
187 -
 188
188 -
 189
189 -
 190
190 -
191
-
192
-
193
-
194
-
195
-
196
-
197
-
198
-
199
-
200
-
201
-
202
-
203
-
204
-
205
-
206
-
207
-
208
-
209
-
210
-
211
-
212
-
213
-
214
-
215
-
216
-
217
-
218
-
219
-
220
-
221
-
222
-
223
-
224
-
225
-
226
-
227
-
228
-
229
-
230
-
231
-
232
-
233
-
234
-
235
-
236
-
237
-
238
-
239
-
240
-
241
-
242
-
243
-
244
-
245
-
246
-
247
-
248
-
249
-
250
-
251
-
252
-
253
-
254
-
255
-
256
-
257
-
258
-
259
-
260
-
261
-
262
-
263
-
264
 |
 |