HP Designjet L28500 HP Designjet L28500 Printer Series - User's guide - Page 102
Clean the platen, WARNING, CAUTION
 |
View all HP Designjet L28500 manuals
Add to My Manuals
Save this manual to your list of manuals |
Page 102 highlights
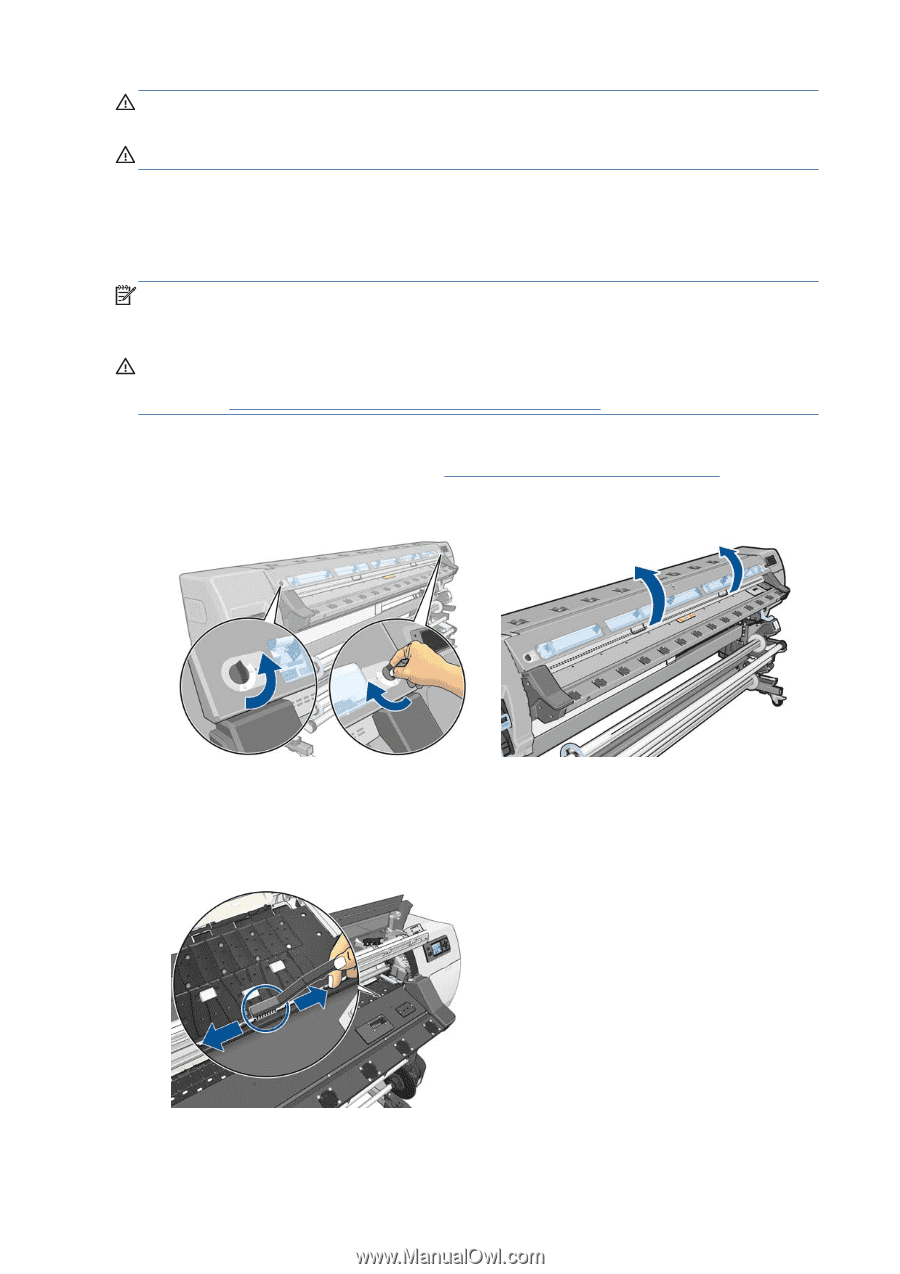
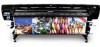
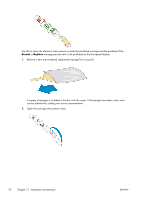
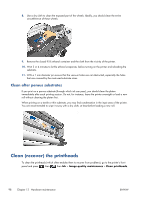
WARNING! To avoid an electric shock, make sure that the printer is turned off and unplugged before you clean it. Do not let water get inside the printer. CAUTION: Do not use abrasive cleaners on the printer. Clean the platen You should clean your printer's platen every few months, or when necessary. NOTE: If you print on wide substrate after having printed on narrower substrate, you may find that the left side of the platen has become dirty. If this contaminated section of the platen is not cleaned, it could leave marks on the back of the substrate. CAUTION: Be careful not to damage the substrate-advance sensor when cleaning the platen. The sensor is the very small rectangular window (less than 1 cm²) found close to the third pinchwheel from the right. See Clean the substrate-advance sensor window on page 99. Follow these instructions to clean the platen. 1. Unload all substrate from the printer. See Unload a roll from the printer on page 36. 2. Turn off the printer and wait until it has cooled down, then unlock and open the printer window. 3. Use a clean, absorbent lint-free cloth to thoroughly wipe any wet ink from the cutter grove, cutter ramp and platen. 4. With a dry brush, remove dry, loosened ink deposits from the cutter groove and cutter ramp. A brush is available in the User Maintenance Kit. 96 Chapter 12 Hardware maintenance ENWW
-
 1
1 -
2
-
3
-
4
-
5
-
6
-
7
-
8
-
9
-
10
-
11
-
12
-
13
-
14
-
15
-
16
-
17
-
18
-
19
-
20
-
21
-
22
-
23
-
24
-
25
-
26
-
27
-
28
-
29
-
30
-
31
-
32
-
33
-
34
-
35
-
36
-
37
-
38
-
39
-
40
-
41
-
42
-
43
-
44
-
45
-
46
-
47
-
48
-
49
-
50
-
51
-
52
-
53
-
54
-
55
-
56
-
57
-
58
-
59
-
60
-
61
-
62
-
63
-
64
-
65
-
66
-
67
-
68
-
69
-
70
-
71
-
72
-
73
-
74
-
75
-
76
-
77
-
78
-
79
-
80
-
81
-
82
-
83
-
84
-
85
-
86
-
87
-
88
-
89
-
90
-
91
-
92
-
93
-
94
-
95
-
96
-
 97
97 -
 98
98 -
 99
99 -
 100
100 -
 101
101 -
 102
102 -
 103
103 -
 104
104 -
 105
105 -
 106
106 -
 107
107 -
108
-
109
-
110
-
111
-
112
-
113
-
114
-
115
-
116
-
117
-
118
-
119
-
120
-
121
-
122
-
123
-
124
-
125
-
126
-
127
-
128
-
129
-
130
-
131
-
132
-
133
-
134
-
135
-
136
-
137
-
138
-
139
-
140
-
141
-
142
-
143
-
144
-
145
-
146
-
147
-
148
-
149
-
150
-
151
-
152
-
153
-
154
-
155
-
156
-
157
-
158
-
159
-
160
-
161
-
162
-
163
-
164
-
165
-
166
-
167
-
168
-
169
-
170
-
171
-
172
-
173
-
174
-
175
-
176
 |
 |