Pfaff creative 2140 Owner's Manual - Page 49
General, notes, machine
 |
View all Pfaff creative 2140 manuals
Add to My Manuals
Save this manual to your list of manuals |
Page 49 highlights
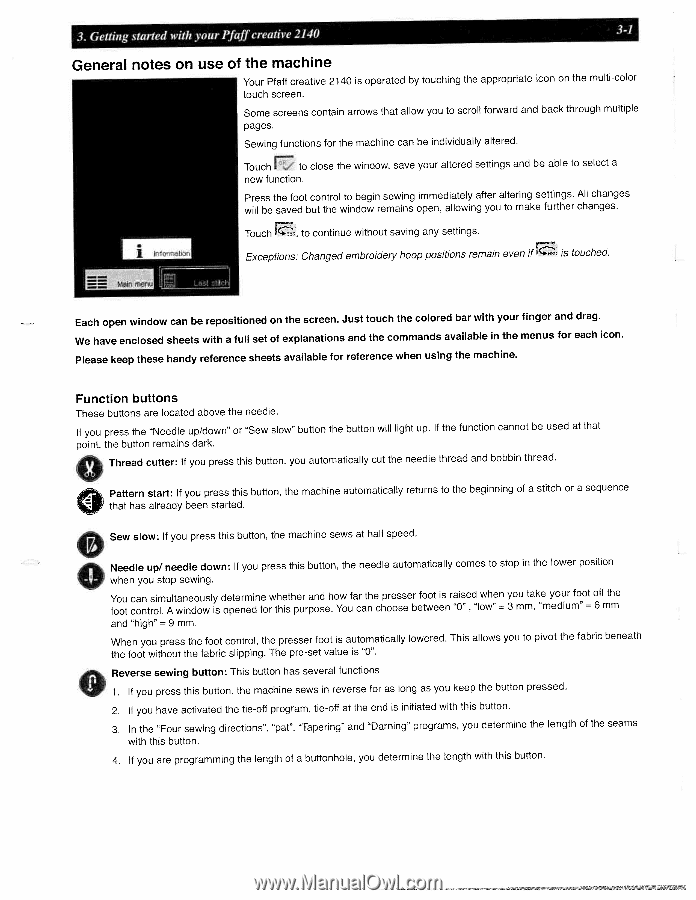
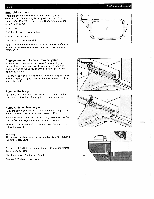
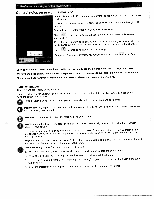
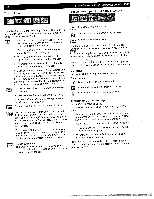
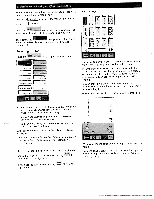
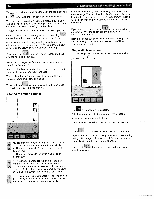
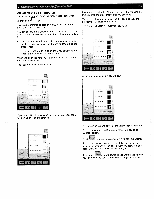
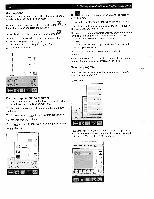
3 Getting started with your Pfaff creative 2140 3-1 General notes on use of the machine Your Pfaff creative 2140 is operated by touching the appropriate icon on the multi-color touch screen. Some screens contain arrows that allow you to scroll forward and back through multiple pages. Sewing functions for the machine can be individually altered. Touch to close the window, save your altered settings and be able to select a new function. Press the foot control to begin sewing immediately after altering settings. All changes will be saved but the window remains open, allowing you to make further changes. Touch to continue without saving any settings. Exceptions: Changed embroidery hoop positions remain even if is touched. Each open window can be repositioned on the screen. Just touch the colored bar with your finger and drag. We have enclosed sheets with a full set of explanations and the commands available in the menus for each icon. Please keep these handy reference sheets available for reference when using the machine. Function buttons These buttons are located above the needle. If you press the "Needle up/down" or "Sew slow" button the button will light up. If the function cannot be used at that point, the button remains dark. Thread cutter: If you press this button, you automatically cut the needle thread and bobbin thread. G Pattern start: If you press this button, the machine automatically returns to the beginning of a stitch or a sequence that has already been started. Sew slow: If you press this button, the machine sews at half speed. Needle up! needle down: If you press this button, the needle automatically comes to stop in the lower position when you stop sewing. You foot can simultaneously determine whether and how far the presser foot is raised when control. A window is opened for this purpose. You can choose between "0" , "low" = you take your foot 3 mm, "medium" off the 6 mm and "high" = 9 mm. When you press the foot control, the presser foot is automatically lowered. This allows you to pivot the fabric beneath the foot without the fabric slipping. The pre-set value is "0". Reverse sewing button: This button has several functions 1. If you press this button, the machine sews in reverse for as long as you keep the button pressed. 2. If you have activated the tie-off program, tie-off at the end is initiated with this button. 3. In the "Four sewing directions", "pat", "Tapering" and "Darning" programs, you determine the length of the seams with this button. 4. If you are programming the length of a buttonhole, you determine the length with this button.
-
 1
1 -
2
-
3
-
4
-
5
-
6
-
7
-
8
-
9
-
10
-
11
-
12
-
13
-
14
-
15
-
16
-
17
-
18
-
19
-
20
-
21
-
22
-
23
-
24
-
25
-
26
-
27
-
28
-
29
-
30
-
31
-
32
-
33
-
34
-
35
-
36
-
37
-
38
-
39
-
40
-
41
-
42
-
43
-
 44
44 -
 45
45 -
 46
46 -
 47
47 -
 48
48 -
 49
49 -
 50
50 -
 51
51 -
 52
52 -
 53
53 -
 54
54 -
55
-
56
-
57
-
58
-
59
-
60
-
61
-
62
-
63
-
64
-
65
-
66
-
67
-
68
-
69
-
70
-
71
-
72
-
73
-
74
-
75
-
76
-
77
-
78
-
79
-
80
-
81
-
82
-
83
-
84
-
85
-
86
-
87
-
88
-
89
-
90
-
91
-
92
-
93
-
94
-
95
-
96
-
97
-
98
-
99
-
100
-
101
-
102
-
103
-
104
-
105
-
106
-
107
-
108
-
109
-
110
-
111
-
112
-
113
-
114
-
115
-
116
-
117
-
118
-
119
-
120
-
121
-
122
-
123
-
124
-
125
-
126
-
127
-
128
-
129
-
130
-
131
-
132
-
133
-
134
-
135
-
136
-
137
-
138
-
139
-
140
-
141
-
142
-
143
-
144
-
145
-
146
-
147
-
148
-
149
-
150
-
151
-
152
-
153
-
154
-
155
-
156
-
157
-
158
-
159
-
160
-
161
-
162
-
163
-
164
-
165
-
166
-
167
-
168
-
169
-
170
-
171
-
172
-
173
-
174
-
175
-
176
-
177
-
178
-
179
-
180
-
181
-
182
-
183
-
184
-
185
-
186
-
187
-
188
-
189
-
190
-
191
 |
 |