eMachines T6528 NG3 Hardware Reference - Page 168
Use the two screws you removed previously to secure the drive to the drive
 |
View all eMachines T6528 manuals
Add to My Manuals
Save this manual to your list of manuals |
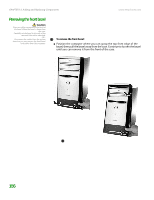
Page 168 highlights
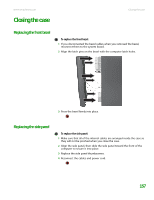
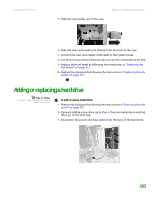
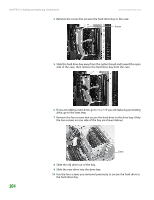
www.emachines.com Adding or replacing a CD or DVD drive 4 Disconnect the power, data, and sound (if attached) cables from the back of the drive. 5 Slide the drive out of the case toward the front. 6 Slide the new drive into the drive bay from the front of the case. 7 Connect the power, data, and sound cables (if necessary) to the back of the drive. 8 Use the two screws you removed previously to secure the drive to the drive bay. 9 Replace the front bezel by following the instructions in "Replacing the front bezel" on page 157. 10 Replace the side panel by following the instructions in "Replacing the side panel" on page 157. 161
-
 1
1 -
2
-
3
-
4
-
5
-
6
-
7
-
8
-
9
-
10
-
11
-
12
-
13
-
14
-
15
-
16
-
17
-
18
-
19
-
20
-
21
-
22
-
23
-
24
-
25
-
26
-
27
-
28
-
29
-
30
-
31
-
32
-
33
-
34
-
35
-
36
-
37
-
38
-
39
-
40
-
41
-
42
-
43
-
44
-
45
-
46
-
47
-
48
-
49
-
50
-
51
-
52
-
53
-
54
-
55
-
56
-
57
-
58
-
59
-
60
-
61
-
62
-
63
-
64
-
65
-
66
-
67
-
68
-
69
-
70
-
71
-
72
-
73
-
74
-
75
-
76
-
77
-
78
-
79
-
80
-
81
-
82
-
83
-
84
-
85
-
86
-
87
-
88
-
89
-
90
-
91
-
92
-
93
-
94
-
95
-
96
-
97
-
98
-
99
-
100
-
101
-
102
-
103
-
104
-
105
-
106
-
107
-
108
-
109
-
110
-
111
-
112
-
113
-
114
-
115
-
116
-
117
-
118
-
119
-
120
-
121
-
122
-
123
-
124
-
125
-
126
-
127
-
128
-
129
-
130
-
131
-
132
-
133
-
134
-
135
-
136
-
137
-
138
-
139
-
140
-
141
-
142
-
143
-
144
-
145
-
146
-
147
-
148
-
149
-
150
-
151
-
152
-
153
-
154
-
155
-
156
-
157
-
158
-
159
-
160
-
161
-
162
-
 163
163 -
 164
164 -
 165
165 -
 166
166 -
 167
167 -
 168
168 -
 169
169 -
 170
170 -
 171
171 -
 172
172 -
 173
173 -
174
-
175
-
176
-
177
-
178
-
179
-
180
-
181
-
182
-
183
-
184
-
185
-
186
-
187
-
188
-
189
-
190
-
191
-
192
-
193
-
194
-
195
-
196
-
197
-
198
-
199
-
200
-
201
-
202
-
203
-
204
-
205
-
206
-
207
-
208
-
209
-
210
-
211
-
212
-
213
-
214
 |
 |
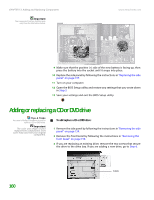
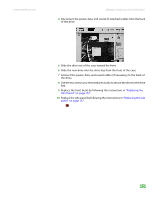
Adding or replacing a CD or DVD drive
www.emachines.com
161
4
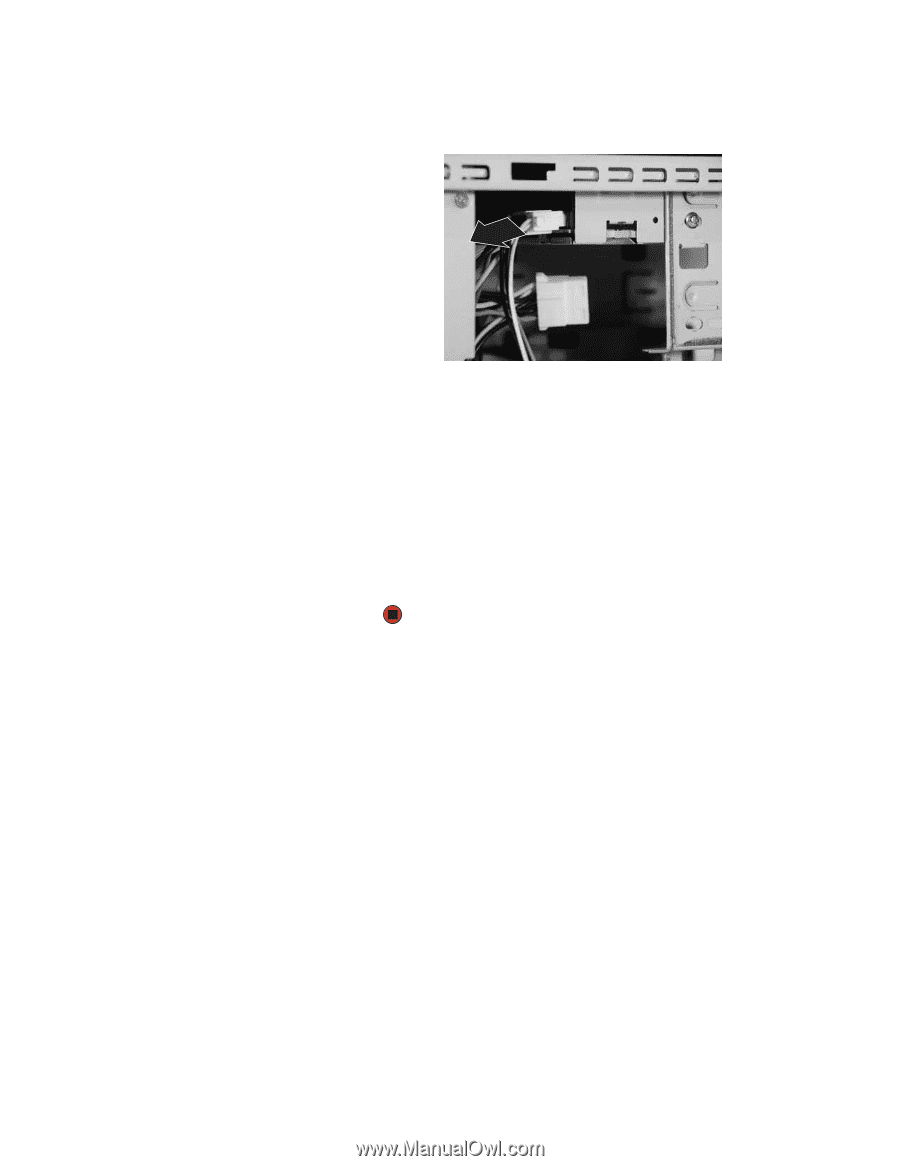
Disconnect the power, data, and sound (if attached) cables from the back
of the drive.
5
Slide the drive out of the case toward the front.
6
Slide the new drive into the drive bay from the front of the case.
7
Connect the power, data, and sound cables (if necessary) to the back of
the drive.
8
Use the two screws you removed previously to secure the drive to the drive
bay.
9
Replace the front bezel by following the instructions in
“Replacing the
front bezel” on page 157
.
10
Replace the side panel by following the instructions in
“Replacing the side
panel” on page 157
.