Netgear D7800 User Manual - Page 38
Log In to the Modem Router After Setup to View or Change Settings, To log in to the modem router
 |
View all Netgear D7800 manuals
Add to My Manuals
Save this manual to your list of manuals |
Page 38 highlights
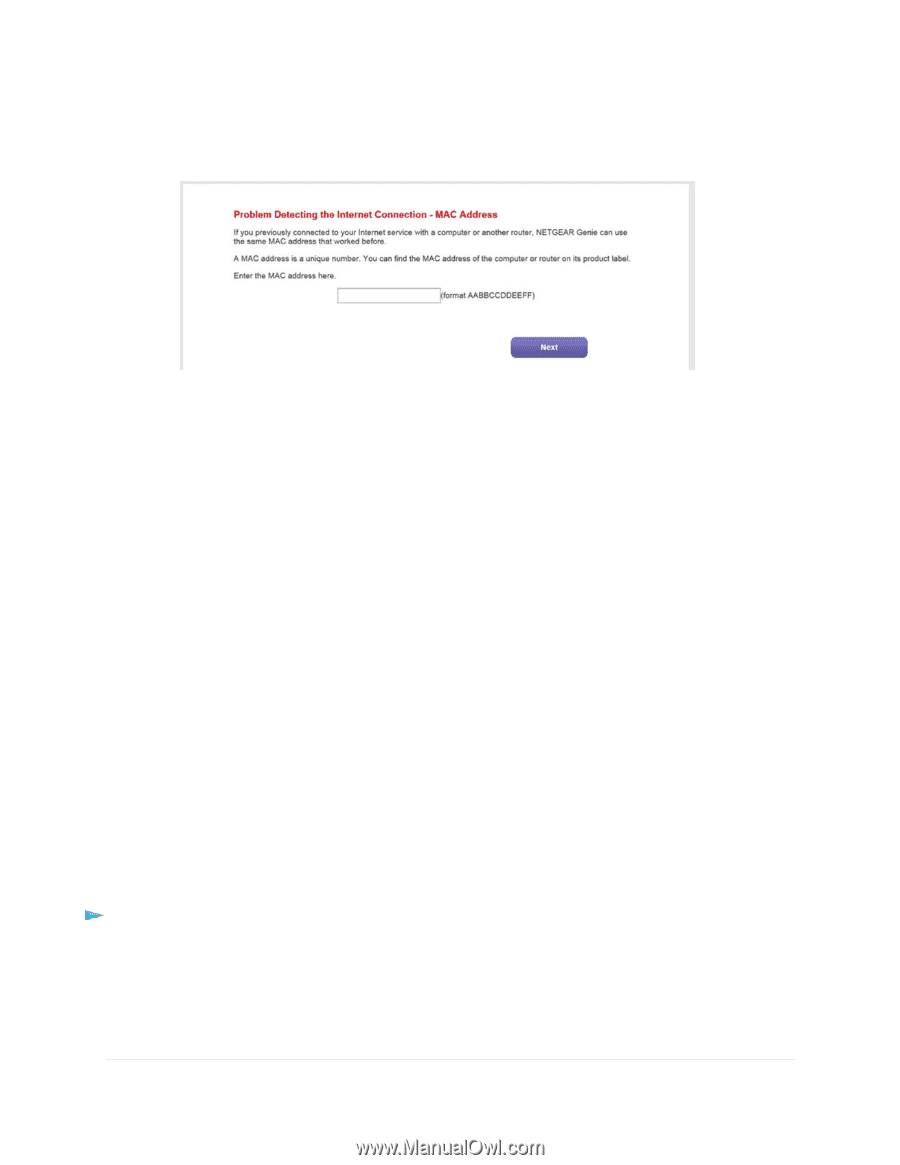
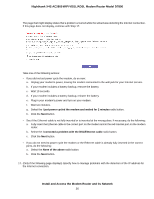
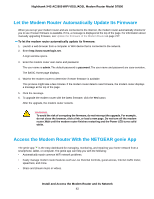
Nighthawk X4S AC2600 WiFi VDSL/ADSL Modem Router Model D7800 a. Select either the No or the I don't know radio button. b. Click the Next button. c. Enter the MAC address of the computer or router with which you previously were able to connect to the Internet. You might find the MAC address on the product label of your device. Enter the MAC address in the AABBCCDDEEFF format, not in the AA:BB:CC:DD:EE:FF format. d. Click the Next button. 18. If the Congratulations! page still does not display and the modem router still does not connect to the Internet, do the following: a. Review all your settings and make sure that you selected the correct options and entered everything correctly. b. Run the Setup Wizard one more time. c. Contact your ISP to verify that you are using the correct configuration information. d. Read Troubleshoot the Internet Connection on page 286. e. If problems persist, register your NETGEAR product and contact NETGEAR technical support. When the modem router connects to the Internet, you are prompted to download and install the free NETGEAR Desktop genie app and the free ReadySHARE Vault app. Log In to the Modem Router After Setup to View or Change Settings After you set up the modem router for DSL, cable, or fiber service, you can view or change the settings for the modem router. To log in to the modem router: 1. Launch a web browser from a computer or WiFi device that is connected to the network. 2. Enter http://www.routerlogin.net. Install and Access the Modem Router and Its Network 38
-
 1
1 -
2
-
3
-
4
-
5
-
6
-
7
-
8
-
9
-
10
-
11
-
12
-
13
-
14
-
15
-
16
-
17
-
18
-
19
-
20
-
21
-
22
-
23
-
24
-
25
-
26
-
27
-
28
-
29
-
30
-
31
-
32
-
 33
33 -
 34
34 -
 35
35 -
 36
36 -
 37
37 -
 38
38 -
 39
39 -
 40
40 -
 41
41 -
 42
42 -
 43
43 -
44
-
45
-
46
-
47
-
48
-
49
-
50
-
51
-
52
-
53
-
54
-
55
-
56
-
57
-
58
-
59
-
60
-
61
-
62
-
63
-
64
-
65
-
66
-
67
-
68
-
69
-
70
-
71
-
72
-
73
-
74
-
75
-
76
-
77
-
78
-
79
-
80
-
81
-
82
-
83
-
84
-
85
-
86
-
87
-
88
-
89
-
90
-
91
-
92
-
93
-
94
-
95
-
96
-
97
-
98
-
99
-
100
-
101
-
102
-
103
-
104
-
105
-
106
-
107
-
108
-
109
-
110
-
111
-
112
-
113
-
114
-
115
-
116
-
117
-
118
-
119
-
120
-
121
-
122
-
123
-
124
-
125
-
126
-
127
-
128
-
129
-
130
-
131
-
132
-
133
-
134
-
135
-
136
-
137
-
138
-
139
-
140
-
141
-
142
-
143
-
144
-
145
-
146
-
147
-
148
-
149
-
150
-
151
-
152
-
153
-
154
-
155
-
156
-
157
-
158
-
159
-
160
-
161
-
162
-
163
-
164
-
165
-
166
-
167
-
168
-
169
-
170
-
171
-
172
-
173
-
174
-
175
-
176
-
177
-
178
-
179
-
180
-
181
-
182
-
183
-
184
-
185
-
186
-
187
-
188
-
189
-
190
-
191
-
192
-
193
-
194
-
195
-
196
-
197
-
198
-
199
-
200
-
201
-
202
-
203
-
204
-
205
-
206
-
207
-
208
-
209
-
210
-
211
-
212
-
213
-
214
-
215
-
216
-
217
-
218
-
219
-
220
-
221
-
222
-
223
-
224
-
225
-
226
-
227
-
228
-
229
-
230
-
231
-
232
-
233
-
234
-
235
-
236
-
237
-
238
-
239
-
240
-
241
-
242
-
243
-
244
-
245
-
246
-
247
-
248
-
249
-
250
-
251
-
252
-
253
-
254
-
255
-
256
-
257
-
258
-
259
-
260
-
261
-
262
-
263
-
264
-
265
-
266
-
267
-
268
-
269
-
270
-
271
-
272
-
273
-
274
-
275
-
276
-
277
-
278
-
279
-
280
-
281
-
282
-
283
-
284
-
285
-
286
-
287
-
288
-
289
-
290
-
291
-
292
-
293
-
294
-
295
-
296
-
297
-
298
-
299
 |
 |