HP OmniBook 500 hp omnibook 500 - Corporate Evaluator's Guide - Page 31
To change the boot device, To use the pointing stick, Using Your Computer, Corporate Evaluator's Guide - boot usb
 |
View all HP OmniBook 500 manuals
Add to My Manuals
Save this manual to your list of manuals |
Page 31 highlights
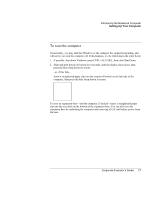
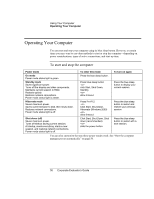
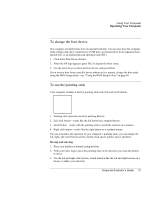
Using Your Computer Operating Your Computer To change the boot device The computer normally boots from its internal hard disk. You can also boot the computer from a floppy disk drive connected to a USB port, an external drive in an expansion base module bay, or an internal network interface card (NIC). 1. Click Start, Shut Down, Restart. 2. When the HP logo appears, press ESC to display the Boot menu. 3. Use the arrow keys to select the boot device, and press Enter. If you want to boot from a specific device whenever it is present, change the boot order using the BIOS Setup utility-see "Using the BIOS Setup Utility" on page 86. To use the pointing stick Your computer includes a built-in pointing stick and click and scroll buttons. 1. Pointing stick (pressure-sensitive pointing device). 2. Left click button-works like the left button on a standard mouse. 3. Scroll button-works with the pointing stick to scroll the contents of a window. 4. Right click button-works like the right button on a standard mouse. You can customize the operation of your computer's pointing stick: you can change the left, right, and scroll button actions, double-click speed, pointer speed, and more. Moving and selecting 1. Place your hands in a normal typing position. 2. With your index finger, press the pointing stick in the direction you want the pointer to move. 3. Use the left and right click buttons, which function like the left and right buttons on a mouse, to make your selection: Corporate Evaluator's Guide 31
-
 1
1 -
2
-
3
-
4
-
5
-
6
-
7
-
8
-
9
-
10
-
11
-
12
-
13
-
14
-
15
-
16
-
17
-
18
-
19
-
20
-
21
-
22
-
23
-
24
-
25
-
 26
26 -
 27
27 -
 28
28 -
 29
29 -
 30
30 -
 31
31 -
 32
32 -
 33
33 -
 34
34 -
 35
35 -
 36
36 -
37
-
38
-
39
-
40
-
41
-
42
-
43
-
44
-
45
-
46
-
47
-
48
-
49
-
50
-
51
-
52
-
53
-
54
-
55
-
56
-
57
-
58
-
59
-
60
-
61
-
62
-
63
-
64
-
65
-
66
-
67
-
68
-
69
-
70
-
71
-
72
-
73
-
74
-
75
-
76
-
77
-
78
-
79
-
80
-
81
-
82
-
83
-
84
-
85
-
86
-
87
-
88
-
89
-
90
-
91
-
92
-
93
-
94
-
95
-
96
-
97
-
98
-
99
-
100
-
101
-
102
-
103
-
104
-
105
-
106
-
107
-
108
-
109
-
110
-
111
-
112
-
113
-
114
-
115
-
116
-
117
-
118
-
119
-
120
-
121
-
122
-
123
-
124
-
125
-
126
-
127
-
128
-
129
-
130
-
131
-
132
-
133
-
134
-
135
-
136
-
137
-
138
-
139
-
140
-
141
-
142
-
143
-
144
-
145
-
146
-
147
-
148
-
149
-
150
-
151
-
152
-
153
-
154
-
155
-
156
-
157
-
158
-
159
-
160
-
161
-
162
-
163
-
164
-
165
-
166
-
167
-
168
-
169
-
170
-
171
-
172
-
173
-
174
-
175
-
176
-
177
-
178
-
179
-
180
-
181
-
182
-
183
-
184
-
185
-
186
-
187
-
188
-
189
-
190
-
191
-
192
-
193
-
194
-
195
-
196
-
197
-
198
-
199
 |
 |
