Canon XF605 Instruction Manual - Page 24
Date, Time and Language Settings, Setting the Date and Time, Changing the Language
 |
View all Canon XF605 manuals
Add to My Manuals
Save this manual to your list of manuals |
Page 24 highlights
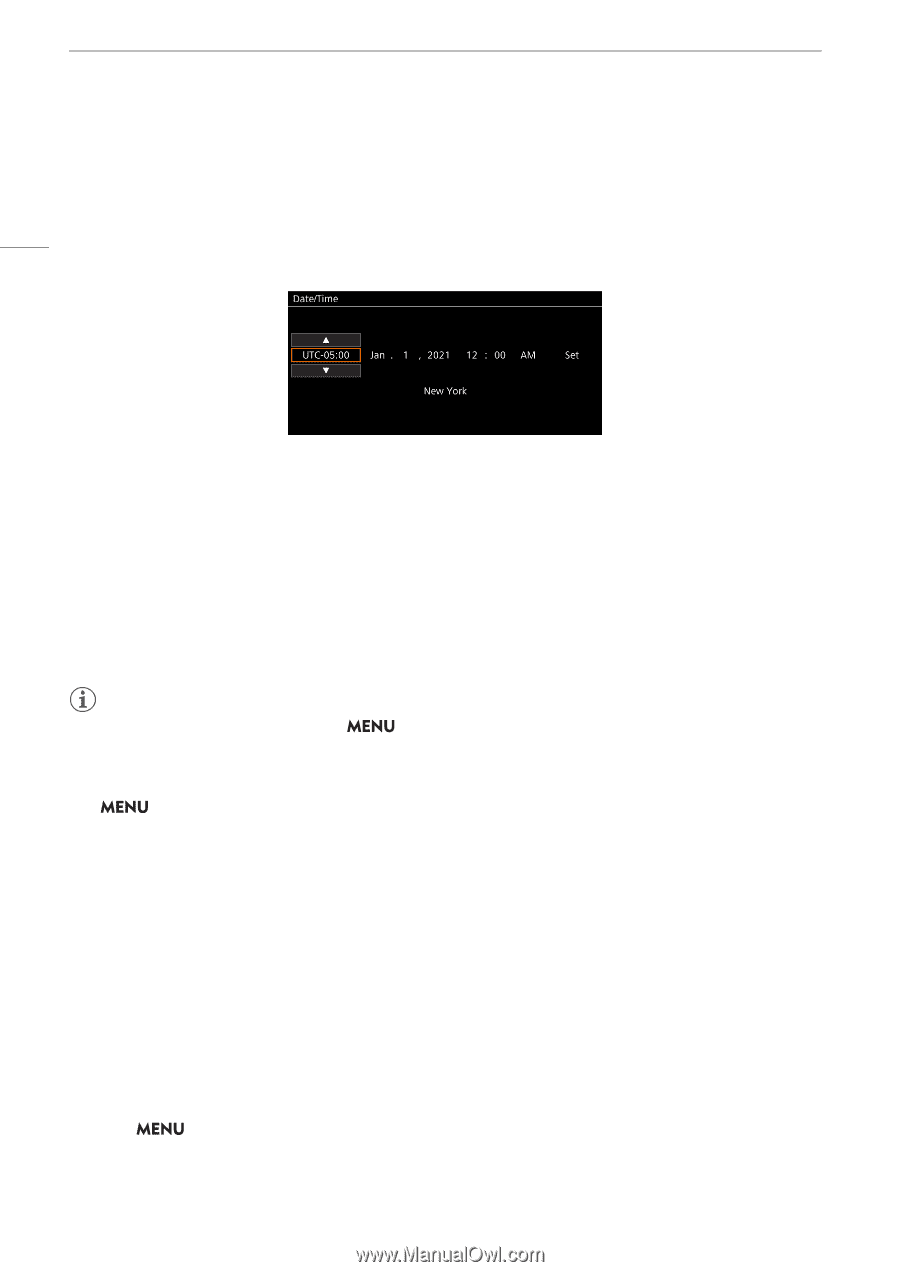
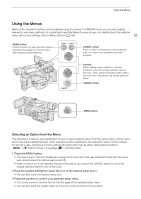
Date, Time and Language Settings Date, Time and Language Settings Setting the Date and Time 24 You will need to set the date and time on the camera the first time you power it on, or after the camera's settings have been reset. The [Date/Time] screen will appear automatically when the camera's clock is not set. Refer to Using the Menus (A 25) for instructions on how to operate the menus. 1 Select the desired time zone* using the joystick, and confirm by pressing the joystick itself. • The cursor will move to the next field. • You can also touch [Í]/[Î] on the screen to select the desired value. • You can also push the joystick left/right to move between the fields, or touch the desired field. * The default time zone is [UTC-05:00] (New York) or [UTC+01:00] (Central Europe), depending on the country/region of purchase. Time zones are based on Coordinated Universal Time (UTC). 2 Change the rest of the fields in the same way. 3 Select [Set] and then press the joystick. • You can also touch the onscreen [Set] button to confirm, for example to match precisely a speaking clock or other signal. NOTES • You can display the date/time with the Display] > [Date/Time] setting. > [¢ Monitoring Setup] > [Custom Display 2] or [Custom • With the following settings, you can make changes after the initial setup. You can also change the date format and clock format (12 or 24 hours). - > [B System Setup] > [Time Zone], [Date/Time] and [Date Format] • When you do not use the camera for about 3 months, the built-in backup battery may be depleted completely and the date and time setting may be lost. In such case, recharge the built-in backup battery (A 220) and set the time zone, date and time again. • Using the GP-E2 GPS Receiver, you can have the camera adjust settings automatically according to the UTC date/time information received from the GPS signal (A 196). Changing the Language The camera's default language is English. You can change it to German, Spanish, French, Italian, Polish, Portuguese, Russian, Ukrainian, Simplified Chinese, Korean or Japanese. Please note that some settings and screens will be displayed in English, regardless of the language setting. Refer to Selecting an Option from the Menu (A 25) for details on how to navigate the menu to complete this procedure. 1 Select > [B System Setup] > [Language H] . 2 Select the desired language and press the MENU button to close the menu.
-
 1
1 -
2
-
3
-
4
-
5
-
6
-
7
-
8
-
9
-
10
-
11
-
12
-
13
-
14
-
15
-
16
-
17
-
18
-
 19
19 -
 20
20 -
 21
21 -
 22
22 -
 23
23 -
 24
24 -
 25
25 -
 26
26 -
 27
27 -
 28
28 -
 29
29 -
30
-
31
-
32
-
33
-
34
-
35
-
36
-
37
-
38
-
39
-
40
-
41
-
42
-
43
-
44
-
45
-
46
-
47
-
48
-
49
-
50
-
51
-
52
-
53
-
54
-
55
-
56
-
57
-
58
-
59
-
60
-
61
-
62
-
63
-
64
-
65
-
66
-
67
-
68
-
69
-
70
-
71
-
72
-
73
-
74
-
75
-
76
-
77
-
78
-
79
-
80
-
81
-
82
-
83
-
84
-
85
-
86
-
87
-
88
-
89
-
90
-
91
-
92
-
93
-
94
-
95
-
96
-
97
-
98
-
99
-
100
-
101
-
102
-
103
-
104
-
105
-
106
-
107
-
108
-
109
-
110
-
111
-
112
-
113
-
114
-
115
-
116
-
117
-
118
-
119
-
120
-
121
-
122
-
123
-
124
-
125
-
126
-
127
-
128
-
129
-
130
-
131
-
132
-
133
-
134
-
135
-
136
-
137
-
138
-
139
-
140
-
141
-
142
-
143
-
144
-
145
-
146
-
147
-
148
-
149
-
150
-
151
-
152
-
153
-
154
-
155
-
156
-
157
-
158
-
159
-
160
-
161
-
162
-
163
-
164
-
165
-
166
-
167
-
168
-
169
-
170
-
171
-
172
-
173
-
174
-
175
-
176
-
177
-
178
-
179
-
180
-
181
-
182
-
183
-
184
-
185
-
186
-
187
-
188
-
189
-
190
-
191
-
192
-
193
-
194
-
195
-
196
-
197
-
198
-
199
-
200
-
201
-
202
-
203
-
204
-
205
-
206
-
207
-
208
-
209
-
210
-
211
-
212
-
213
-
214
-
215
-
216
-
217
-
218
-
219
-
220
-
221
-
222
-
223
-
224
-
225
-
226
-
227
-
228
-
229
-
230
-
231
-
232
-
233
-
234
-
235
-
236
-
237
-
238
 |
 |