Samsung SM-G900R4 User Manual Us Cellular Sm-g900r4 Galaxy S 5 Kit Kat English - Page 68
Contacts, Adding a New Contact
 |
View all Samsung SM-G900R4 manuals
Add to My Manuals
Save this manual to your list of manuals |
Page 68 highlights
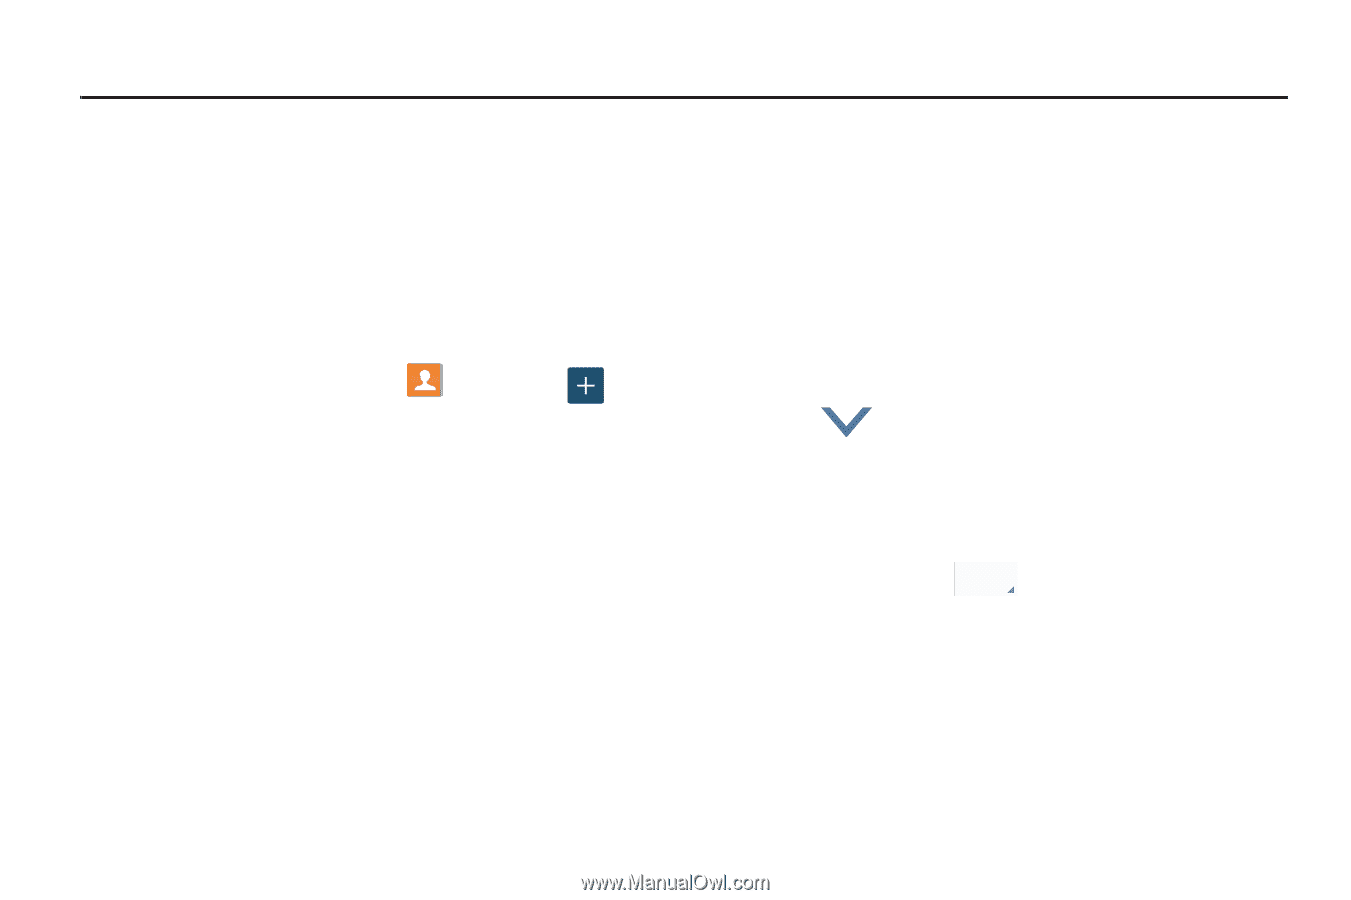
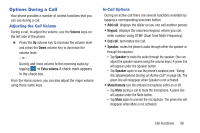
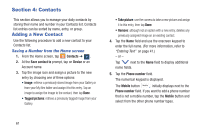
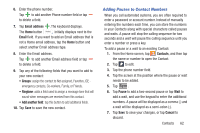
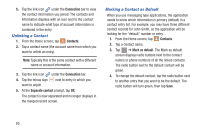
Section 4: Contacts This section allows you to manage your daily contacts by storing their name and number in your Contacts list. Contacts list entries can be sorted by name, entry, or group. Adding a New Contact Use the following procedure to add a new contact to your Contacts list. Saving a Number from the Home screen 1. From the Home screen, tap Contacts ➔ . 2. At the Save contact to prompt, tap on Device or an Account name. 3. Tap the image icon and assign a picture to the new entry by choosing one of three options: • Image: retrieve a previously stored image from your Gallery or from your My files folder and assign it to this entry. Tap an image to assign the image to the contact, then tap Done. • Tagged pictures: retrieve a previously tagged image from your Gallery. • Take picture: use the camera to take a new picture and assign it to this entry, then tap Done. • Remove: although not an option with a new entry, deletes any previously assigned image on an existing contact. 4. Tap the Name field and use the onscreen keypad to enter the full name. (For more information, refer to "Entering Text" on page 41.) - or - Tap next to the Name field to display additional name fields. 5. Tap the Phone number field. The numerical keypad is displayed. The Mobile button Mobile initially displays next to the Phone number field. If you want to add a phone number that is not a mobile number, tap the Mobile button and select from the other phone number types. 61
-
 1
1 -
2
-
3
-
4
-
5
-
6
-
7
-
8
-
9
-
10
-
11
-
12
-
13
-
14
-
15
-
16
-
17
-
18
-
19
-
20
-
21
-
22
-
23
-
24
-
25
-
26
-
27
-
28
-
29
-
30
-
31
-
32
-
33
-
34
-
35
-
36
-
37
-
38
-
39
-
40
-
41
-
42
-
43
-
44
-
45
-
46
-
47
-
48
-
49
-
50
-
51
-
52
-
53
-
54
-
55
-
56
-
57
-
58
-
59
-
60
-
61
-
62
-
 63
63 -
 64
64 -
 65
65 -
 66
66 -
 67
67 -
 68
68 -
 69
69 -
 70
70 -
 71
71 -
 72
72 -
 73
73 -
74
-
75
-
76
-
77
-
78
-
79
-
80
-
81
-
82
-
83
-
84
-
85
-
86
-
87
-
88
-
89
-
90
-
91
-
92
-
93
-
94
-
95
-
96
-
97
-
98
-
99
-
100
-
101
-
102
-
103
-
104
-
105
-
106
-
107
-
108
-
109
-
110
-
111
-
112
-
113
-
114
-
115
-
116
-
117
-
118
-
119
-
120
-
121
-
122
-
123
-
124
-
125
-
126
-
127
-
128
-
129
-
130
-
131
-
132
-
133
-
134
-
135
-
136
-
137
-
138
-
139
-
140
-
141
-
142
-
143
-
144
-
145
-
146
-
147
-
148
-
149
-
150
-
151
-
152
-
153
-
154
-
155
-
156
-
157
-
158
-
159
-
160
-
161
-
162
-
163
-
164
-
165
-
166
-
167
-
168
-
169
-
170
-
171
-
172
-
173
-
174
-
175
-
176
-
177
-
178
-
179
-
180
-
181
-
182
-
183
-
184
-
185
-
186
-
187
-
188
-
189
-
190
-
191
-
192
-
193
-
194
-
195
-
196
-
197
-
198
-
199
-
200
-
201
-
202
-
203
-
204
-
205
-
206
-
207
-
208
-
209
-
210
-
211
-
212
-
213
-
214
-
215
-
216
-
217
-
218
-
219
-
220
-
221
-
222
 |
 |