HP Xw460c HP Integrated Lights-Out 2 User Guide for Firmware 1.75 and 1.77 - Page 151
Object., remoteAdmins, Properties., HP Devices, Apply, and select
 |
View all HP Xw460c manuals
Add to My Manuals
Save this manual to your list of manuals |
Page 151 highlights
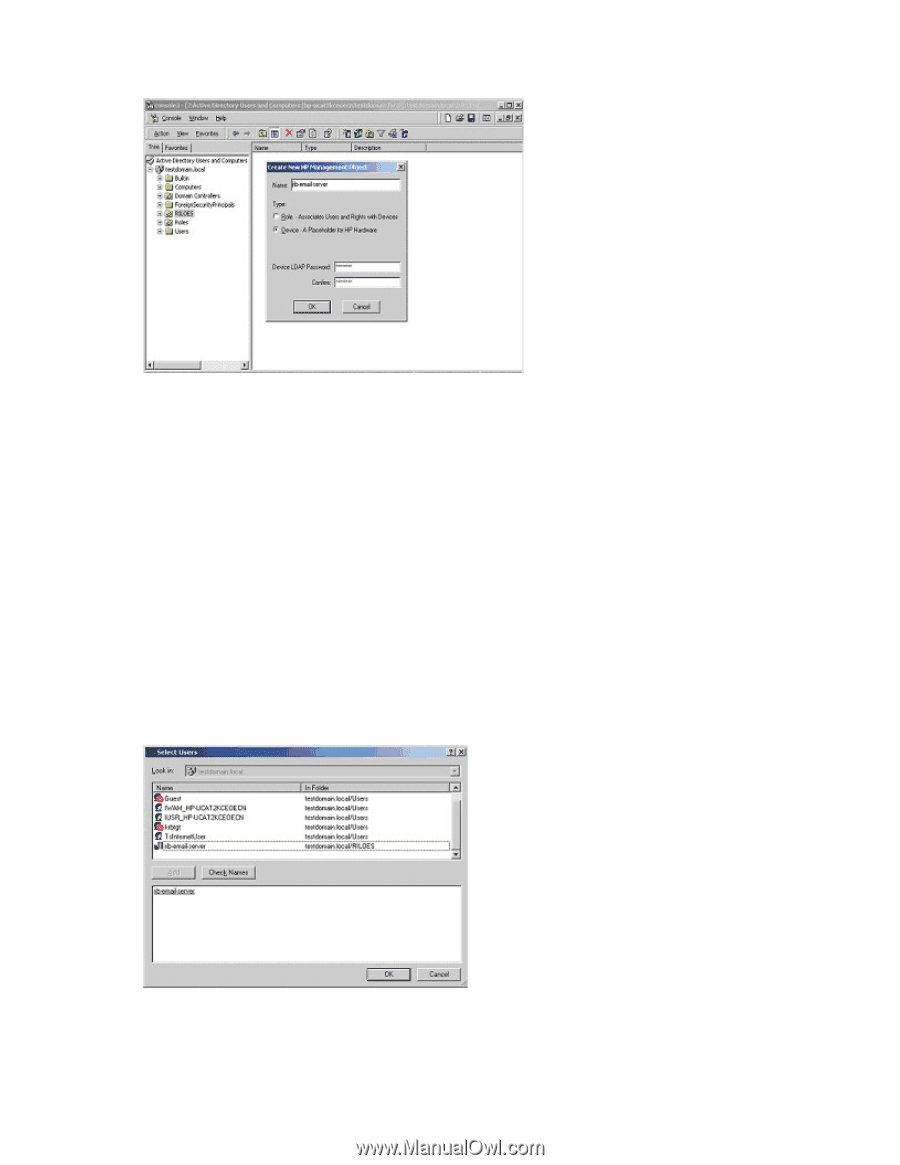
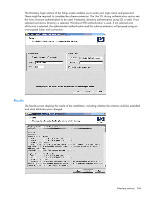
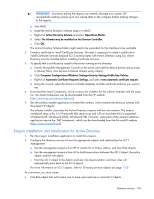
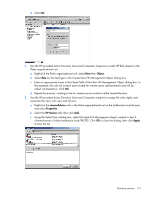
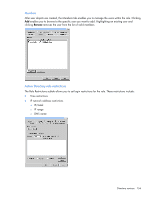
d. Click OK. 2. Use the HP provided Active Directory Users and Computers snap-ins to create HP Role objects in the Roles organizational unit. a. Right-click the Roles organizational unit, select New then Object. b. Select Role for the field type in the Create New HP Management Object dialog box. c. Enter an appropriate name in the Name field of the New HP Management Object dialog box. In this example, the role will contain users trusted for remote server administration and will be called remoteAdmins. Click OK. d. Repeat the process, creating a role for remote server monitors called remoteMonitors. 3. Use the HP provided Active Directory Users and Computers snap-ins to assign the roles rights, and associate the roles with users and devices. a. Right-click the remoteAdmins role in the Roles organizational unit in the testdomain.local domain, and select Properties. b. Select the HP Devices tab, then click Add. c. Using the Select Users dialog box, select the Lights-Out Management object created in step 2, rib-email-server in folder testdomain.local/RILOES. Click OK to close the dialog, then click Apply to save the list. Directory services 151
-
 1
1 -
2
-
3
-
4
-
5
-
6
-
7
-
8
-
9
-
10
-
11
-
12
-
13
-
14
-
15
-
16
-
17
-
18
-
19
-
20
-
21
-
22
-
23
-
24
-
25
-
26
-
27
-
28
-
29
-
30
-
31
-
32
-
33
-
34
-
35
-
36
-
37
-
38
-
39
-
40
-
41
-
42
-
43
-
44
-
45
-
46
-
47
-
48
-
49
-
50
-
51
-
52
-
53
-
54
-
55
-
56
-
57
-
58
-
59
-
60
-
61
-
62
-
63
-
64
-
65
-
66
-
67
-
68
-
69
-
70
-
71
-
72
-
73
-
74
-
75
-
76
-
77
-
78
-
79
-
80
-
81
-
82
-
83
-
84
-
85
-
86
-
87
-
88
-
89
-
90
-
91
-
92
-
93
-
94
-
95
-
96
-
97
-
98
-
99
-
100
-
101
-
102
-
103
-
104
-
105
-
106
-
107
-
108
-
109
-
110
-
111
-
112
-
113
-
114
-
115
-
116
-
117
-
118
-
119
-
120
-
121
-
122
-
123
-
124
-
125
-
126
-
127
-
128
-
129
-
130
-
131
-
132
-
133
-
134
-
135
-
136
-
137
-
138
-
139
-
140
-
141
-
142
-
143
-
144
-
145
-
 146
146 -
 147
147 -
 148
148 -
 149
149 -
 150
150 -
 151
151 -
 152
152 -
 153
153 -
 154
154 -
 155
155 -
 156
156 -
157
-
158
-
159
-
160
-
161
-
162
-
163
-
164
-
165
-
166
-
167
-
168
-
169
-
170
-
171
-
172
-
173
-
174
-
175
-
176
-
177
-
178
-
179
-
180
-
181
-
182
-
183
-
184
-
185
-
186
-
187
-
188
-
189
-
190
-
191
-
192
-
193
-
194
-
195
-
196
-
197
-
198
-
199
-
200
-
201
-
202
-
203
-
204
-
205
-
206
-
207
-
208
-
209
-
210
-
211
-
212
-
213
-
214
-
215
-
216
-
217
-
218
-
219
-
220
-
221
-
222
-
223
-
224
-
225
-
226
-
227
-
228
-
229
-
230
-
231
-
232
-
233
-
234
-
235
 |
 |