HP Xw460c HP Integrated Lights-Out 2 User Guide for Firmware 1.75 and 1.77 - Page 160
Role Managed Devices option of the HP Management tab., Using the Lights Out Management Device
 |
View all HP Xw460c manuals
Add to My Manuals
Save this manual to your list of manuals |
Page 160 highlights
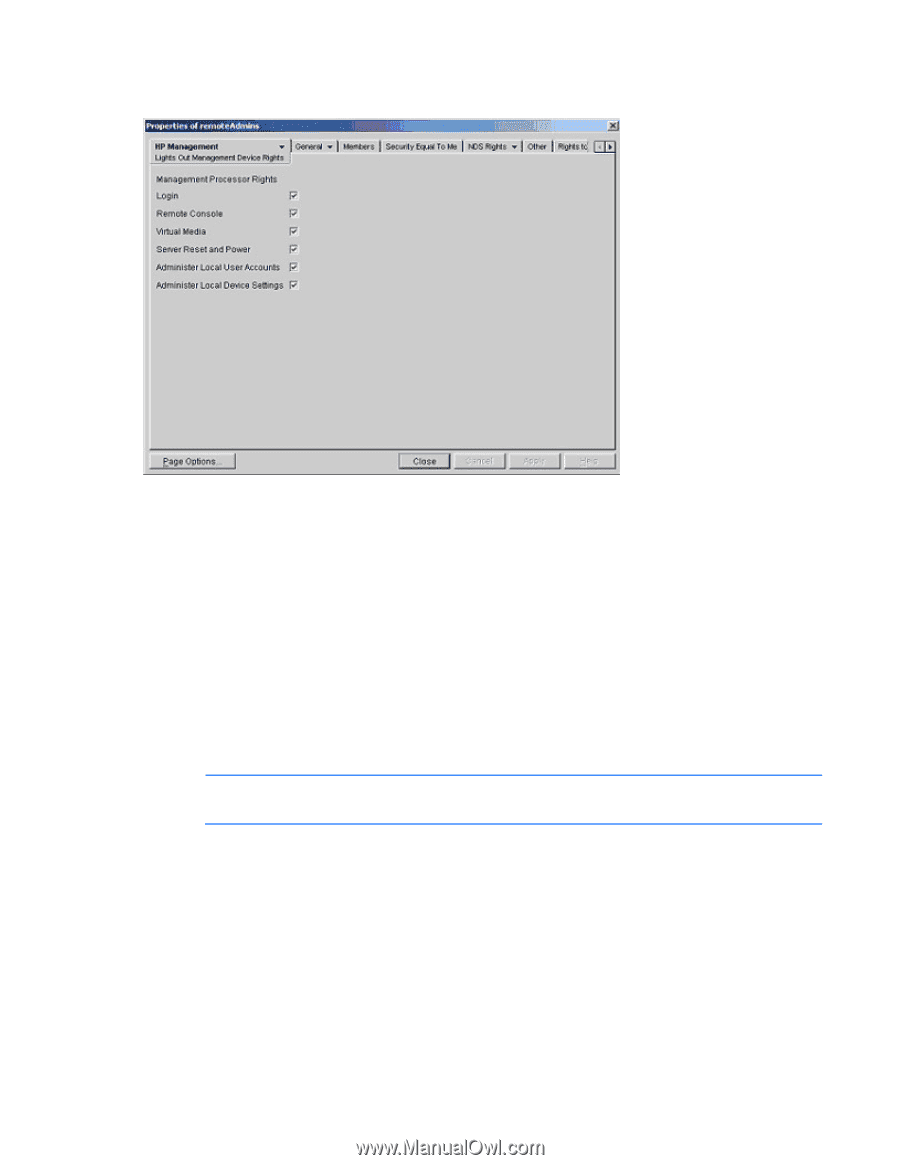
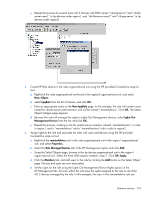
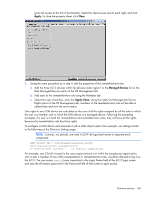
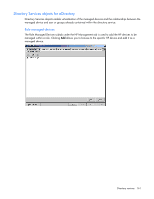
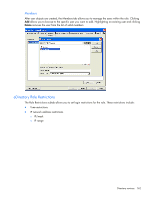
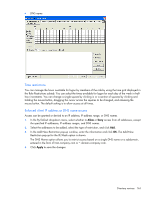
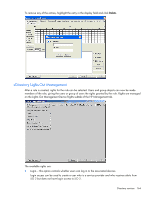
given full access to the iLO 2 functionality. Select the check boxes next to each right, and click Apply. To close the property sheet, click Close. 5. Using the same procedure as in step 4, edit the properties of the remoteMonitors role: a. Add the three iLO 2 devices within hp devices under region1 to the Managed Devices list on the Role Managed Devices option of the HP Management tab. b. Add users to the remoteMonitors role using the Members tab. c. Select the Login check-box, and click Apply>Close. Using the Lights Out Management Device Rights option of the HP Management tab, members of the remoteMonitors role will be able to authenticate and view the server status. User rights to any LOM device are calculated as the sum of all the rights assigned by all the roles in which the user is a member, and in which the LOM device is a managed device. Following the preceding examples, if a user is in both the remoteAdmins and remoteMonitors roles, they will have all the rights, because the remoteAdmins role has those rights. To configure a LOM device and associate it with a LOM object used in this example, use settings similar to the following on the Directory Settings page. NOTE: Commas, not periods, are used in LDAP distinguished names to separate each component. RIB Object DN = cn=rib-email-server,ou=hp devices,ou=region1,o=samplecorp Directory User Context 1 = ou=users,o=samplecorp For example, user CSmith, located in the users organizational unit within the samplecorp organization, who is also a member of one of the remoteAdmins or remoteMonitors roles, would be allowed to log in to the iLO 2. The user enters csmith (case insensitive) in the Login Name field of the iLO 2 login screen and uses the eDirectory password in the Password field of that screen to gain access. Directory services 160
-
 1
1 -
2
-
3
-
4
-
5
-
6
-
7
-
8
-
9
-
10
-
11
-
12
-
13
-
14
-
15
-
16
-
17
-
18
-
19
-
20
-
21
-
22
-
23
-
24
-
25
-
26
-
27
-
28
-
29
-
30
-
31
-
32
-
33
-
34
-
35
-
36
-
37
-
38
-
39
-
40
-
41
-
42
-
43
-
44
-
45
-
46
-
47
-
48
-
49
-
50
-
51
-
52
-
53
-
54
-
55
-
56
-
57
-
58
-
59
-
60
-
61
-
62
-
63
-
64
-
65
-
66
-
67
-
68
-
69
-
70
-
71
-
72
-
73
-
74
-
75
-
76
-
77
-
78
-
79
-
80
-
81
-
82
-
83
-
84
-
85
-
86
-
87
-
88
-
89
-
90
-
91
-
92
-
93
-
94
-
95
-
96
-
97
-
98
-
99
-
100
-
101
-
102
-
103
-
104
-
105
-
106
-
107
-
108
-
109
-
110
-
111
-
112
-
113
-
114
-
115
-
116
-
117
-
118
-
119
-
120
-
121
-
122
-
123
-
124
-
125
-
126
-
127
-
128
-
129
-
130
-
131
-
132
-
133
-
134
-
135
-
136
-
137
-
138
-
139
-
140
-
141
-
142
-
143
-
144
-
145
-
146
-
147
-
148
-
149
-
150
-
151
-
152
-
153
-
154
-
 155
155 -
 156
156 -
 157
157 -
 158
158 -
 159
159 -
 160
160 -
 161
161 -
 162
162 -
 163
163 -
 164
164 -
 165
165 -
166
-
167
-
168
-
169
-
170
-
171
-
172
-
173
-
174
-
175
-
176
-
177
-
178
-
179
-
180
-
181
-
182
-
183
-
184
-
185
-
186
-
187
-
188
-
189
-
190
-
191
-
192
-
193
-
194
-
195
-
196
-
197
-
198
-
199
-
200
-
201
-
202
-
203
-
204
-
205
-
206
-
207
-
208
-
209
-
210
-
211
-
212
-
213
-
214
-
215
-
216
-
217
-
218
-
219
-
220
-
221
-
222
-
223
-
224
-
225
-
226
-
227
-
228
-
229
-
230
-
231
-
232
-
233
-
234
-
235
 |
 |