HP Xw460c HP Integrated Lights-Out 2 User Guide for Firmware 1.75 and 1.77 - Page 163
The Add New, Allow, Apply
 |
View all HP Xw460c manuals
Add to My Manuals
Save this manual to your list of manuals |
Page 163 highlights
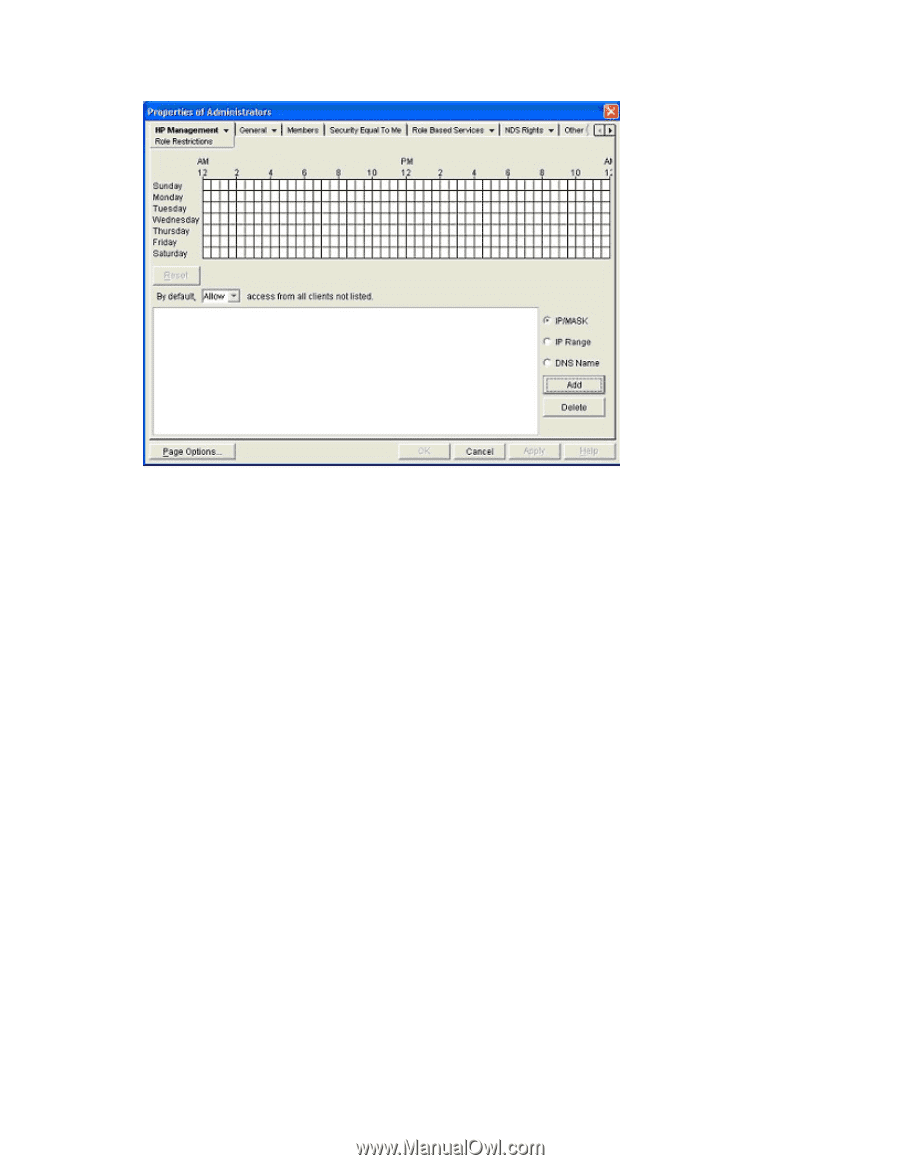
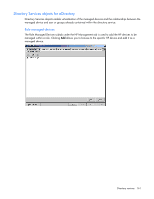
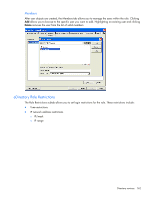
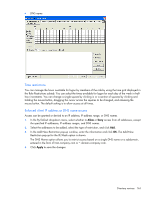
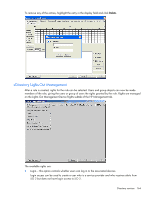
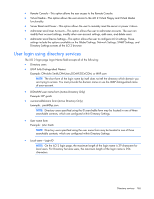
• DNS name Time restrictions You can manage the hours available for logon by members of the role by using the time grid displayed in the Role Restrictions subtab. You can select the times available for logon for each day of the week in halfhour increments. You can change a single square by clicking it, or a section of squares by clicking and holding the mouse button, dragging the cursor across the squares to be changed, and releasing the mouse button. The default setting is to allow access at all times. Enforced client IP address or DNS name access Access can be granted or denied to an IP address, IP address range, or DNS names. 1. In the By Default dropdown menu, select whether to Allow or Deny access from all addresses, except the specified IP addresses, IP address ranges, and DNS names. 2. Select the addresses to be added, select the type of restriction, and click Add. 3. In the Add New Restriction pop-up window, enter the information and click OK. The Add New Restriction pop-up for the IP/Mask option is shown. The DNS Name option allows you to restrict access based on a single DNS name or a subdomain, entered in the form of host.company.com or *.domain.company.com. 4. Click Apply to save the changes. Directory services 163
-
 1
1 -
2
-
3
-
4
-
5
-
6
-
7
-
8
-
9
-
10
-
11
-
12
-
13
-
14
-
15
-
16
-
17
-
18
-
19
-
20
-
21
-
22
-
23
-
24
-
25
-
26
-
27
-
28
-
29
-
30
-
31
-
32
-
33
-
34
-
35
-
36
-
37
-
38
-
39
-
40
-
41
-
42
-
43
-
44
-
45
-
46
-
47
-
48
-
49
-
50
-
51
-
52
-
53
-
54
-
55
-
56
-
57
-
58
-
59
-
60
-
61
-
62
-
63
-
64
-
65
-
66
-
67
-
68
-
69
-
70
-
71
-
72
-
73
-
74
-
75
-
76
-
77
-
78
-
79
-
80
-
81
-
82
-
83
-
84
-
85
-
86
-
87
-
88
-
89
-
90
-
91
-
92
-
93
-
94
-
95
-
96
-
97
-
98
-
99
-
100
-
101
-
102
-
103
-
104
-
105
-
106
-
107
-
108
-
109
-
110
-
111
-
112
-
113
-
114
-
115
-
116
-
117
-
118
-
119
-
120
-
121
-
122
-
123
-
124
-
125
-
126
-
127
-
128
-
129
-
130
-
131
-
132
-
133
-
134
-
135
-
136
-
137
-
138
-
139
-
140
-
141
-
142
-
143
-
144
-
145
-
146
-
147
-
148
-
149
-
150
-
151
-
152
-
153
-
154
-
155
-
156
-
157
-
 158
158 -
 159
159 -
 160
160 -
 161
161 -
 162
162 -
 163
163 -
 164
164 -
 165
165 -
 166
166 -
 167
167 -
 168
168 -
169
-
170
-
171
-
172
-
173
-
174
-
175
-
176
-
177
-
178
-
179
-
180
-
181
-
182
-
183
-
184
-
185
-
186
-
187
-
188
-
189
-
190
-
191
-
192
-
193
-
194
-
195
-
196
-
197
-
198
-
199
-
200
-
201
-
202
-
203
-
204
-
205
-
206
-
207
-
208
-
209
-
210
-
211
-
212
-
213
-
214
-
215
-
216
-
217
-
218
-
219
-
220
-
221
-
222
-
223
-
224
-
225
-
226
-
227
-
228
-
229
-
230
-
231
-
232
-
233
-
234
-
235
 |
 |