Samsung SF-565PR Win 2000/xp/2003/vista/2008/win 7(32,64bit) ( 20.6 - Page 33
Remove, Finish, further fax options, just click
 |
UPC - 635753610277
View all Samsung SF-565PR manuals
Add to My Manuals
Save this manual to your list of manuals |
Page 33 highlights
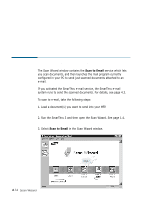
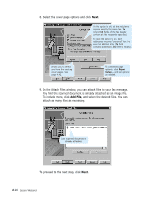
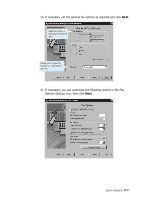
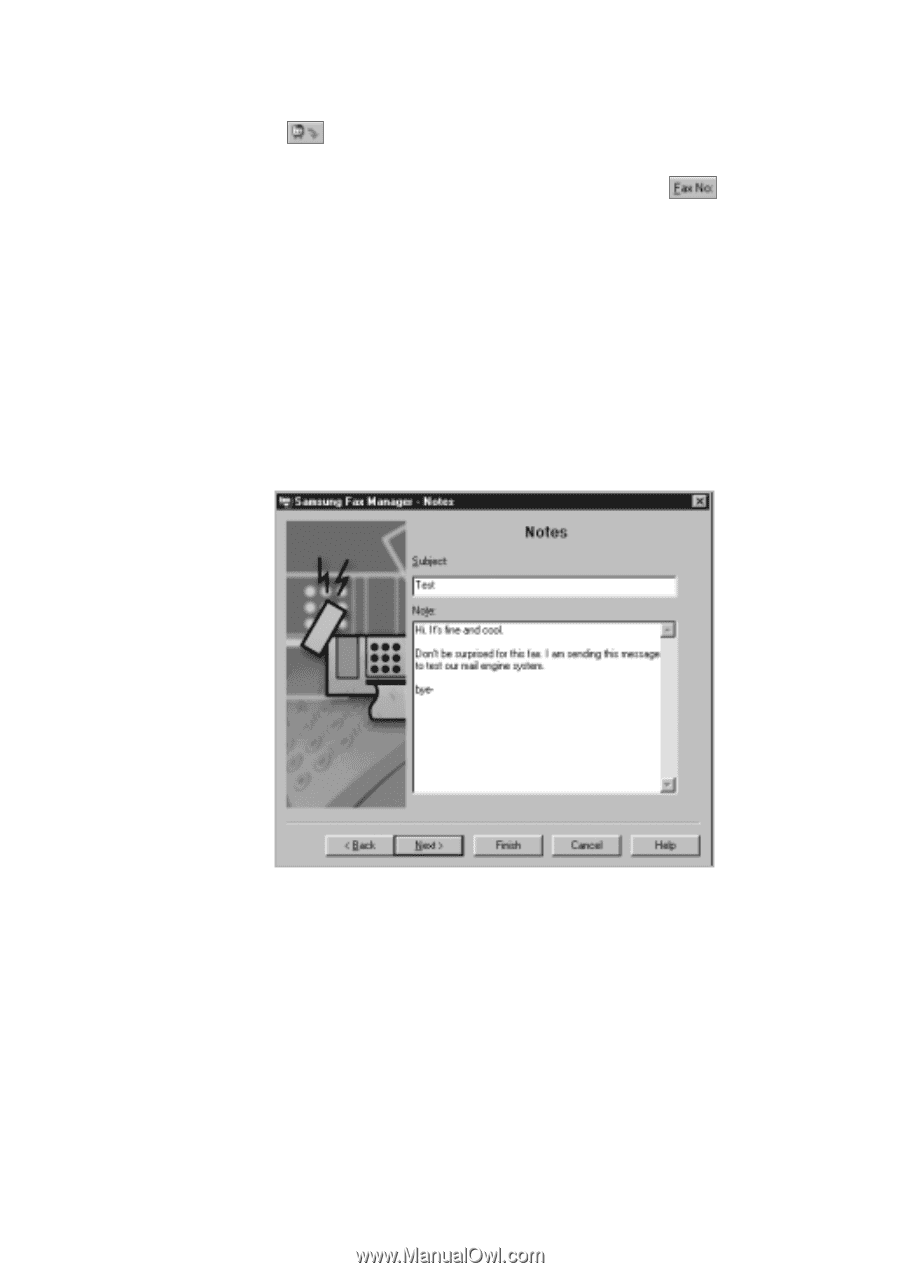
• To enter a contact manually, complete the Fax No field. Then click after the fax number description. A new address will appear in the Recipient list. • To select a contact from the address book, click in front of the field. Then select the desired contact from the opened window. • To remove a contact from the Recipient list, select it in the Recipient list, then click Remove. If you want to send the scanned image only without setting any further fax options, just click Finish at any time, and go to step 14. 7. Enter the subject in the Subject field and your message in the Note field, then click Next. Scan Wizard 2.19
-
 1
1 -
2
-
3
-
4
-
5
-
6
-
7
-
8
-
9
-
10
-
11
-
12
-
13
-
14
-
15
-
16
-
17
-
18
-
19
-
20
-
21
-
22
-
23
-
24
-
25
-
26
-
27
-
 28
28 -
 29
29 -
 30
30 -
 31
31 -
 32
32 -
 33
33 -
 34
34 -
 35
35 -
 36
36 -
 37
37 -
 38
38 -
39
-
40
-
41
-
42
-
43
-
44
-
45
-
46
-
47
-
48
-
49
-
50
-
51
-
52
-
53
-
54
-
55
-
56
-
57
-
58
-
59
-
60
-
61
-
62
-
63
-
64
-
65
-
66
-
67
-
68
-
69
-
70
-
71
-
72
-
73
-
74
-
75
-
76
-
77
-
78
-
79
-
80
-
81
-
82
-
83
-
84
-
85
-
86
-
87
-
88
-
89
-
90
-
91
-
92
-
93
-
94
-
95
-
96
-
97
-
98
-
99
-
100
-
101
-
102
-
103
-
104
-
105
-
106
-
107
-
108
-
109
-
110
-
111
-
112
-
113
-
114
-
115
-
116
-
117
-
118
-
119
-
120
-
121
-
122
-
123
-
124
-
125
-
126
-
127
-
128
-
129
-
130
-
131
-
132
-
133
-
134
-
135
-
136
-
137
-
138
-
139
-
140
-
141
-
142
-
143
-
144
-
145
-
146
-
147
-
148
-
149
-
150
-
151
-
152
-
153
-
154
-
155
-
156
-
157
-
158
-
159
-
160
-
161
-
162
-
163
-
164
-
165
 |
 |
2
.19
Scan Wizard
• To enter a contact manually, complete the Fax No field. Then click
after the fax number description. A new address will appear in
the Recipient list.
• To select a contact from the address book, click
in front of
the field. Then select the desired contact from the opened window.
• To remove a contact from the Recipient list, select it in the Recipient
list, then click
Remove
.
If you want to send the scanned image only without setting any
further fax options, just click
Finish
at any time, and go to step 14.
7. Enter the subject in the Subject field and your message in the Note
field, then click
Next
.