Samsung SF-565PR Win 2000/xp/2003/vista/2008/win 7(32,64bit) ( 20.6 - Page 42
The system asks you to specify the file name and the destination
 |
UPC - 635753610277
View all Samsung SF-565PR manuals
Add to My Manuals
Save this manual to your list of manuals |
Page 42 highlights
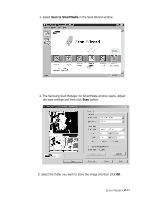
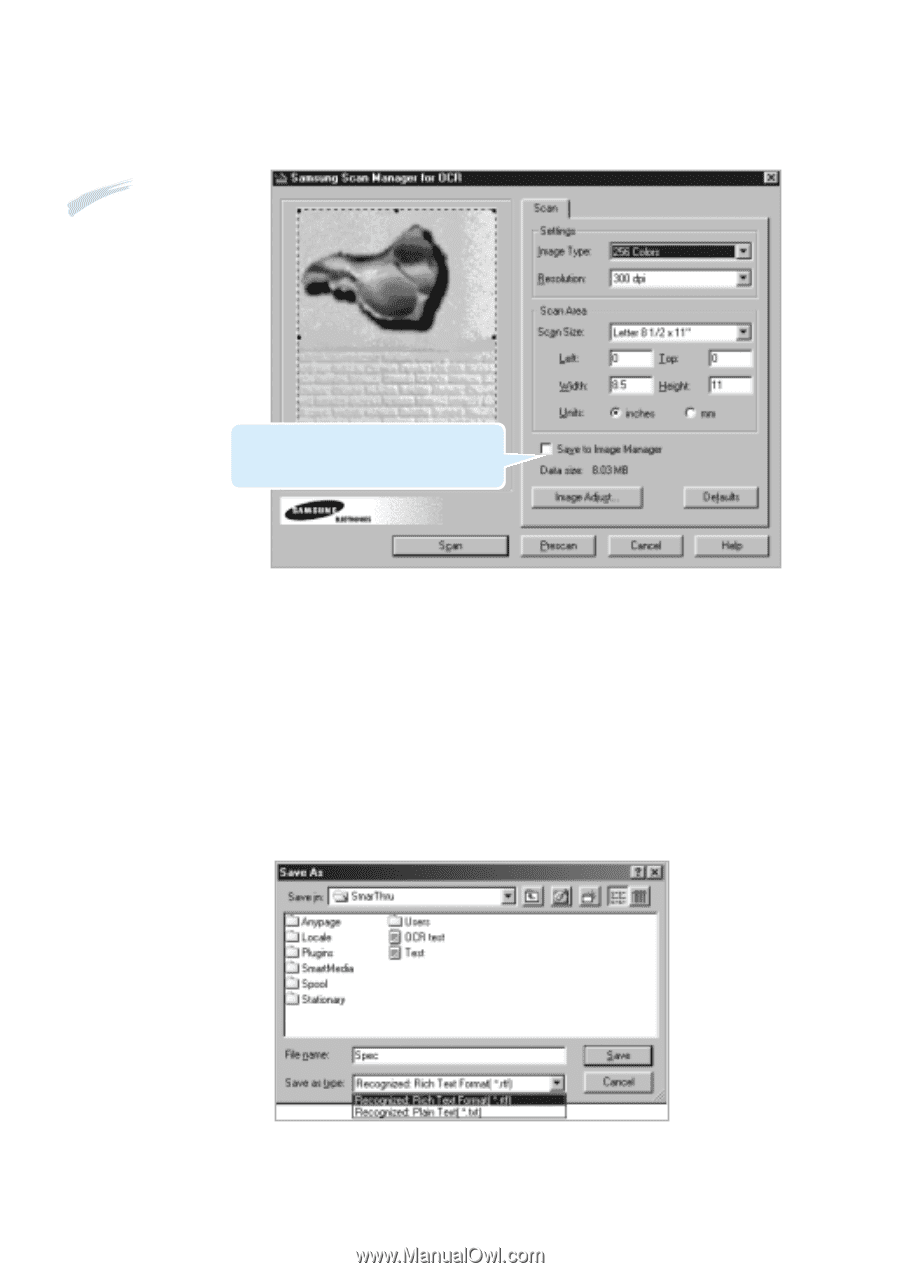
4. The Scan Manager for OCR window opens. Select the scan settings if necessary. For more information on the scan settings, see page 2.7. Note: If the system is short of memory, high resolution scanning may not be achieved. Lower the resolution and try again. If you click the checkbox, the scanned image will be saved in the Image Manager before converting to an editable text. 5. Click the Scan button. When scanning is completed, the scanned document is briefly displayed in the preview area. 6. The system asks you to specify the file name and the destination path. Enter the file name and select the file type, then specify the destination. 2.28 Scan Wizard
-
 1
1 -
2
-
3
-
4
-
5
-
6
-
7
-
8
-
9
-
10
-
11
-
12
-
13
-
14
-
15
-
16
-
17
-
18
-
19
-
20
-
21
-
22
-
23
-
24
-
25
-
26
-
27
-
28
-
29
-
30
-
31
-
32
-
33
-
34
-
35
-
36
-
 37
37 -
 38
38 -
 39
39 -
 40
40 -
 41
41 -
 42
42 -
 43
43 -
 44
44 -
 45
45 -
 46
46 -
 47
47 -
48
-
49
-
50
-
51
-
52
-
53
-
54
-
55
-
56
-
57
-
58
-
59
-
60
-
61
-
62
-
63
-
64
-
65
-
66
-
67
-
68
-
69
-
70
-
71
-
72
-
73
-
74
-
75
-
76
-
77
-
78
-
79
-
80
-
81
-
82
-
83
-
84
-
85
-
86
-
87
-
88
-
89
-
90
-
91
-
92
-
93
-
94
-
95
-
96
-
97
-
98
-
99
-
100
-
101
-
102
-
103
-
104
-
105
-
106
-
107
-
108
-
109
-
110
-
111
-
112
-
113
-
114
-
115
-
116
-
117
-
118
-
119
-
120
-
121
-
122
-
123
-
124
-
125
-
126
-
127
-
128
-
129
-
130
-
131
-
132
-
133
-
134
-
135
-
136
-
137
-
138
-
139
-
140
-
141
-
142
-
143
-
144
-
145
-
146
-
147
-
148
-
149
-
150
-
151
-
152
-
153
-
154
-
155
-
156
-
157
-
158
-
159
-
160
-
161
-
162
-
163
-
164
-
165
 |
 |
2
.28
Scan Wizard
5. Click the
Scan
button.
When scanning is completed, the scanned document is briefly
displayed in the preview area.
6. The system asks you to specify the file name and the destination
path. Enter the file name and select the file type, then specify the
destination.
4. The Scan Manager for OCR window opens. Select the scan settings if
necessary. For more information on the scan settings, see page 2.7.
If you click the checkbox, the scanned
image will be saved in the Image Manager
before converting to an editable text.
Note:
If the system
is short of memory,
high resolution
scanning may not
be achieved. Lower
the resolution and
try again.