Yamaha DM2000 Owner's Manual - Page 23
Effects/plug-ins
 |
View all Yamaha DM2000 manuals
Add to My Manuals
Save this manual to your list of manuals |
Page 23 highlights
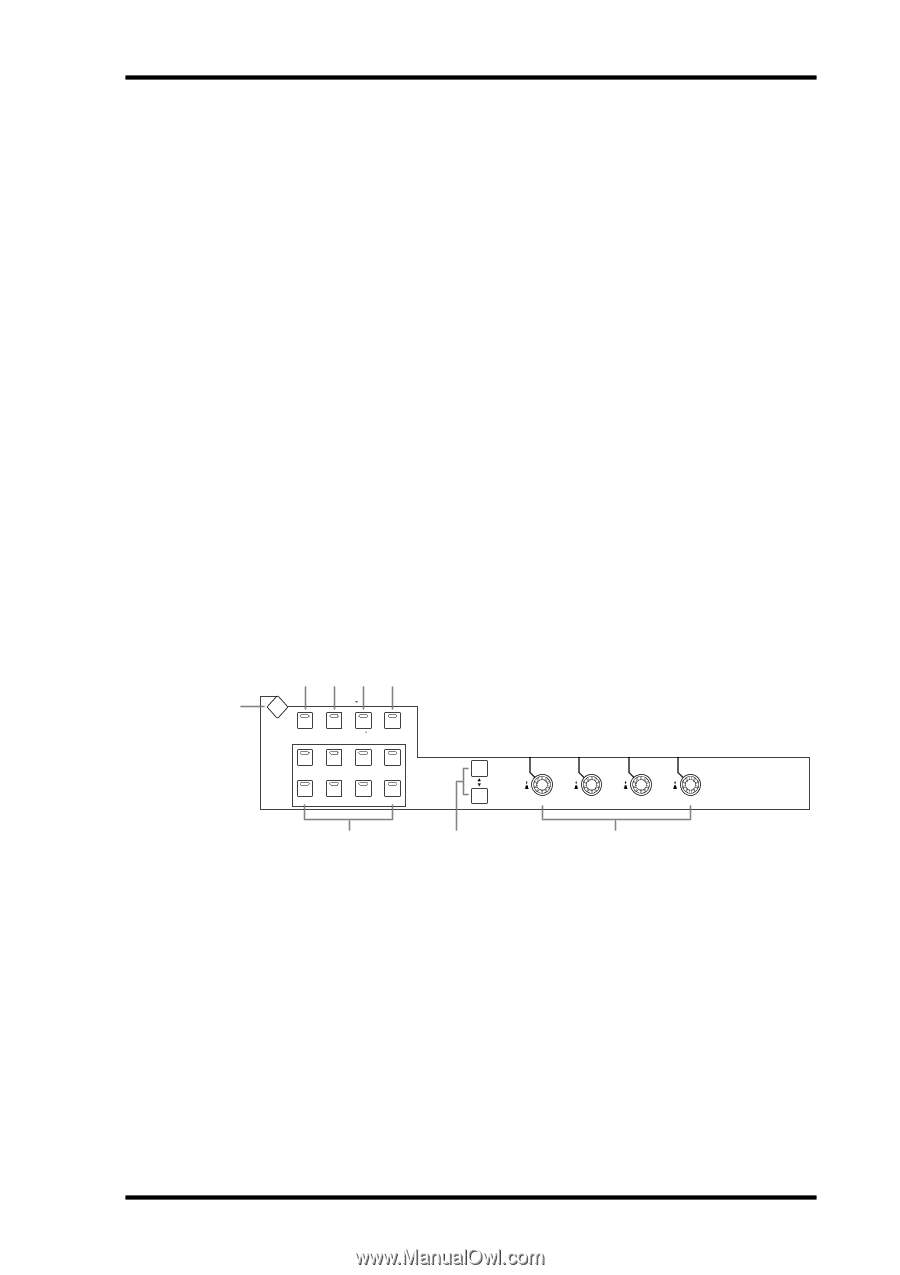
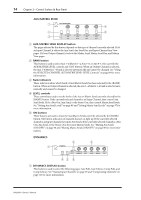
Control Surface 9 G METER button This button is used to select the following pages: Input Channel Meter, Master Meter, Effect Input/Output Meter, Effect 1-2 Input/Output Meter, Effect 1-8 Input/Output Meter, Stereo Meter, and Metering Position. See "Metering" on page 103 for more information. H VIEW button This button is used to select the following pages: Parameter View, Fader View, and Channel Library. See "Viewing Channel Parameter Settings" on page 124, "Viewing Channel Fader Settings" on page 125, and "Channel Library" on page 140 for more information. I PAIR button This button is used to select the Input and Output Pair pages. See "Pairing Channels" on page 120 for more information. J GROUP button This button is used to select the following pages: Fader group, Mute group, Output Fader group, Output Mute group, Input Equalizer Link, Output Equalizer Link, Input Comp Link, and the Output Comp Link. K INPUT PATCH button This button is used to select the following pages: Input Channel Patch, Input Channel Insert In Patch, Effects 1-2 Input Patch, Effects 3-8 Input Patch, Input Channel Name, and Input Patch Library. See "Input Patching" on page 61 for more information. L OUTPUT PATCH button This button is used to select the following pages: Slot Output Patch, Omni Out Patch, Output Insert In Patch, Input Channel Direct Out Destination, 2TR Out Digital, Graphic Equalizer Insert, Output Channel Name, and Output Patch Library. See "Output Patching" on page 63 for more information. EFFECTS/PLUG-INS 2345 1 EFFECTS / PLUG INS DISPLAY INTERNAL GRAPHIC PLUG INS CHANNEL EFFECTS EQUALIZERS INSERTS 1 2 3 4 5 6 7 8 1 2 3 4 6 7 8 A EFFECTS/PLUG-INS DISPLAY button This button is used to select the following pages: Effects Edit, Effects Library, Graphic Equalizer Edit, Graphic Equalizer Library, Plug-In Setup, and Plug-In Edit. See "Internal Effects, Plug-Ins & GEQs" on page 148 for more information. B INTERNAL EFFECTS button This button is used to select the internal effects processors in conjunction with the EFFECTS/PLUG-INS [1-8] buttons. Its indicator lights up when it's pressed. See "Editing Effects" on page 150 for more information. C GRAPHIC EQUALIZERS button This button is used to select the GEQs in conjunction with the EFFECTS/PLUG-INS [1-6] buttons. Its indicator lights up when it's pressed. See "Editing GEQs" on page 155 for more information. DM2000-Owner's Manual
-
 1
1 -
2
-
3
-
4
-
5
-
6
-
7
-
8
-
9
-
10
-
11
-
12
-
13
-
14
-
15
-
16
-
17
-
 18
18 -
 19
19 -
 20
20 -
 21
21 -
 22
22 -
 23
23 -
 24
24 -
 25
25 -
 26
26 -
 27
27 -
 28
28 -
29
-
30
-
31
-
32
-
33
-
34
-
35
-
36
-
37
-
38
-
39
-
40
-
41
-
42
-
43
-
44
-
45
-
46
-
47
-
48
-
49
-
50
-
51
-
52
-
53
-
54
-
55
-
56
-
57
-
58
-
59
-
60
-
61
-
62
-
63
-
64
-
65
-
66
-
67
-
68
-
69
-
70
-
71
-
72
-
73
-
74
-
75
-
76
-
77
-
78
-
79
-
80
-
81
-
82
-
83
-
84
-
85
-
86
-
87
-
88
-
89
-
90
-
91
-
92
-
93
-
94
-
95
-
96
-
97
-
98
-
99
-
100
-
101
-
102
-
103
-
104
-
105
-
106
-
107
-
108
-
109
-
110
-
111
-
112
-
113
-
114
-
115
-
116
-
117
-
118
-
119
-
120
-
121
-
122
-
123
-
124
-
125
-
126
-
127
-
128
-
129
-
130
-
131
-
132
-
133
-
134
-
135
-
136
-
137
-
138
-
139
-
140
-
141
-
142
-
143
-
144
-
145
-
146
-
147
-
148
-
149
-
150
-
151
-
152
-
153
-
154
-
155
-
156
-
157
-
158
-
159
-
160
-
161
-
162
-
163
-
164
-
165
-
166
-
167
-
168
-
169
-
170
-
171
-
172
-
173
-
174
-
175
-
176
-
177
-
178
-
179
-
180
-
181
-
182
-
183
-
184
-
185
-
186
-
187
-
188
-
189
-
190
-
191
-
192
-
193
-
194
-
195
-
196
-
197
-
198
-
199
-
200
-
201
-
202
-
203
-
204
-
205
-
206
-
207
-
208
-
209
-
210
-
211
-
212
-
213
-
214
-
215
-
216
-
217
-
218
-
219
-
220
-
221
-
222
-
223
-
224
-
225
-
226
-
227
-
228
-
229
-
230
-
231
-
232
-
233
-
234
-
235
-
236
-
237
-
238
-
239
-
240
-
241
-
242
-
243
-
244
-
245
-
246
-
247
-
248
-
249
-
250
-
251
-
252
-
253
-
254
-
255
-
256
-
257
-
258
-
259
-
260
-
261
-
262
-
263
-
264
-
265
-
266
-
267
-
268
-
269
-
270
-
271
-
272
-
273
-
274
-
275
-
276
-
277
-
278
-
279
-
280
-
281
-
282
-
283
-
284
-
285
-
286
-
287
-
288
-
289
-
290
-
291
-
292
-
293
-
294
-
295
-
296
-
297
-
298
-
299
-
300
-
301
-
302
-
303
-
304
-
305
-
306
-
307
-
308
-
309
-
310
-
311
-
312
-
313
-
314
-
315
-
316
-
317
-
318
-
319
-
320
-
321
-
322
-
323
-
324
-
325
-
326
-
327
-
328
-
329
-
330
-
331
-
332
-
333
-
334
-
335
-
336
-
337
-
338
-
339
-
340
-
341
-
342
-
343
-
344
-
345
-
346
-
347
-
348
-
349
-
350
-
351
-
352
-
353
-
354
-
355
-
356
-
357
-
358
-
359
-
360
-
361
-
362
 |
 |