Panasonic WJ-ND400K Operating Instructions - Page 116
Installin, HDDs by unit, Press the [USE] button for over 2 seconds.
 |
View all Panasonic WJ-ND400K manuals
Add to My Manuals
Save this manual to your list of manuals |
Page 116 highlights
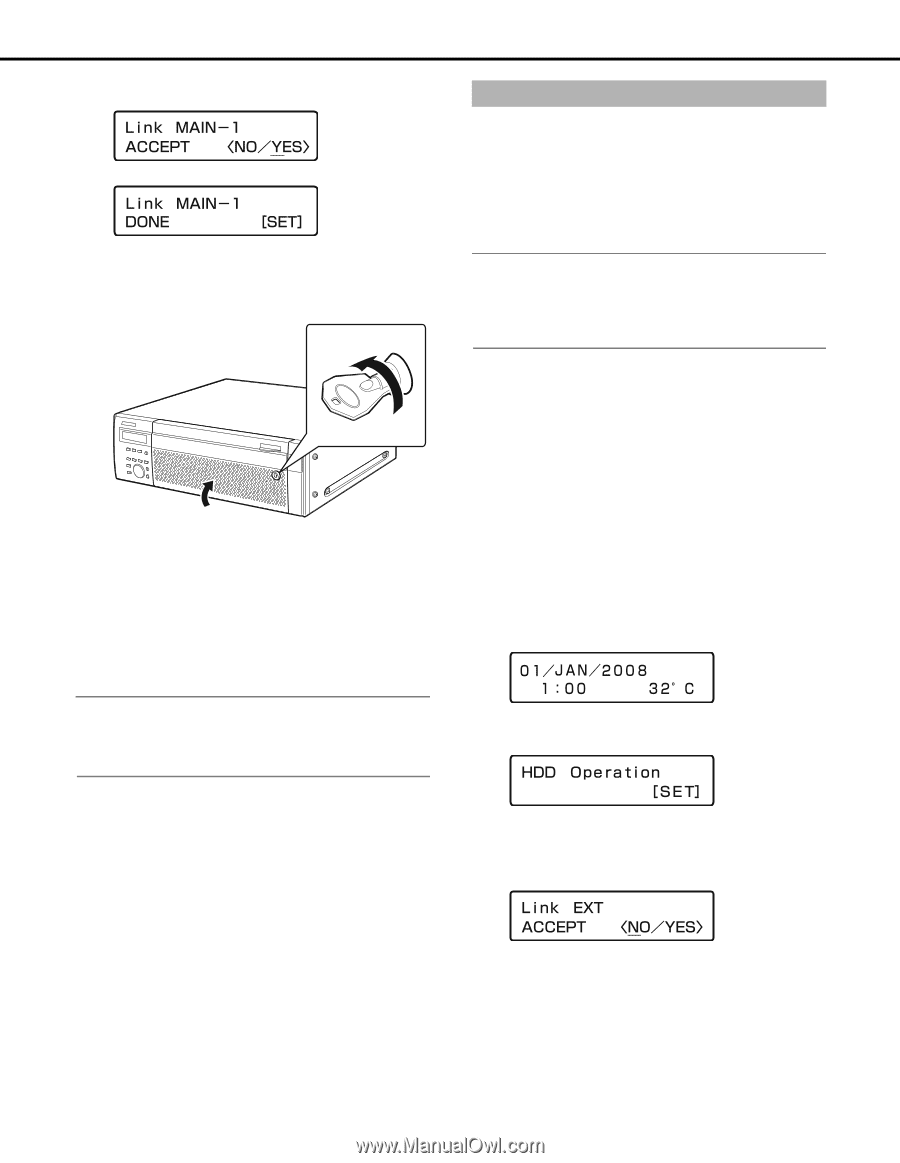
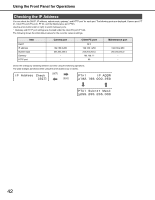
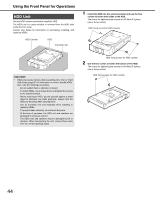
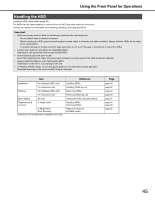
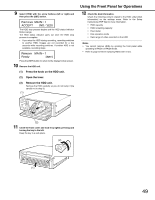
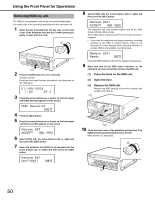
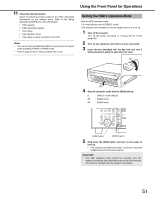
11 Select [YES] with the arrow buttons (left or right) and then press the [SET] button. The HDD is recognized for recording. Press the [SET] button to return to the display format screen. 12 Close the front cover and lock it by lightly pressing and turning the key to the left. Keep the key in a safe place. (2) (1) 13 Check the available disk space. Check the following content related to the HDD under [Disk information] on the settings menu. Refer to the Setup Instructions (PDF file) for more information. • HDD capacity • HDD remaining capacity • Hour meter • Disk operation mode • Date range of video recorded on the HDD Note: • HDDs cannot be added while in RAID5 or RAID6 mode. The RAID function will not start even if an HDD is installed (linked) in an empty disk slot. Using the Front Panel for Operations Installing HDDs by unit All the HDDs in one extension unit can be linked to operate at the same time. For details refer to the operating instructions for the extension unit. 1 Install the HDD units in the extension unit. Install the HDDs in the extension unit according to steps 1 to 2 in "Installing HDDs (page 46)" to install HDDs. Repeat steps 1 to 2 to install multiple HDD units. Note: • When installing HDD units, each HDD unit must be recognized. (Follow Step 1 and 2) Additional HDD units will not be recognized while the first unit is being recognized. 2 The HDD is automatically recognized. • While the HDD is being recognized, the HDD status indicator blinks orange. Once the HDD is recognized, the HDD status indicator lights green or blinks. • The HDD is automatically formatted if it is not preformatted. The HDD status indicator lights green after formatting is complete. • Preformatted HDDs are recognized for playback only. In this case, the HDD status indicator blinks green. Follow the instructions from step 3 to use the HDD for recording. 3 Press the [USE] button for over 2 seconds. A buzzer sounds. Press the front panel buttons according to the directions on the LCD. 4 Press the arrow buttons (up or down) on the front panel until [HDD Operate] appears on the screen. 5 Press the [SET] button. 6 Press the arrow buttons (up or down) on the front panel until [Link EXT] appears on the screen. 47
-
 1
1 -
2
-
3
-
4
-
5
-
6
-
7
-
8
-
9
-
10
-
11
-
12
-
13
-
14
-
15
-
16
-
17
-
18
-
19
-
20
-
21
-
22
-
23
-
24
-
25
-
26
-
27
-
28
-
29
-
30
-
31
-
32
-
33
-
34
-
35
-
36
-
37
-
38
-
39
-
40
-
41
-
42
-
43
-
44
-
45
-
46
-
47
-
48
-
49
-
50
-
51
-
52
-
53
-
54
-
55
-
56
-
57
-
58
-
59
-
60
-
61
-
62
-
63
-
64
-
65
-
66
-
67
-
68
-
69
-
70
-
71
-
72
-
73
-
74
-
75
-
76
-
77
-
78
-
79
-
80
-
81
-
82
-
83
-
84
-
85
-
86
-
87
-
88
-
89
-
90
-
91
-
92
-
93
-
94
-
95
-
96
-
97
-
98
-
99
-
100
-
101
-
102
-
103
-
104
-
105
-
106
-
107
-
108
-
109
-
110
-
 111
111 -
 112
112 -
 113
113 -
 114
114 -
 115
115 -
 116
116 -
 117
117 -
 118
118 -
 119
119 -
 120
120 -
 121
121 -
122
-
123
-
124
-
125
-
126
-
127
-
128
-
129
-
130
-
131
-
132
-
133
-
134
-
135
-
136
-
137
-
138
-
139
-
140
-
141
-
142
-
143
-
144
-
145
-
146
-
147
-
148
-
149
-
150
-
151
-
152
-
153
-
154
-
155
-
156
-
157
-
158
-
159
-
160
-
161
-
162
-
163
-
164
-
165
-
166
-
167
-
168
-
169
-
170
-
171
-
172
-
173
-
174
-
175
-
176
-
177
-
178
-
179
-
180
-
181
-
182
-
183
-
184
-
185
-
186
-
187
-
188
-
189
-
190
-
191
-
192
-
193
-
194
-
195
-
196
-
197
-
198
-
199
-
200
-
201
-
202
-
203
-
204
-
205
-
206
-
207
-
208
-
209
-
210
-
211
-
212
-
213
-
214
-
215
-
216
-
217
-
218
-
219
-
220
-
221
-
222
-
223
-
224
-
225
-
226
-
227
-
228
-
229
-
230
-
231
-
232
-
233
 |
 |