Panasonic WJ-ND400K Operating Instructions - Page 18
Recording images and audio, Recording mode and priority, Audio recording, audio
 |
View all Panasonic WJ-ND400K manuals
Add to My Manuals
Save this manual to your list of manuals |
Page 18 highlights
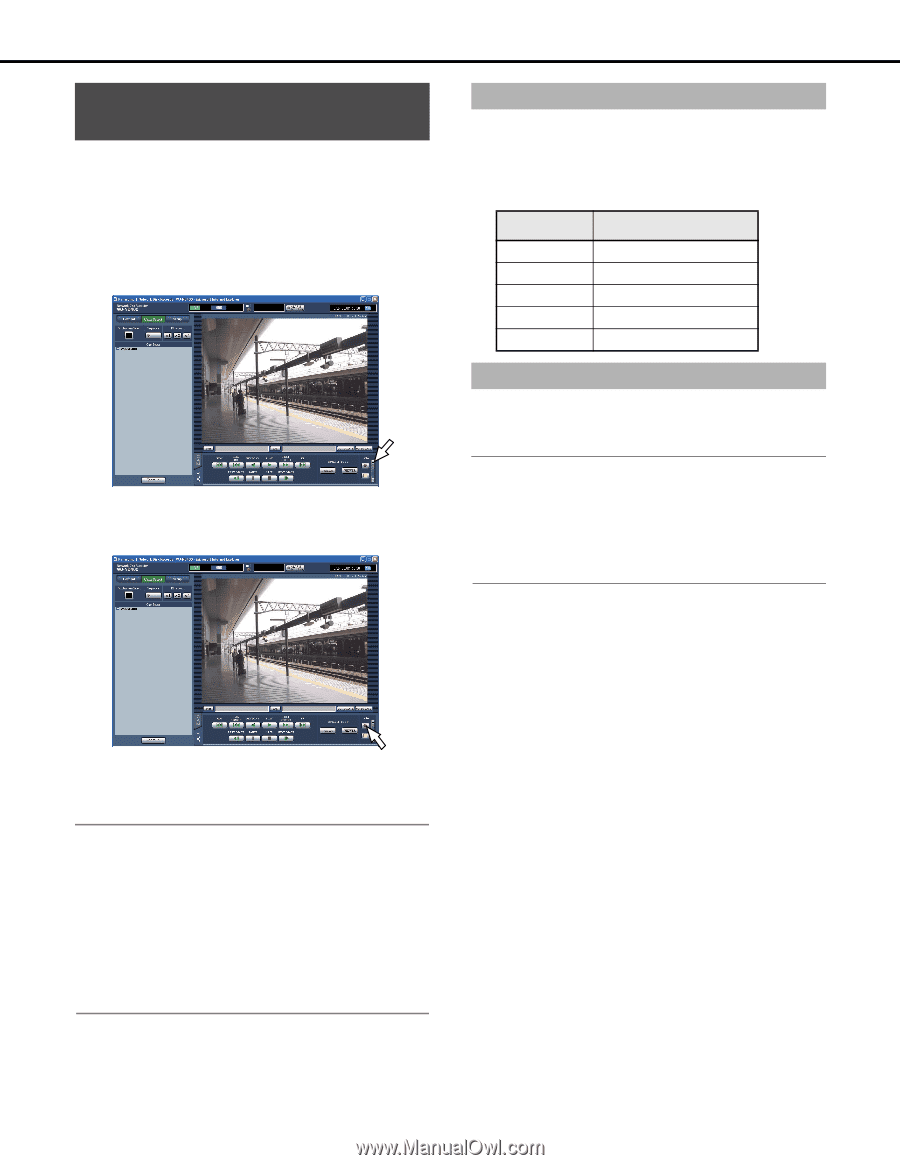
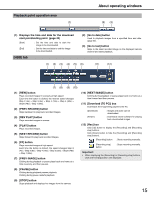
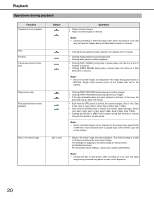
Recording images and audio Recordingandplayingimages Manual recording of images and audio You can set the recorder for manual recording of images and audio. Check with your system administrator about the manual recording settings. 1 Click the [HDD] tab. 2 Click the [Up] button in the [Rec] box. Click the [Up] button until the [Recording] and [Recording stop] button are displayed. 3 Click the [Recording] button. The [REC] indicator in the status display area lights (red), and recording starts. Recording mode and priority The recorder has 5 recording modes. The access priority of the recording modes is shown below. Images are recorded in the highest priority mode when two or more recordings with different recording modes started simultaneously, only recording with the highest priority will start. Priority 1 2 3 4 5 Recording mode Emergency recording Post-event recording Manual recording Schedule recording Pre-event recording Audio recording Audio can be recorded together with images. Audio recording can be set for each of the camera channels. Refer to the Setup Instructions (PDF file) for more information. Note: • Audio recording without images cannot be done. Only image can be recorded. • Audio recording and SD memory recording cannot be done at the same time. When recording rate of the SD memory recording is set to other than [Off], audio recording for that camera channel is automatically turned [Off]. 4 Click the [Recording stop] button. The [REC] indicator in the status display area turns off, and recording stops. Note: • When recording in a recording mode that has a higher priority than Manual, Manual recording goes to standby until the other recording finishes. Refer to the "Recording mode and priority" (table) for information about access priority. • When recording in modes other than Manual recording (Emergency recording, Event recording, or Schedule recording), recording continues even if you press the [Recording stop] button. • It is impossible to record images when images are not being received from cameras. 18
-
 1
1 -
2
-
3
-
4
-
5
-
6
-
7
-
8
-
9
-
10
-
11
-
12
-
 13
13 -
 14
14 -
 15
15 -
 16
16 -
 17
17 -
 18
18 -
 19
19 -
 20
20 -
 21
21 -
 22
22 -
 23
23 -
24
-
25
-
26
-
27
-
28
-
29
-
30
-
31
-
32
-
33
-
34
-
35
-
36
-
37
-
38
-
39
-
40
-
41
-
42
-
43
-
44
-
45
-
46
-
47
-
48
-
49
-
50
-
51
-
52
-
53
-
54
-
55
-
56
-
57
-
58
-
59
-
60
-
61
-
62
-
63
-
64
-
65
-
66
-
67
-
68
-
69
-
70
-
71
-
72
-
73
-
74
-
75
-
76
-
77
-
78
-
79
-
80
-
81
-
82
-
83
-
84
-
85
-
86
-
87
-
88
-
89
-
90
-
91
-
92
-
93
-
94
-
95
-
96
-
97
-
98
-
99
-
100
-
101
-
102
-
103
-
104
-
105
-
106
-
107
-
108
-
109
-
110
-
111
-
112
-
113
-
114
-
115
-
116
-
117
-
118
-
119
-
120
-
121
-
122
-
123
-
124
-
125
-
126
-
127
-
128
-
129
-
130
-
131
-
132
-
133
-
134
-
135
-
136
-
137
-
138
-
139
-
140
-
141
-
142
-
143
-
144
-
145
-
146
-
147
-
148
-
149
-
150
-
151
-
152
-
153
-
154
-
155
-
156
-
157
-
158
-
159
-
160
-
161
-
162
-
163
-
164
-
165
-
166
-
167
-
168
-
169
-
170
-
171
-
172
-
173
-
174
-
175
-
176
-
177
-
178
-
179
-
180
-
181
-
182
-
183
-
184
-
185
-
186
-
187
-
188
-
189
-
190
-
191
-
192
-
193
-
194
-
195
-
196
-
197
-
198
-
199
-
200
-
201
-
202
-
203
-
204
-
205
-
206
-
207
-
208
-
209
-
210
-
211
-
212
-
213
-
214
-
215
-
216
-
217
-
218
-
219
-
220
-
221
-
222
-
223
-
224
-
225
-
226
-
227
-
228
-
229
-
230
-
231
-
232
-
233
 |
 |