Panasonic WJ-ND400K Operating Instructions - Page 45
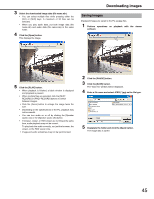
Saving images, Enter a file name and select JPEG *.jpg as the file type.
 |
View all Panasonic WJ-ND400K manuals
Add to My Manuals
Save this manual to your list of manuals |
Page 45 highlights
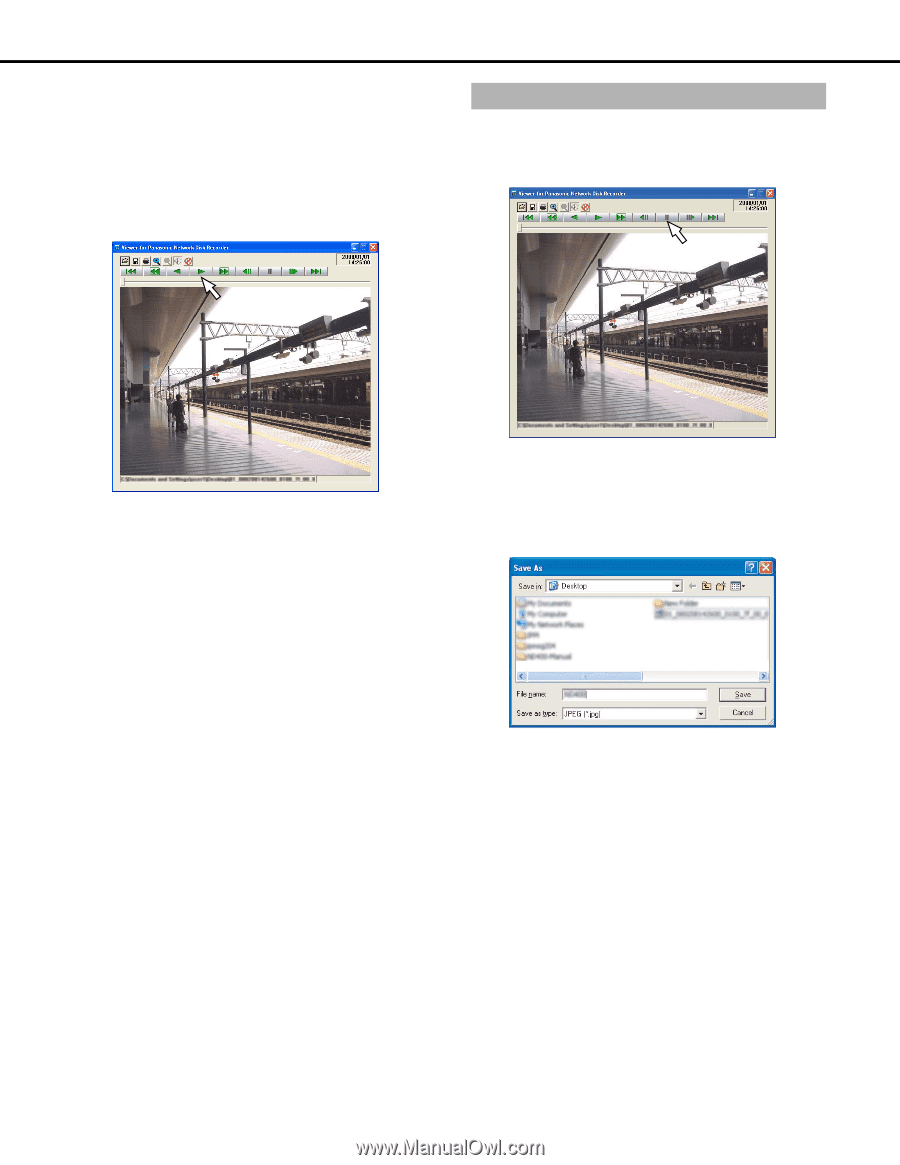
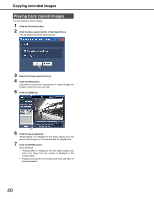
3 Select the downloaded image data (file name.n3r). • You can select multiple files while pressing either the [Ctrl] or [Shift] keys. A maximum of 32 files can be selected. • When you play audio data, put both image data (file name.n3r) and audio data (file name.n3a) in the same folder. 4 Click the [Open] button. This displays the image. Downloading images Saving images Displayed images are saved to the PC as jpeg files. 1 Perform operations on playback with the viewer software. 5 Click the [PLAY] button. • When playback is finished, a black window is displayed and playback is paused. • When multiple files are selected, click the [NEXT RECORD] or [PREV RECORD] buttons to switch between images. • Click the [Zoom] button to enlarge the image twice the size. • Depending on the specifications of the PC, playback may not be smooth. • You can turn audio on or off by clicking the [Speaker (audio on)] or the [Speaker (audio off)] button. • If browser, viewer, or HDD viewer are running at the same time, audio playback may not be correct. To play back the audio correctly, run just the browser, the viewer, or the HDD viewer only. • Image and audio sometimes may not be synchronized. 2 Click the [PAUSE] button. 3 Click the [SAVE] button. The "Save As" window will be displayed. 4 Enter a file name and select JPEG (*.jpg) as the file type. 5 Designate the folder and click the [Save] button. The image data is saved. 45
-
 1
1 -
2
-
3
-
4
-
5
-
6
-
7
-
8
-
9
-
10
-
11
-
12
-
13
-
14
-
15
-
16
-
17
-
18
-
19
-
20
-
21
-
22
-
23
-
24
-
25
-
26
-
27
-
28
-
29
-
30
-
31
-
32
-
33
-
34
-
35
-
36
-
37
-
38
-
39
-
 40
40 -
 41
41 -
 42
42 -
 43
43 -
 44
44 -
 45
45 -
 46
46 -
 47
47 -
 48
48 -
 49
49 -
 50
50 -
51
-
52
-
53
-
54
-
55
-
56
-
57
-
58
-
59
-
60
-
61
-
62
-
63
-
64
-
65
-
66
-
67
-
68
-
69
-
70
-
71
-
72
-
73
-
74
-
75
-
76
-
77
-
78
-
79
-
80
-
81
-
82
-
83
-
84
-
85
-
86
-
87
-
88
-
89
-
90
-
91
-
92
-
93
-
94
-
95
-
96
-
97
-
98
-
99
-
100
-
101
-
102
-
103
-
104
-
105
-
106
-
107
-
108
-
109
-
110
-
111
-
112
-
113
-
114
-
115
-
116
-
117
-
118
-
119
-
120
-
121
-
122
-
123
-
124
-
125
-
126
-
127
-
128
-
129
-
130
-
131
-
132
-
133
-
134
-
135
-
136
-
137
-
138
-
139
-
140
-
141
-
142
-
143
-
144
-
145
-
146
-
147
-
148
-
149
-
150
-
151
-
152
-
153
-
154
-
155
-
156
-
157
-
158
-
159
-
160
-
161
-
162
-
163
-
164
-
165
-
166
-
167
-
168
-
169
-
170
-
171
-
172
-
173
-
174
-
175
-
176
-
177
-
178
-
179
-
180
-
181
-
182
-
183
-
184
-
185
-
186
-
187
-
188
-
189
-
190
-
191
-
192
-
193
-
194
-
195
-
196
-
197
-
198
-
199
-
200
-
201
-
202
-
203
-
204
-
205
-
206
-
207
-
208
-
209
-
210
-
211
-
212
-
213
-
214
-
215
-
216
-
217
-
218
-
219
-
220
-
221
-
222
-
223
-
224
-
225
-
226
-
227
-
228
-
229
-
230
-
231
-
232
-
233
 |
 |