Panasonic WJ-ND400K Operating Instructions - Page 177
Camera, NW camera, Automatically detecting and registering cameras
 |
View all Panasonic WJ-ND400K manuals
Add to My Manuals
Save this manual to your list of manuals |
Page 177 highlights
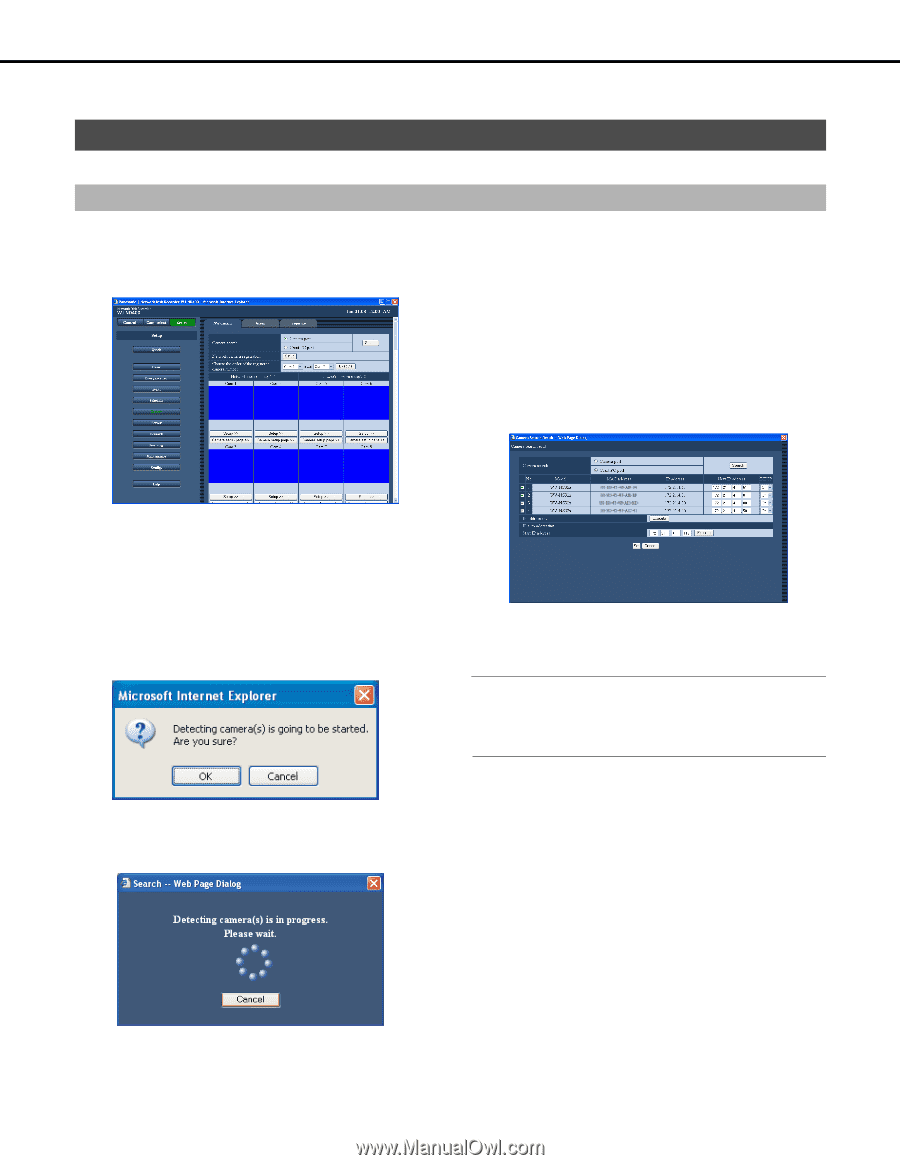
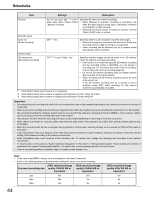
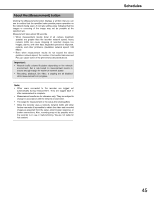
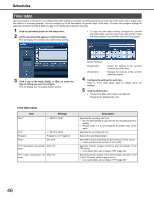
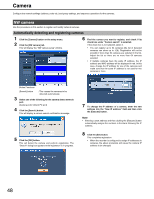
Camera Configure the network settings (address, ports etc.) and group settings, and sequence operations for the cameras. NW camera Use the procedures in this section to register and modify network cameras. Automatically detecting and registering cameras 1 Click the [Camera] button on the setup menu. 2 Click the [NW camera] tab. This will display the "NW camera setup" window. 6 Find the camera you want to register, and check if its check box under "Camera search" is selected. If the check box is not selected, select it. • You can register up to 64 cameras (the list of detected cameras can show up to 128). Registration will not be possible if more than 64 cameras are selected in the list. Adjust the list so there are no more than 64 cameras selected. • If multiple cameras have the same IP address, the IP address and MAC address will be displayed in red. In this case, change the IP address for one of the cameras and make sure that the same IP address is not used for two cameras or more. Button Functions [Search] button : This causes the cameras to be detected automatically. 3 Select one of the following for the camera detect network port. [Camera port] / [Client PC port] 4 Click the [Search] button. This will display a camera search confirmation message. 5 Click the [OK] button. This will detect the camera and perform registration. The "Search" dialog box appears while registration is in progress. 7 To change the IP address of a camera, enter the new address into the "New IP address" field and then click the [Execute] button. Note: • Entering a start address and then clicking the [Execute] button automatically assigns the numbers in the blank following the IP address. 8 Click the [Set] button. This completes registration. • When the recorder is configured to assign IP addresses to cameras, the above procedure will cause the camera IP address to be changed. 48
-
 1
1 -
2
-
3
-
4
-
5
-
6
-
7
-
8
-
9
-
10
-
11
-
12
-
13
-
14
-
15
-
16
-
17
-
18
-
19
-
20
-
21
-
22
-
23
-
24
-
25
-
26
-
27
-
28
-
29
-
30
-
31
-
32
-
33
-
34
-
35
-
36
-
37
-
38
-
39
-
40
-
41
-
42
-
43
-
44
-
45
-
46
-
47
-
48
-
49
-
50
-
51
-
52
-
53
-
54
-
55
-
56
-
57
-
58
-
59
-
60
-
61
-
62
-
63
-
64
-
65
-
66
-
67
-
68
-
69
-
70
-
71
-
72
-
73
-
74
-
75
-
76
-
77
-
78
-
79
-
80
-
81
-
82
-
83
-
84
-
85
-
86
-
87
-
88
-
89
-
90
-
91
-
92
-
93
-
94
-
95
-
96
-
97
-
98
-
99
-
100
-
101
-
102
-
103
-
104
-
105
-
106
-
107
-
108
-
109
-
110
-
111
-
112
-
113
-
114
-
115
-
116
-
117
-
118
-
119
-
120
-
121
-
122
-
123
-
124
-
125
-
126
-
127
-
128
-
129
-
130
-
131
-
132
-
133
-
134
-
135
-
136
-
137
-
138
-
139
-
140
-
141
-
142
-
143
-
144
-
145
-
146
-
147
-
148
-
149
-
150
-
151
-
152
-
153
-
154
-
155
-
156
-
157
-
158
-
159
-
160
-
161
-
162
-
163
-
164
-
165
-
166
-
167
-
168
-
169
-
170
-
171
-
 172
172 -
 173
173 -
 174
174 -
 175
175 -
 176
176 -
 177
177 -
 178
178 -
 179
179 -
 180
180 -
 181
181 -
 182
182 -
183
-
184
-
185
-
186
-
187
-
188
-
189
-
190
-
191
-
192
-
193
-
194
-
195
-
196
-
197
-
198
-
199
-
200
-
201
-
202
-
203
-
204
-
205
-
206
-
207
-
208
-
209
-
210
-
211
-
212
-
213
-
214
-
215
-
216
-
217
-
218
-
219
-
220
-
221
-
222
-
223
-
224
-
225
-
226
-
227
-
228
-
229
-
230
-
231
-
232
-
233
 |
 |