Canon EOS C700 FF PL EOS C700 EOS C700 PL EOS C700 GS PL EOS C700 FF EOS C700 - Page 125
Taking Photos, Photo Numbering
 |
View all Canon EOS C700 FF PL manuals
Add to My Manuals
Save this manual to your list of manuals |
Page 125 highlights
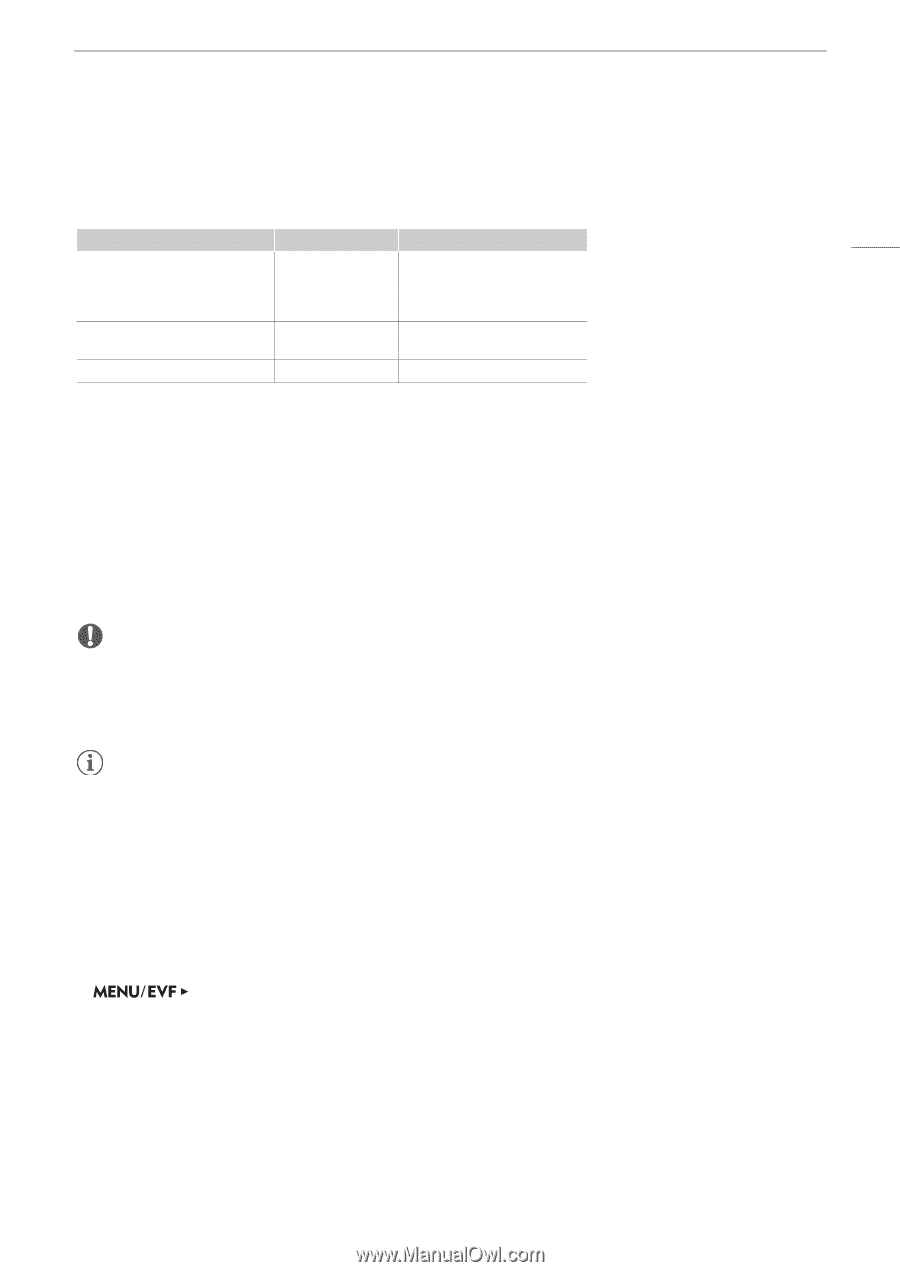
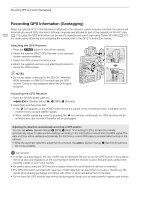
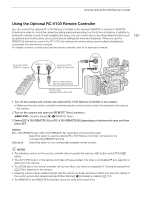
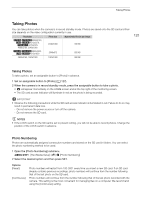
Taking Photos Taking Photos You can take photos when the camera is in record standby mode. Photos are saved onto the SD card and their size depends on the video configuration currently in use. Resolution qr5952x3140, Z[4512x2376, ]4272x2376, 4096x2160, 2048x1080 qr 5952x2532, Z[4512x1920 3840x2160, 1920x1080 Photo size 2048x1080 2048x872 1920x1080 Approximate file size per image 930 KB 820 KB 880 KB 125 Taking Photos To take a photo, set an assignable button to [Photo] in advance. 1 Set an assignable button to [Photo] (A 127). 2 When the camera is in record standby mode, press the assignable button to take a photo. • { will appear momentarily on the HOME screen and at the top right of the monitoring screen. • The SD card access indicator will illuminate in red as the photo is being recorded. IMPORTANT • Observe the following precautions while the SD card access indicator is illuminated in red. Failure to do so may result in permanent data loss. - Do not remove the power source or turn off the camera. - Do not remove the SD card. NOTES • If the LOCK switch on the SD card is set to prevent writing, you will not be able to record photos. Change the position of the LOCK switch in advance. Photo Numbering Photos are automatically assigned consecutive numbers and stored on the SD card in folders. You can select the photo numbering method to be used. 1 Open the [Photo Numbering] submenu. [Rec/Media Setup] (3) > [Photo Numbering] 2 Select the desired option and then press SET. Options [Reset]: [Continuous]: Photo numbers will restart from 100-0001 every time you insert a new SD card. If an SD card already contains previous recordings, photo numbers will continue from the number following that of the last photo on the SD card. Photo numbers will continue from the number following that of the last photo recorded with the camera. This setting is the most convenient for managing files on a computer. We recommend using the [Continuous] setting.
-
 1
1 -
2
-
3
-
4
-
5
-
6
-
7
-
8
-
9
-
10
-
11
-
12
-
13
-
14
-
15
-
16
-
17
-
18
-
19
-
20
-
21
-
22
-
23
-
24
-
25
-
26
-
27
-
28
-
29
-
30
-
31
-
32
-
33
-
34
-
35
-
36
-
37
-
38
-
39
-
40
-
41
-
42
-
43
-
44
-
45
-
46
-
47
-
48
-
49
-
50
-
51
-
52
-
53
-
54
-
55
-
56
-
57
-
58
-
59
-
60
-
61
-
62
-
63
-
64
-
65
-
66
-
67
-
68
-
69
-
70
-
71
-
72
-
73
-
74
-
75
-
76
-
77
-
78
-
79
-
80
-
81
-
82
-
83
-
84
-
85
-
86
-
87
-
88
-
89
-
90
-
91
-
92
-
93
-
94
-
95
-
96
-
97
-
98
-
99
-
100
-
101
-
102
-
103
-
104
-
105
-
106
-
107
-
108
-
109
-
110
-
111
-
112
-
113
-
114
-
115
-
116
-
117
-
118
-
119
-
 120
120 -
 121
121 -
 122
122 -
 123
123 -
 124
124 -
 125
125 -
 126
126 -
 127
127 -
 128
128 -
 129
129 -
 130
130 -
131
-
132
-
133
-
134
-
135
-
136
-
137
-
138
-
139
-
140
-
141
-
142
-
143
-
144
-
145
-
146
-
147
-
148
-
149
-
150
-
151
-
152
-
153
-
154
-
155
-
156
-
157
-
158
-
159
-
160
-
161
-
162
-
163
-
164
-
165
-
166
-
167
-
168
-
169
-
170
-
171
-
172
-
173
-
174
-
175
-
176
-
177
-
178
-
179
-
180
-
181
-
182
-
183
-
184
-
185
-
186
-
187
-
188
-
189
-
190
-
191
-
192
-
193
-
194
-
195
-
196
-
197
-
198
-
199
-
200
-
201
-
202
-
203
-
204
-
205
-
206
-
207
-
208
-
209
-
210
-
211
-
212
-
213
-
214
-
215
-
216
-
217
-
218
-
219
-
220
-
221
-
222
-
223
-
224
-
225
-
226
-
227
-
228
-
229
-
230
-
231
-
232
-
233
-
234
-
235
-
236
-
237
-
238
-
239
-
240
-
241
-
242
-
243
-
244
-
245
-
246
-
247
-
248
-
249
-
250
-
251
-
252
-
253
-
254
-
255
 |
 |