Canon EOS C700 FF PL EOS C700 EOS C700 PL EOS C700 GS PL EOS C700 FF EOS C700 - Page 130
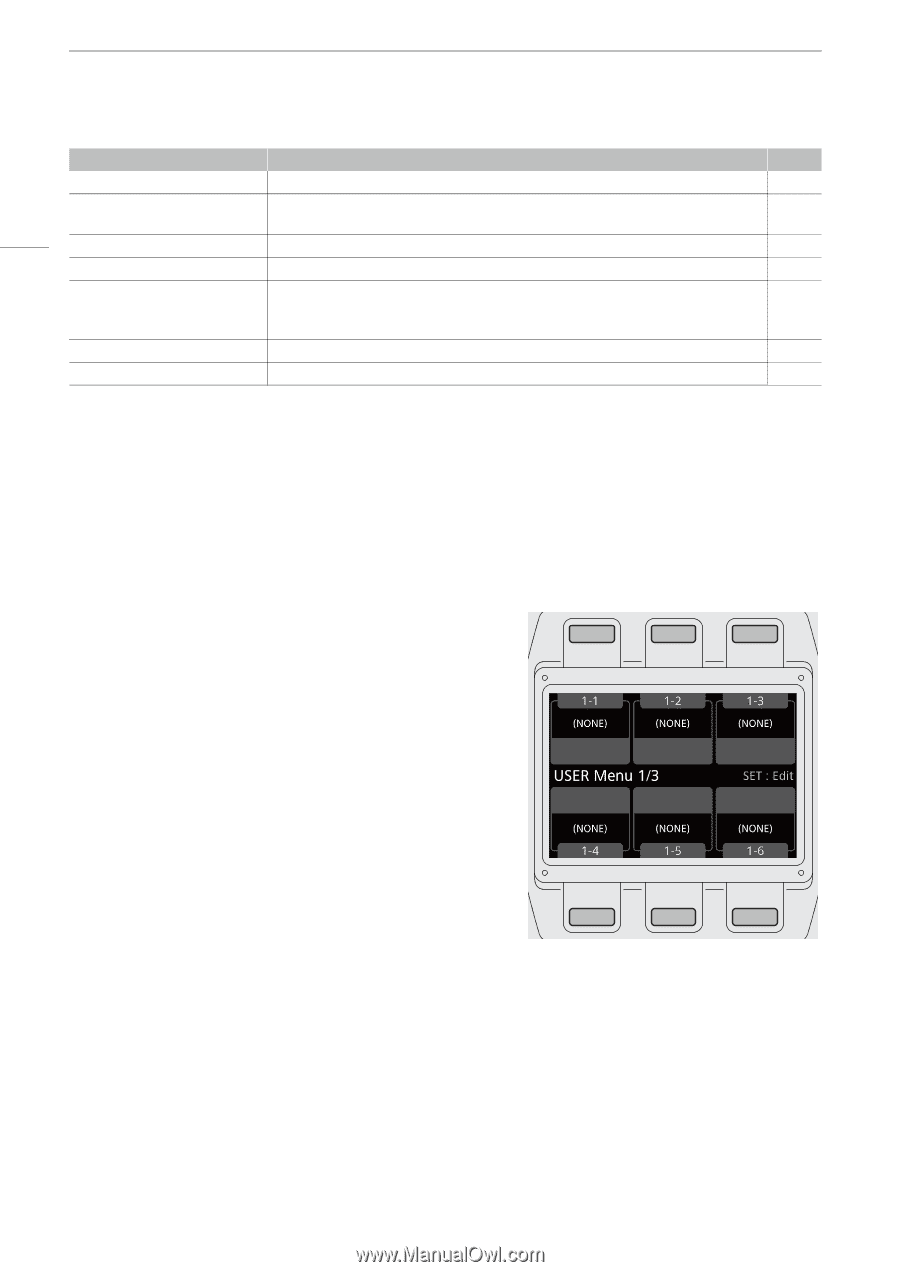
Customizing and Using the USER Screen, Turn the SELECT dial to select the screen button you wish
 |
View all Canon EOS C700 FF PL manuals
Add to My Manuals
Save this manual to your list of manuals |
Page 130 highlights
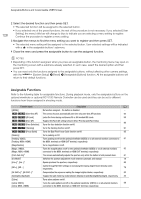
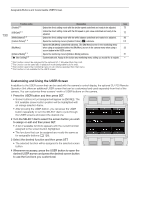
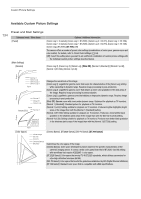
Assignable Buttons and Customizable USER Screen 130 Function name [Shutter]3, 4 [ISO/Gain]3, 4 [White Balance]3, 4 [Custom Picture]3, 4 [My Menu] [Initialize Media]2, 3 [¥ User Setting]3, 4 Description A Enters the direct setting mode with the shutter speed underlined and ready to be adjusted. 75 Enters the direct setting mode with the ISO speed or gain value underlined and ready to be 77 adjusted. Enters the direct setting mode with the white balance underlined and ready to be adjusted. 86 Opens the monitoring menu's [Custom Picture] (/) submenu. 131 Opens the [My Menu] customized submenu. (The [My Menu] screen in the monitoring menu when using an assignable button; the [My Menu] screen in the camera menu when using a 35 screen button in the USER screen.) Opens the monitoring menu's [Initialize Media] submenu. 51 Customizable slot. Assign to the button any monitoring menu setting you would like to register. - 1 This function cannot be assigned to the optional SG-1 Shoulder Style Grip Unit. 2 This function can be used also in playback mode (assignable buttons only). 3 This function opens the monitoring menu or can only be operated from that menu. 4 This function is not available for the USER screen. Customizing and Using the USER Screen In addition to the USER screen that can be used with the camera's control display, the optional OU-700 Remote Operation Unit offers an additional USER screen that can be customized and used separately from that of the camera. You can customize three screens' worth of USER buttons on the camera. 1 Press the USER button and then press SET. • Screen buttons not yet assigned will appear as [(NONE)]. The first available screen button position will be highlighted with an orange selection frame. • After pressing the USER button, you can press the USER button repeatedly or turn the SELECT dial to cycle through the USER screens and select the desired one. 2 Turn the SELECT dial to select the screen button you wish to assign or edit and then press SET. • A list of available functions appears with the current function assigned to the screen button highlighted. • The functions that can be assigned are mostly the same as for assignable buttons (A 128). 3 Select the desired function and then press SET. • The selected function will be assigned to the selected screen button. 4 Whenever necessary, press the USER button to open the desired USER screen and press the desired screen button to use the functions you customized.
-
 1
1 -
2
-
3
-
4
-
5
-
6
-
7
-
8
-
9
-
10
-
11
-
12
-
13
-
14
-
15
-
16
-
17
-
18
-
19
-
20
-
21
-
22
-
23
-
24
-
25
-
26
-
27
-
28
-
29
-
30
-
31
-
32
-
33
-
34
-
35
-
36
-
37
-
38
-
39
-
40
-
41
-
42
-
43
-
44
-
45
-
46
-
47
-
48
-
49
-
50
-
51
-
52
-
53
-
54
-
55
-
56
-
57
-
58
-
59
-
60
-
61
-
62
-
63
-
64
-
65
-
66
-
67
-
68
-
69
-
70
-
71
-
72
-
73
-
74
-
75
-
76
-
77
-
78
-
79
-
80
-
81
-
82
-
83
-
84
-
85
-
86
-
87
-
88
-
89
-
90
-
91
-
92
-
93
-
94
-
95
-
96
-
97
-
98
-
99
-
100
-
101
-
102
-
103
-
104
-
105
-
106
-
107
-
108
-
109
-
110
-
111
-
112
-
113
-
114
-
115
-
116
-
117
-
118
-
119
-
120
-
121
-
122
-
123
-
124
-
 125
125 -
 126
126 -
 127
127 -
 128
128 -
 129
129 -
 130
130 -
 131
131 -
 132
132 -
 133
133 -
 134
134 -
 135
135 -
136
-
137
-
138
-
139
-
140
-
141
-
142
-
143
-
144
-
145
-
146
-
147
-
148
-
149
-
150
-
151
-
152
-
153
-
154
-
155
-
156
-
157
-
158
-
159
-
160
-
161
-
162
-
163
-
164
-
165
-
166
-
167
-
168
-
169
-
170
-
171
-
172
-
173
-
174
-
175
-
176
-
177
-
178
-
179
-
180
-
181
-
182
-
183
-
184
-
185
-
186
-
187
-
188
-
189
-
190
-
191
-
192
-
193
-
194
-
195
-
196
-
197
-
198
-
199
-
200
-
201
-
202
-
203
-
204
-
205
-
206
-
207
-
208
-
209
-
210
-
211
-
212
-
213
-
214
-
215
-
216
-
217
-
218
-
219
-
220
-
221
-
222
-
223
-
224
-
225
-
226
-
227
-
228
-
229
-
230
-
231
-
232
-
233
-
234
-
235
-
236
-
237
-
238
-
239
-
240
-
241
-
242
-
243
-
244
-
245
-
246
-
247
-
248
-
249
-
250
-
251
-
252
-
253
-
254
-
255
 |
 |