Canon EOS C700 FF PL EOS C700 EOS C700 PL EOS C700 GS PL EOS C700 FF EOS C700 - Page 47
In-Camera Lens Correction, About in-camera lens correction data
 |
View all Canon EOS C700 FF PL manuals
Add to My Manuals
Save this manual to your list of manuals |
Page 47 highlights
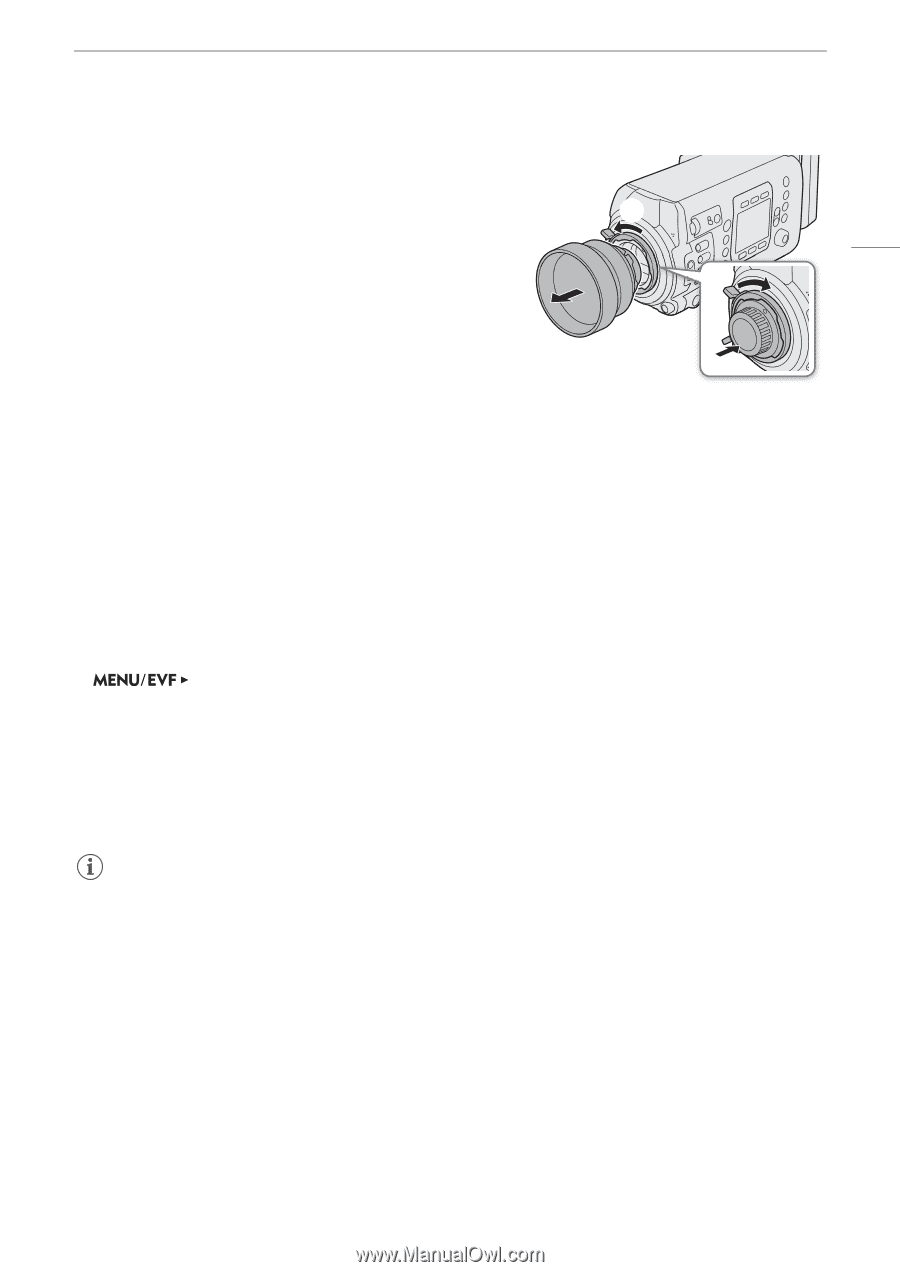
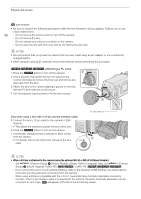
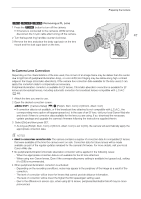
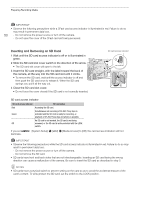
[]r Removing a PL Lens 1 Press the Q button to turn off the camera. • If the lens is connected to the camera's LENS terminal, disconnect the 12-pin cable after turning off the camera. 2 Turn the bayonet ring handles counter-clockwise. 3 Remove the lens and place the body cap back on the lens mount and the dust caps back on the lens. Preparing the Camera ባ 47 ቤ In-Camera Lens Correction Depending on the characteristics of the lens used, the corners of an image frame may be darker than the center due to light fall-off (peripheral illumination drop), or color shift/color fringing may be visible along high-contrast edges in the image (chromatic aberration). If the camera has correction data available for the lens used, it can apply this correction data to compensate as necessary. Peripheral illumination correction is available for EF lenses. Chromatic aberration correction is available for EF lenses and broadcast lenses, including automatic correction for broadcast lenses compatible with L.C.A.C (A 46). 1 Attach the lens you want to use. 2 Open the desired correction screen. [Camera Setup] (v) > [Periph. Illum. Corr.] or [Chrom. Aberr. Corr.] • If correction data is not available, or if the broadcast lens attached is not compatible with L.C.A.C., the corresponding menu option will appear grayed out. In the case of an EF lens, visit your local Canon Web site and check if there is correction data available for the lens you are using. If so, download the necessary update package and upgrade the camera's firmware following the instructions supplied therein. 3 Select [On] and then press SET. • As long as [Periph. Illum. Corr.] or [Chrom. Aberr. Corr.] is set to [On], the camera will automatically apply the appropriate correction data. NOTES • About in-camera lens correction data: The camera contains a register of correction data for compatible EF lenses that were available at the time the camera went on sale. Correction data for future lenses will be made available as part of the regular updates released for the camera's firmware. For more details, visit your local Canon Web site. • No peripheral illumination/chromatic aberration correction will be applied in the following cases: - When the appropriate correction data is not available for the EF lens attached. - When using non-Canon lenses. Even if the corresponding menu setting is available (not grayed out), setting it to [Off] is recommended. • When peripheral illumination correction is activated: - Depending on the recording conditions, noise may appear in the periphery of the image as a result of the correction. - The level of correction will be lower for lenses that cannot provide distance information. - The level of correction will be lower the higher the ISO speed/gain setting used. - Due to the difference in sensor size, when using EF-S lenses, peripheral illumination fall-off may be more pronounced.
-
 1
1 -
2
-
3
-
4
-
5
-
6
-
7
-
8
-
9
-
10
-
11
-
12
-
13
-
14
-
15
-
16
-
17
-
18
-
19
-
20
-
21
-
22
-
23
-
24
-
25
-
26
-
27
-
28
-
29
-
30
-
31
-
32
-
33
-
34
-
35
-
36
-
37
-
38
-
39
-
40
-
41
-
 42
42 -
 43
43 -
 44
44 -
 45
45 -
 46
46 -
 47
47 -
 48
48 -
 49
49 -
 50
50 -
 51
51 -
 52
52 -
53
-
54
-
55
-
56
-
57
-
58
-
59
-
60
-
61
-
62
-
63
-
64
-
65
-
66
-
67
-
68
-
69
-
70
-
71
-
72
-
73
-
74
-
75
-
76
-
77
-
78
-
79
-
80
-
81
-
82
-
83
-
84
-
85
-
86
-
87
-
88
-
89
-
90
-
91
-
92
-
93
-
94
-
95
-
96
-
97
-
98
-
99
-
100
-
101
-
102
-
103
-
104
-
105
-
106
-
107
-
108
-
109
-
110
-
111
-
112
-
113
-
114
-
115
-
116
-
117
-
118
-
119
-
120
-
121
-
122
-
123
-
124
-
125
-
126
-
127
-
128
-
129
-
130
-
131
-
132
-
133
-
134
-
135
-
136
-
137
-
138
-
139
-
140
-
141
-
142
-
143
-
144
-
145
-
146
-
147
-
148
-
149
-
150
-
151
-
152
-
153
-
154
-
155
-
156
-
157
-
158
-
159
-
160
-
161
-
162
-
163
-
164
-
165
-
166
-
167
-
168
-
169
-
170
-
171
-
172
-
173
-
174
-
175
-
176
-
177
-
178
-
179
-
180
-
181
-
182
-
183
-
184
-
185
-
186
-
187
-
188
-
189
-
190
-
191
-
192
-
193
-
194
-
195
-
196
-
197
-
198
-
199
-
200
-
201
-
202
-
203
-
204
-
205
-
206
-
207
-
208
-
209
-
210
-
211
-
212
-
213
-
214
-
215
-
216
-
217
-
218
-
219
-
220
-
221
-
222
-
223
-
224
-
225
-
226
-
227
-
228
-
229
-
230
-
231
-
232
-
233
-
234
-
235
-
236
-
237
-
238
-
239
-
240
-
241
-
242
-
243
-
244
-
245
-
246
-
247
-
248
-
249
-
250
-
251
-
252
-
253
-
254
-
255
 |
 |