Canon EOS C700 FF PL EOS C700 EOS C700 PL EOS C700 GS PL EOS C700 FF EOS C700 - Page 143
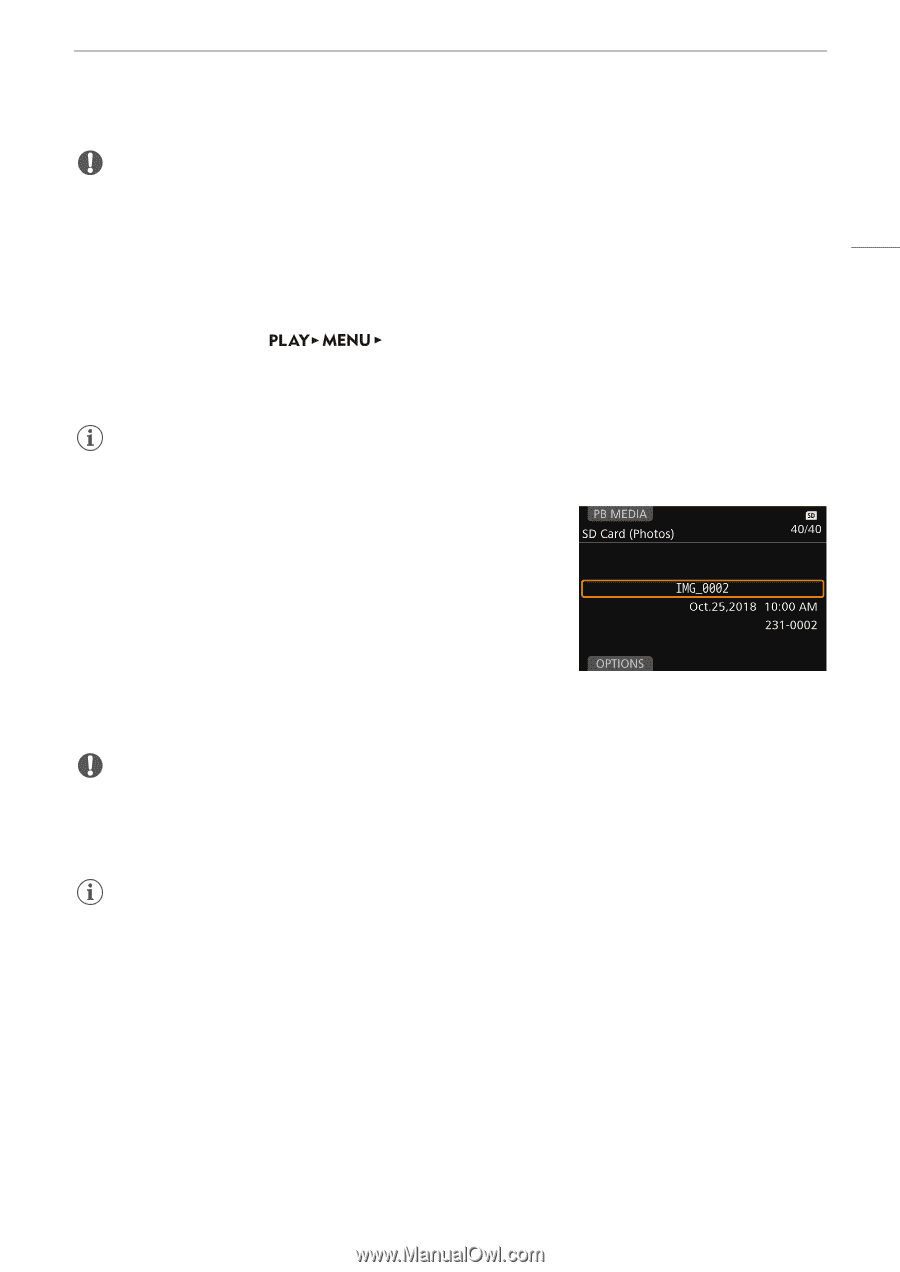
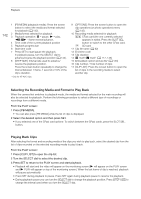
Audio Output, From the PLAY screen, Select [SD Card Photos] as the media/format to play back
 |
View all Canon EOS C700 FF PL manuals
Add to My Manuals
Save this manual to your list of manuals |
Page 143 highlights
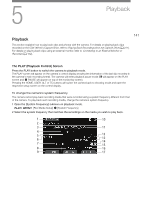
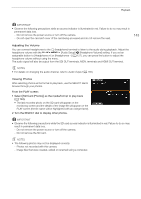
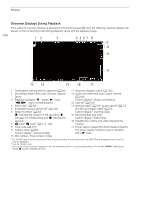
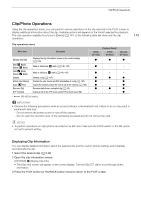
Playback IMPORTANT • Observe the following precautions while an access indicator is illuminated in red. Failure to do so may result in permanent data loss. - Do not remove the power source or turn off the camera. - Do not open the card slot cover of the card being accessed and do not remove the card. 143 Adjusting the Volume You can connect headphones to the × (headphone) terminal to listen to the audio during playback. Adjust the headphone volume with the [Audio Setup] > [Headphone Volume] setting. If you set an assignable button to [Headphones +] or [Headphones -] (A 127), you can press the button to adjust the headphone volume without using the menu. The audio signal will also be output from the SDI OUT terminals, MON. terminals and HDMI OUT terminal. NOTES • For details on changing the audio channel, refer to Audio Output (A 160). Viewing Photos After selecting photos as the format to play back, use the SELECT dial to browse through your photos. From the PLAY screen: 1 Select [SD Card (Photos)] as the media/format to play back (A 142). • The last recorded photo on the SD card will appear on the monitoring screen and the details of the image file will appear on the PLAY screen (the file name will be highlighted with an orange frame). 2 Turn the SELECT dial to display other photos. IMPORTANT • Observe the following precautions while the SD card access indicator is illuminated in red. Failure to do so may result in permanent data loss. - Do not remove the power source or turn off the camera. - Do not remove the SD card. NOTES • The following photos may not be displayed correctly. - Photos not recorded with this camera. - Image files that were created, edited or renamed using a computer.
-
 1
1 -
2
-
3
-
4
-
5
-
6
-
7
-
8
-
9
-
10
-
11
-
12
-
13
-
14
-
15
-
16
-
17
-
18
-
19
-
20
-
21
-
22
-
23
-
24
-
25
-
26
-
27
-
28
-
29
-
30
-
31
-
32
-
33
-
34
-
35
-
36
-
37
-
38
-
39
-
40
-
41
-
42
-
43
-
44
-
45
-
46
-
47
-
48
-
49
-
50
-
51
-
52
-
53
-
54
-
55
-
56
-
57
-
58
-
59
-
60
-
61
-
62
-
63
-
64
-
65
-
66
-
67
-
68
-
69
-
70
-
71
-
72
-
73
-
74
-
75
-
76
-
77
-
78
-
79
-
80
-
81
-
82
-
83
-
84
-
85
-
86
-
87
-
88
-
89
-
90
-
91
-
92
-
93
-
94
-
95
-
96
-
97
-
98
-
99
-
100
-
101
-
102
-
103
-
104
-
105
-
106
-
107
-
108
-
109
-
110
-
111
-
112
-
113
-
114
-
115
-
116
-
117
-
118
-
119
-
120
-
121
-
122
-
123
-
124
-
125
-
126
-
127
-
128
-
129
-
130
-
131
-
132
-
133
-
134
-
135
-
136
-
137
-
 138
138 -
 139
139 -
 140
140 -
 141
141 -
 142
142 -
 143
143 -
 144
144 -
 145
145 -
 146
146 -
 147
147 -
 148
148 -
149
-
150
-
151
-
152
-
153
-
154
-
155
-
156
-
157
-
158
-
159
-
160
-
161
-
162
-
163
-
164
-
165
-
166
-
167
-
168
-
169
-
170
-
171
-
172
-
173
-
174
-
175
-
176
-
177
-
178
-
179
-
180
-
181
-
182
-
183
-
184
-
185
-
186
-
187
-
188
-
189
-
190
-
191
-
192
-
193
-
194
-
195
-
196
-
197
-
198
-
199
-
200
-
201
-
202
-
203
-
204
-
205
-
206
-
207
-
208
-
209
-
210
-
211
-
212
-
213
-
214
-
215
-
216
-
217
-
218
-
219
-
220
-
221
-
222
-
223
-
224
-
225
-
226
-
227
-
228
-
229
-
230
-
231
-
232
-
233
-
234
-
235
-
236
-
237
-
238
-
239
-
240
-
241
-
242
-
243
-
244
-
245
-
246
-
247
-
248
-
249
-
250
-
251
-
252
-
253
-
254
-
255
 |
 |