Canon EOS C700 FF PL EOS C700 EOS C700 PL EOS C700 GS PL EOS C700 FF EOS C700 - Page 80
Manual Aperture, Control Dial Dir.]
 |
View all Canon EOS C700 FF PL manuals
Add to My Manuals
Save this manual to your list of manuals |
Page 80 highlights
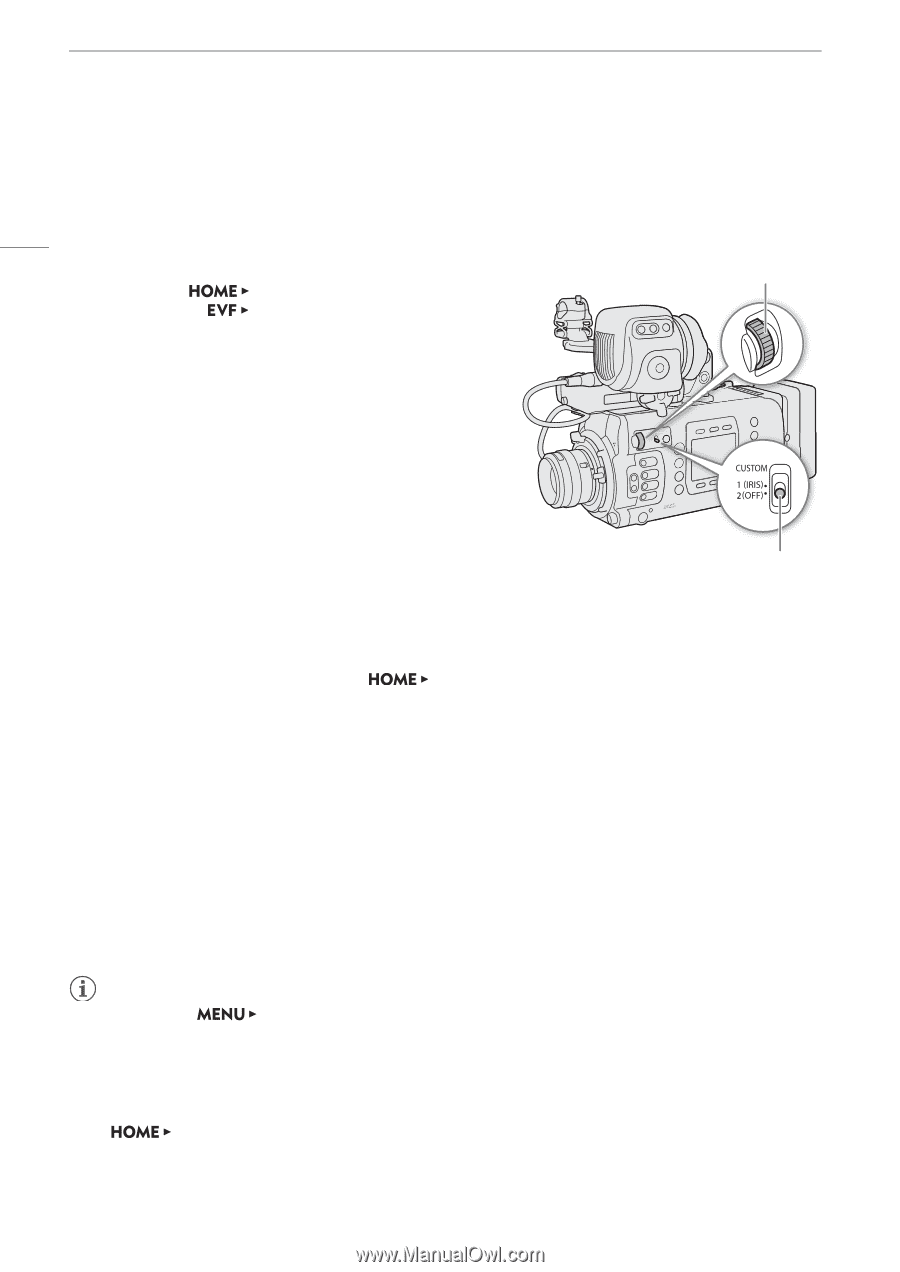
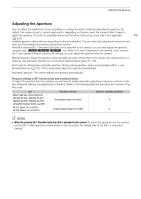
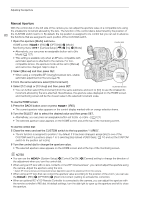
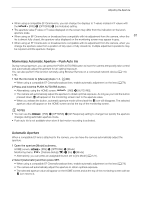
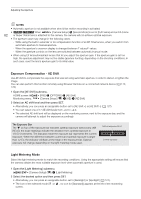
Adjusting the Aperture Manual Aperture With the control dial on the left side of the camera you can adjust the aperture value of a compatible lens using the smallest iris increment allowed by the lens. The function of the control dial is determined by the position of 80 the CUSTOM switch next to it. By default, the top position is assigned to iris control but you can set in advance the functions that are assigned to each position of the CUSTOM switch. 1 Open the aperture [Mode] submenu. HOME screen: Monitoring menu: [IRIS] > [OPTIONS] > [Mode] [Camera Setup] (v) > [Iris] > [Mode] • Alternatively, you can press an assignable button set to [Iris Mode] (A 127). • This setting is available only when an EF lens compatible with automatic aperture is attached to the camera. For non- compatible lenses, the aperture mode will be set to [Manual] and cannot be changed. Skip to step 3. Control dial 2 Select [Manual] and then press SET. • When using a compatible EF Cinema/broadcast lens, enable automatic adjustment on the lens (A 79). 3 From the same submenu select [Iris Increment]. 4 Select [1/2 stop] or [1/3 stop] and then press SET. CUSTOM Switch • You can further select [Fine Increment] from the same submenu and set it to [On] to use the smallest iris increment allowed by the lens attached. Nevertheless, the aperture value displayed on the HOME screen and monitoring screen will be the closest value in the selected increment scale. To use the HOME screen: 5 Press the BACK button once or press [IRIS]. • The current aperture value appears on the control display marked with an orange selection frame. 6 Turn the SELECT dial to select the desired value and then press SET. • Alternatively, you can press an assignable button set to [Iris +] or [Iris -] (A 127). • The selected aperture value appears on the HOME screen and at the top of the monitoring screen. To use the control dial: 5 Close the menu and set the CUSTOM switch to the top position "1 (IRIS)". • The iris function is assigned to position 1 by default. If it has been changed, assign [Iris] to one of the CUSTOM switch's positions (steps 1 to 3 selecting [Iris] instead of [ISO/Gain], A 77) and set the CUSTOM switch to the position set to [Iris]. 6 Turn the control dial to change the aperture value. • The selected aperture value appears on the HOME screen and at the top of the monitoring screen. NOTES • You can use the [System Setup] > [Control Dial Dir.] > [Camera] setting to change the direction of the adjustment when you turn the control dial. • When using an EF lens with no lens contacts or most EF Cinema lenses*, you cannot adjust the aperture using the camera. Adjust the aperture using the lens. * Select EF Cinema lenses and broadcast lenses (A 240) support iris adjustment from this camera. • When using an EF lens that can correct the aperture value according to the position of the zoom, you can use the [IRIS] > [OPTIONS] > [Zoom-Iris Correct.] setting to activate this correction. • When an optional RC-V100 Remote Controller is connected to the camera, you can adjust the aperture with the remote controller's IRIS dial. At default settings, turn the dial right to open up the aperture and left to close the aperture.
-
 1
1 -
2
-
3
-
4
-
5
-
6
-
7
-
8
-
9
-
10
-
11
-
12
-
13
-
14
-
15
-
16
-
17
-
18
-
19
-
20
-
21
-
22
-
23
-
24
-
25
-
26
-
27
-
28
-
29
-
30
-
31
-
32
-
33
-
34
-
35
-
36
-
37
-
38
-
39
-
40
-
41
-
42
-
43
-
44
-
45
-
46
-
47
-
48
-
49
-
50
-
51
-
52
-
53
-
54
-
55
-
56
-
57
-
58
-
59
-
60
-
61
-
62
-
63
-
64
-
65
-
66
-
67
-
68
-
69
-
70
-
71
-
72
-
73
-
74
-
 75
75 -
 76
76 -
 77
77 -
 78
78 -
 79
79 -
 80
80 -
 81
81 -
 82
82 -
 83
83 -
 84
84 -
 85
85 -
86
-
87
-
88
-
89
-
90
-
91
-
92
-
93
-
94
-
95
-
96
-
97
-
98
-
99
-
100
-
101
-
102
-
103
-
104
-
105
-
106
-
107
-
108
-
109
-
110
-
111
-
112
-
113
-
114
-
115
-
116
-
117
-
118
-
119
-
120
-
121
-
122
-
123
-
124
-
125
-
126
-
127
-
128
-
129
-
130
-
131
-
132
-
133
-
134
-
135
-
136
-
137
-
138
-
139
-
140
-
141
-
142
-
143
-
144
-
145
-
146
-
147
-
148
-
149
-
150
-
151
-
152
-
153
-
154
-
155
-
156
-
157
-
158
-
159
-
160
-
161
-
162
-
163
-
164
-
165
-
166
-
167
-
168
-
169
-
170
-
171
-
172
-
173
-
174
-
175
-
176
-
177
-
178
-
179
-
180
-
181
-
182
-
183
-
184
-
185
-
186
-
187
-
188
-
189
-
190
-
191
-
192
-
193
-
194
-
195
-
196
-
197
-
198
-
199
-
200
-
201
-
202
-
203
-
204
-
205
-
206
-
207
-
208
-
209
-
210
-
211
-
212
-
213
-
214
-
215
-
216
-
217
-
218
-
219
-
220
-
221
-
222
-
223
-
224
-
225
-
226
-
227
-
228
-
229
-
230
-
231
-
232
-
233
-
234
-
235
-
236
-
237
-
238
-
239
-
240
-
241
-
242
-
243
-
244
-
245
-
246
-
247
-
248
-
249
-
250
-
251
-
252
-
253
-
254
-
255
 |
 |