Canon EOS C700 FF PL EOS C700 EOS C700 PL EOS C700 GS PL EOS C700 FF EOS C700 - Page 32
Using the Menus, Selecting an Option from the Camera Menu
 |
View all Canon EOS C700 FF PL manuals
Add to My Manuals
Save this manual to your list of manuals |
Page 32 highlights
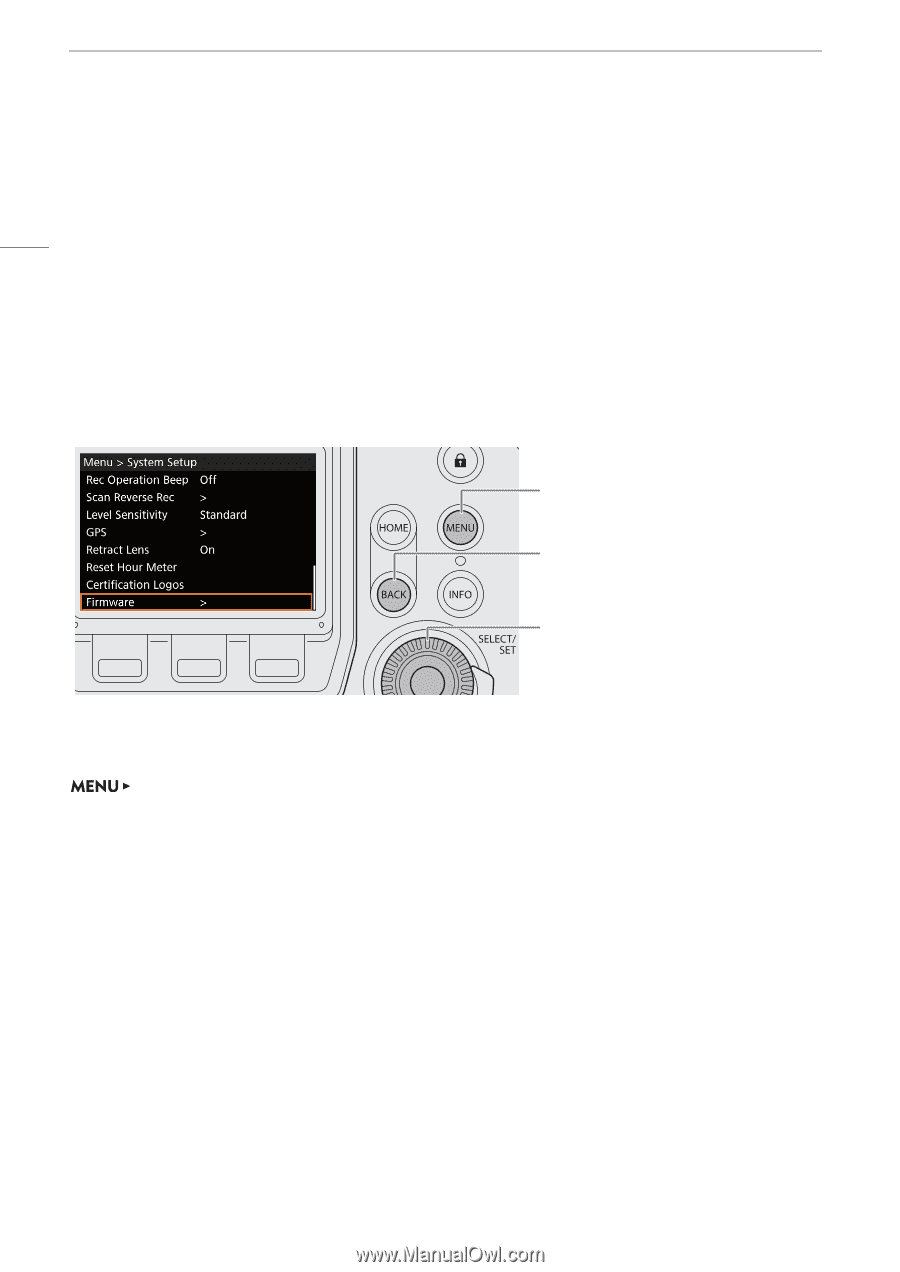
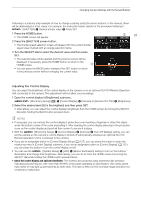
Using the Menus Using the Menus You can change the camera's settings using the camera menu displayed on the control display or the monitoring menu displayed on the screen of connected monitoring devices. You can also register frequently 32 used menu settings in 6 customized submenus (My Menu 1 to 3 that can be set up independently for the camera menu and the monitoring menu) (A 35). For detailed tables of all the available menu options and settings, refer to Setup Screens and Menu Options (A 187). Selecting an Option from the Camera Menu The camera menu appears on the control display and is limited, for the most part, to functions that cannot be set using the screen buttons. You can press the MENU button to open the camera menu regardless of the setup screen currently displayed. MENU button: Open the camera menu. BACK button: Return to the previous menu level without changing the setting. From the main menu, it closes the camera menu. SELECT dial: Turn to move the orange selection frame between menu settings/options. SET button: Confirm the selected menu setting/option. Following is a step-by-step explanation of how to change a setting using the camera menu. In the manual, such instructions will be abbreviated and will omit the closing of the menu in most cases. For example, the instruction below stands for the procedure following it. [System Setup] > [Firmware] 1 Press the MENU button. 2 Turn the SELECT dial to select the desired submenu (in the example [System Setup]) and then press SET. • The orange selection frame will appear on a menu item in the submenu. • If a submenu contains many menu items, a scroll bar will appear on the right side of the submenu indicating that you must scroll up or down to see other menu items. • Press the BACK button to return to the previous submenu. 3 Turn the SELECT dial to select the desired menu item (in the example [Firmware]) and then press SET. • A [>] mark to the right of a menu item indicates another submenu. Repeat this step until you get to the desired menu item. • A list of setting options will appear with the orange selection frame around the current setting. • Press the BACK button to return to the previous submenu without changing the setting.
-
 1
1 -
2
-
3
-
4
-
5
-
6
-
7
-
8
-
9
-
10
-
11
-
12
-
13
-
14
-
15
-
16
-
17
-
18
-
19
-
20
-
21
-
22
-
23
-
24
-
25
-
26
-
 27
27 -
 28
28 -
 29
29 -
 30
30 -
 31
31 -
 32
32 -
 33
33 -
 34
34 -
 35
35 -
 36
36 -
 37
37 -
38
-
39
-
40
-
41
-
42
-
43
-
44
-
45
-
46
-
47
-
48
-
49
-
50
-
51
-
52
-
53
-
54
-
55
-
56
-
57
-
58
-
59
-
60
-
61
-
62
-
63
-
64
-
65
-
66
-
67
-
68
-
69
-
70
-
71
-
72
-
73
-
74
-
75
-
76
-
77
-
78
-
79
-
80
-
81
-
82
-
83
-
84
-
85
-
86
-
87
-
88
-
89
-
90
-
91
-
92
-
93
-
94
-
95
-
96
-
97
-
98
-
99
-
100
-
101
-
102
-
103
-
104
-
105
-
106
-
107
-
108
-
109
-
110
-
111
-
112
-
113
-
114
-
115
-
116
-
117
-
118
-
119
-
120
-
121
-
122
-
123
-
124
-
125
-
126
-
127
-
128
-
129
-
130
-
131
-
132
-
133
-
134
-
135
-
136
-
137
-
138
-
139
-
140
-
141
-
142
-
143
-
144
-
145
-
146
-
147
-
148
-
149
-
150
-
151
-
152
-
153
-
154
-
155
-
156
-
157
-
158
-
159
-
160
-
161
-
162
-
163
-
164
-
165
-
166
-
167
-
168
-
169
-
170
-
171
-
172
-
173
-
174
-
175
-
176
-
177
-
178
-
179
-
180
-
181
-
182
-
183
-
184
-
185
-
186
-
187
-
188
-
189
-
190
-
191
-
192
-
193
-
194
-
195
-
196
-
197
-
198
-
199
-
200
-
201
-
202
-
203
-
204
-
205
-
206
-
207
-
208
-
209
-
210
-
211
-
212
-
213
-
214
-
215
-
216
-
217
-
218
-
219
-
220
-
221
-
222
-
223
-
224
-
225
-
226
-
227
-
228
-
229
-
230
-
231
-
232
-
233
-
234
-
235
-
236
-
237
-
238
-
239
-
240
-
241
-
242
-
243
-
244
-
245
-
246
-
247
-
248
-
249
-
250
-
251
-
252
-
253
-
254
-
255
 |
 |