HP Officejet 7200 User Guide - Page 62
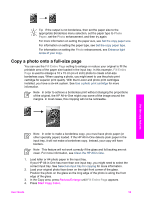
Copy a photo onto a full-size Photo, Paper, Fill Entire Fill Entire - ink cartridges
 |
View all HP Officejet 7200 manuals
Add to My Manuals
Save this manual to your list of manuals |
Page 62 highlights
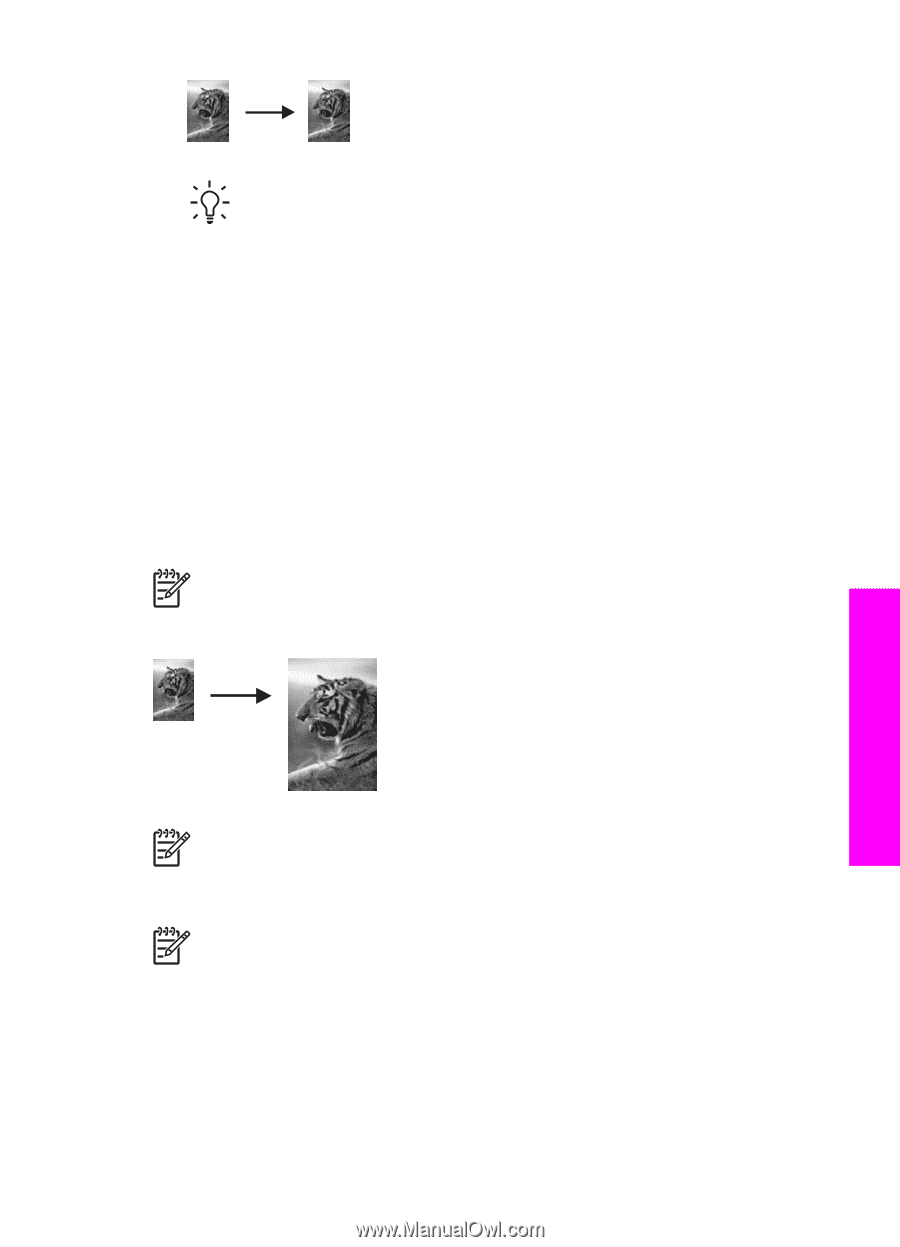
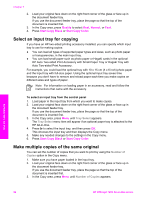
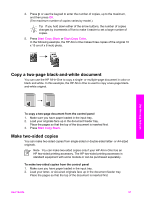
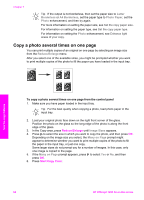
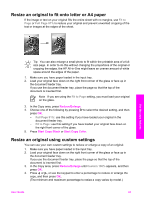
Tip If the output is not borderless, then set the paper size to the appropriate Borderless menu selection, set the paper type to Photo Paper, set the Photo enhancement, and then try again. For more information on setting the paper size, see Set the copy paper size. For information on setting the paper type, see Set the copy paper type. For information on setting the Photo enhancement, see Enhance light areas of your copy. Copy a photo onto a full-size page You can use the Fill Entire Page setting to enlarge or reduce your original to fill the printable area of the paper size loaded in the input tray. In this example, Fill Entire Page is used to enlarge a 10 x 15 cm (4 x 6 inch) photo to create a full-size borderless copy. When copying a photo, you might want to use the photo print cartridge for superior print quality. With the tri-color and photo print cartridges installed, you have a six-ink system. See Use a photo print cartridge for more information. Note In order to achieve a borderless print without changing the proportions of the original, the HP All-in-One might crop some of the image around the margins. In most cases, this cropping will not be noticeable. Use the copy features Note In order to make a borderless copy, you must have photo paper (or other specialty paper) loaded. If the HP All-in-One detects plain paper in the input tray, it will not make a borderless copy. Instead, your copy will have borders. Note This feature will not work correctly if the glass and lid backing are not clean. For more information, see Clean the HP All-in-One. 1. Load letter or A4 photo paper in the input tray. If your HP All-in-One has more than one input tray, you might need to select the correct input tray. See Select an input tray for copying for more information. 2. Load your original photo face down on the right front corner of the glass. Position the photo on the glass so the long edge of the photo is along the front edge of the glass. 3. In the Copy area, press Reduce/Enlarge until Fill Entire Page appears. 4. Press Start Copy Color. User Guide 59
-
 1
1 -
2
-
3
-
4
-
5
-
6
-
7
-
8
-
9
-
10
-
11
-
12
-
13
-
14
-
15
-
16
-
17
-
18
-
19
-
20
-
21
-
22
-
23
-
24
-
25
-
26
-
27
-
28
-
29
-
30
-
31
-
32
-
33
-
34
-
35
-
36
-
37
-
38
-
39
-
40
-
41
-
42
-
43
-
44
-
45
-
46
-
47
-
48
-
49
-
50
-
51
-
52
-
53
-
54
-
55
-
56
-
 57
57 -
 58
58 -
 59
59 -
 60
60 -
 61
61 -
 62
62 -
 63
63 -
 64
64 -
 65
65 -
 66
66 -
 67
67 -
68
-
69
-
70
-
71
-
72
-
73
-
74
-
75
-
76
-
77
-
78
-
79
-
80
-
81
-
82
-
83
-
84
-
85
-
86
-
87
-
88
-
89
-
90
-
91
-
92
-
93
-
94
-
95
-
96
-
97
-
98
-
99
-
100
-
101
-
102
-
103
-
104
-
105
-
106
-
107
-
108
-
109
-
110
-
111
-
112
-
113
-
114
-
115
-
116
-
117
-
118
-
119
-
120
-
121
-
122
-
123
-
124
-
125
-
126
-
127
-
128
-
129
-
130
-
131
-
132
-
133
-
134
-
135
-
136
-
137
-
138
-
139
-
140
-
141
-
142
-
143
-
144
-
145
-
146
-
147
-
148
-
149
-
150
-
151
-
152
-
153
-
154
-
155
-
156
-
157
-
158
-
159
-
160
-
161
-
162
-
163
-
164
-
165
-
166
-
167
-
168
-
169
-
170
-
171
-
172
-
173
-
174
-
175
-
176
-
177
-
178
-
179
-
180
-
181
-
182
-
183
-
184
-
185
-
186
-
187
-
188
-
189
-
190
-
191
-
192
-
193
-
194
-
195
-
196
-
197
-
198
-
199
-
200
-
201
-
202
-
203
-
204
-
205
-
206
-
207
-
208
-
209
-
210
-
211
-
212
-
213
-
214
-
215
-
216
-
217
-
218
-
219
-
220
-
221
-
222
-
223
-
224
-
225
-
226
-
227
-
228
-
229
-
230
-
231
-
232
-
233
-
234
-
235
-
236
-
237
-
238
-
239
-
240
 |
 |